Fallout 4 has been launched in November 2015, you can read our review here. As is usual with a new Bethesda game, the modding community has already started with the improvement of the game. In the first 2 weeks, there were almost 2000 mods made, which had a total of 5.40 million downloads. Now we’re close to 8500 mods with over 50 million downloads. Which is crazy if you realise that the G.E.C.K. comes out in April. Most of them will get a huge improvement once modders get the support from the G.E.C.K.. That’s why I have gathered a few of the best mods out there, most that are defiantly worth checking out.
For those who have the previous games, be sure to follow my previous guides for Fallout 3 and/or Fallout New Vegas, if you want a completely different experience from those games.
First of all, the basic knowledge:
Everyone should know where to find the fallout directory. The Mod Manager will take care of most mods, still, it is important to understand what is happening so you are able to fix any problems later
Your MAIN Fallout 4 directory as default will be:
C:\Program Files(x86)Steam\Steamapps\Common\Fallout4
Inside is a folder called “data” this is where all your game data is, and where mods end up. Don’t mix up the MAIN and DATA folder when installing, or your mods will not work. A pro tip: if you see another folder called data inside \Common\Fallout4\data, you (or the Mod Manager) have installed a mod wrong. Try to figure out what it is and fix it :).
I can’t say which file you have to download. The mods get updated regullar, so by the time you read this guide, some mods will already have newer versions. So always choose the latest!
Necessary
Nexus Mod Manager: I suggest the Nexus Mod Manager to download, install and manage all your mods. There are a lot of advantages when using a mod manager. With just a few clicks, you can install mods, update them and reactivate. All this from the same program. Even uninstalling goes automatic, you don’t have to navigate through all the folders and manually delete them. This makes it much more easier to swap a mod, or try different version of it. However, they don’t always work flawlessly, I have run into problems such as corrupted installations and missing files. So read the installation instructions I will try to provide.
Installation: Download the file from the website. Once installed, let it scan through your computer to find the moddable games that you have installed. If you have installed them on a different location, you can always redirect the path to the correct folder.
Fallout 4 Configuration Tool: A simple mod that allows you do configure Fallout4.ini with a few clicks.
Installation: Extract archive and run the .exe. It will ask the Game Install directory. Be careful with this configurator, because it can screw up your Fallout 4 installation
Armor Keywords Community Resource (AKCR): This mod is something required for the next mod.
Installation: Download and install with Nexus Mod Manager. Ignore it for the rest (unless you need to update it)
Precise object moving and rotating: This mod is a must have for those who love to build in Fallout 4. It allows you to move and rotate object by using the numpad keys. You gain a lot more controle when building your settlement, even a lot more freedom, because you can place items inside other items if you so desire. To get this mod to work, you need a 3th party program called AutoHotkey
Installation: Download and install AutoHotkey. After that, download the file FreeMove (version 0.1) and double-click it. It now works ingame.
Here are the ingame commands:
Open console (~ button), select object to move left licking on it. Than just pres and hold desired hotkey. Don’t close the console 😉
It have two modes. Smooth (NumLock on), which moves and rotates by 1 unit. And normal (NumLock off), moves and rotates by 5 units.
| NumLock OFF – normal mode | NumLock ON – smooth mode |
| MOVE | ROTATE |
| Num4 and Num6 – moves object by “x” axis | Num9 and Num3 – rotates object around “y” axis |
| Num8 and Num2 – moves object by “y” axis | Num 7 and Num1 – rotates object around “x” axis |
| Num”+” and Num”-” – moves abject by “z” axis | Num/ and Num* – rotates object around “z” axis |

F4SE: The Fallout Script extender has been released in an experimental version. This is a modder’s resource that expands the scripting capabilities of Fallout 4. It does so without modifying the Fallout4.exe, so there are no permanent side effects. It will be more and more often used by future mods
Installation: Download en extract all in the main Fallout 4 folder
FPS dynamic shadows – Shadow Boost: A plugin for Fallout 4 to dynamically control the shadow draw distance depending on your FPS.
Installation: Download the files from here. Once downloaded, copy xinput1_3.dll, ShadowBoost.asi and ShadowBoost.ini to the game’s main folder, i.e. where Fallout4.exe is located.

Building expansions
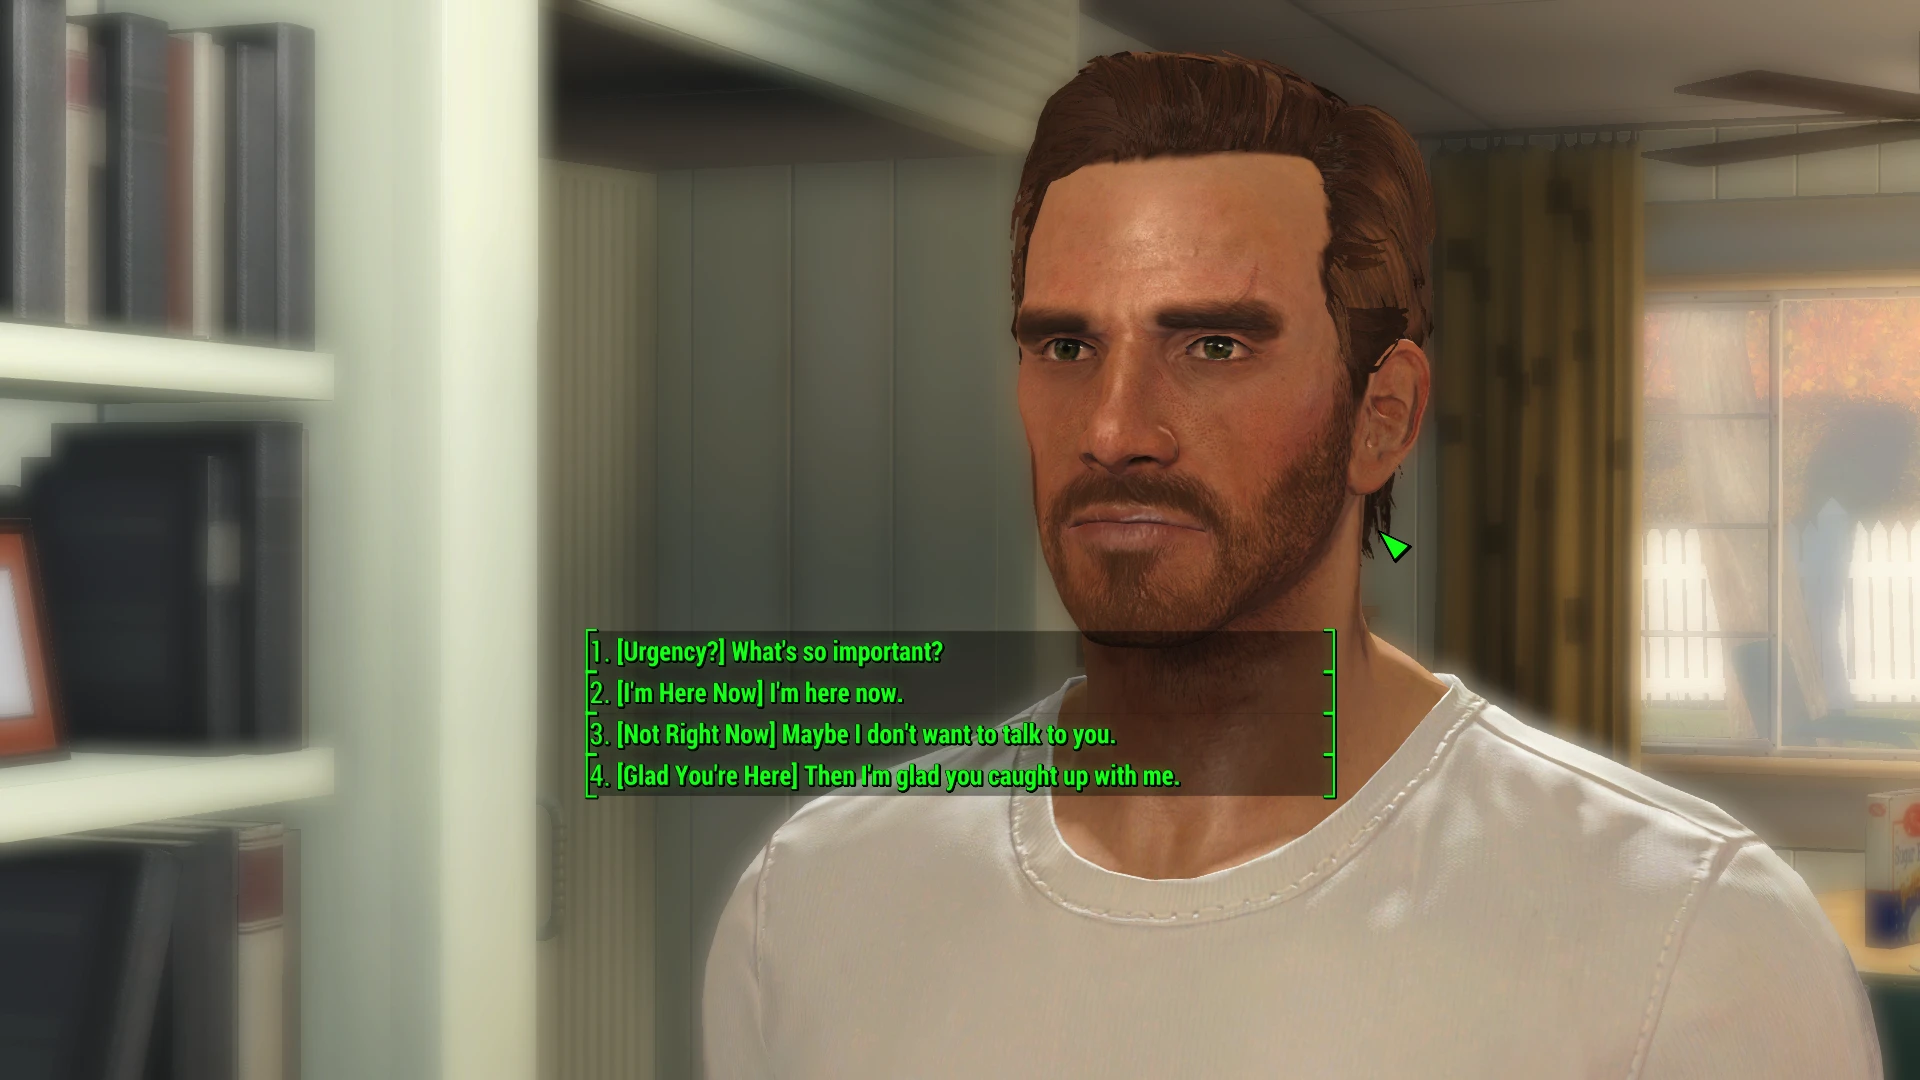
Full Dialogue Interface: While I have nothing against Bethesda’s new dialogue interface, there is one thing that has always bugged me about this interface. Sometimes you come across a dialogue where the suggestion leads to your character saying something completely differently that what you thought he would say. I had this problem in Mass Effect and in L.A. Noire. I am glad that I have the option to mod this out of Fallout 4.
Installation: I chose the lite version because like I said, I have nothing against the new interface, just the suggestions might be different from my point-of-view
Higher Settlement Budget: If you follow this part of the guide, you will get acces to a lot more buildable materials. Once you can place more different items, it’s kinda silly that you should be limited by a settlement budget. This mod allows you to get a higher budget, allowing you to place more.
Installation: Extract the package into the location of your Fallout 4 executable (NOT DATA FOLDER!)
Usage:
- Start up your game and head to the settlement you wish to expand.
- Stand in front of the workshop and use it to open the construction menu.
- Open the console by pressing the tilde (~) key.
- With the console open left click the workshop.
- Type the following without the quotes into the console: “bat settlement” to higher the default by near 3x
- Type the following without the quotes into the console: “bat lowersettlement” to lower the values to near default.
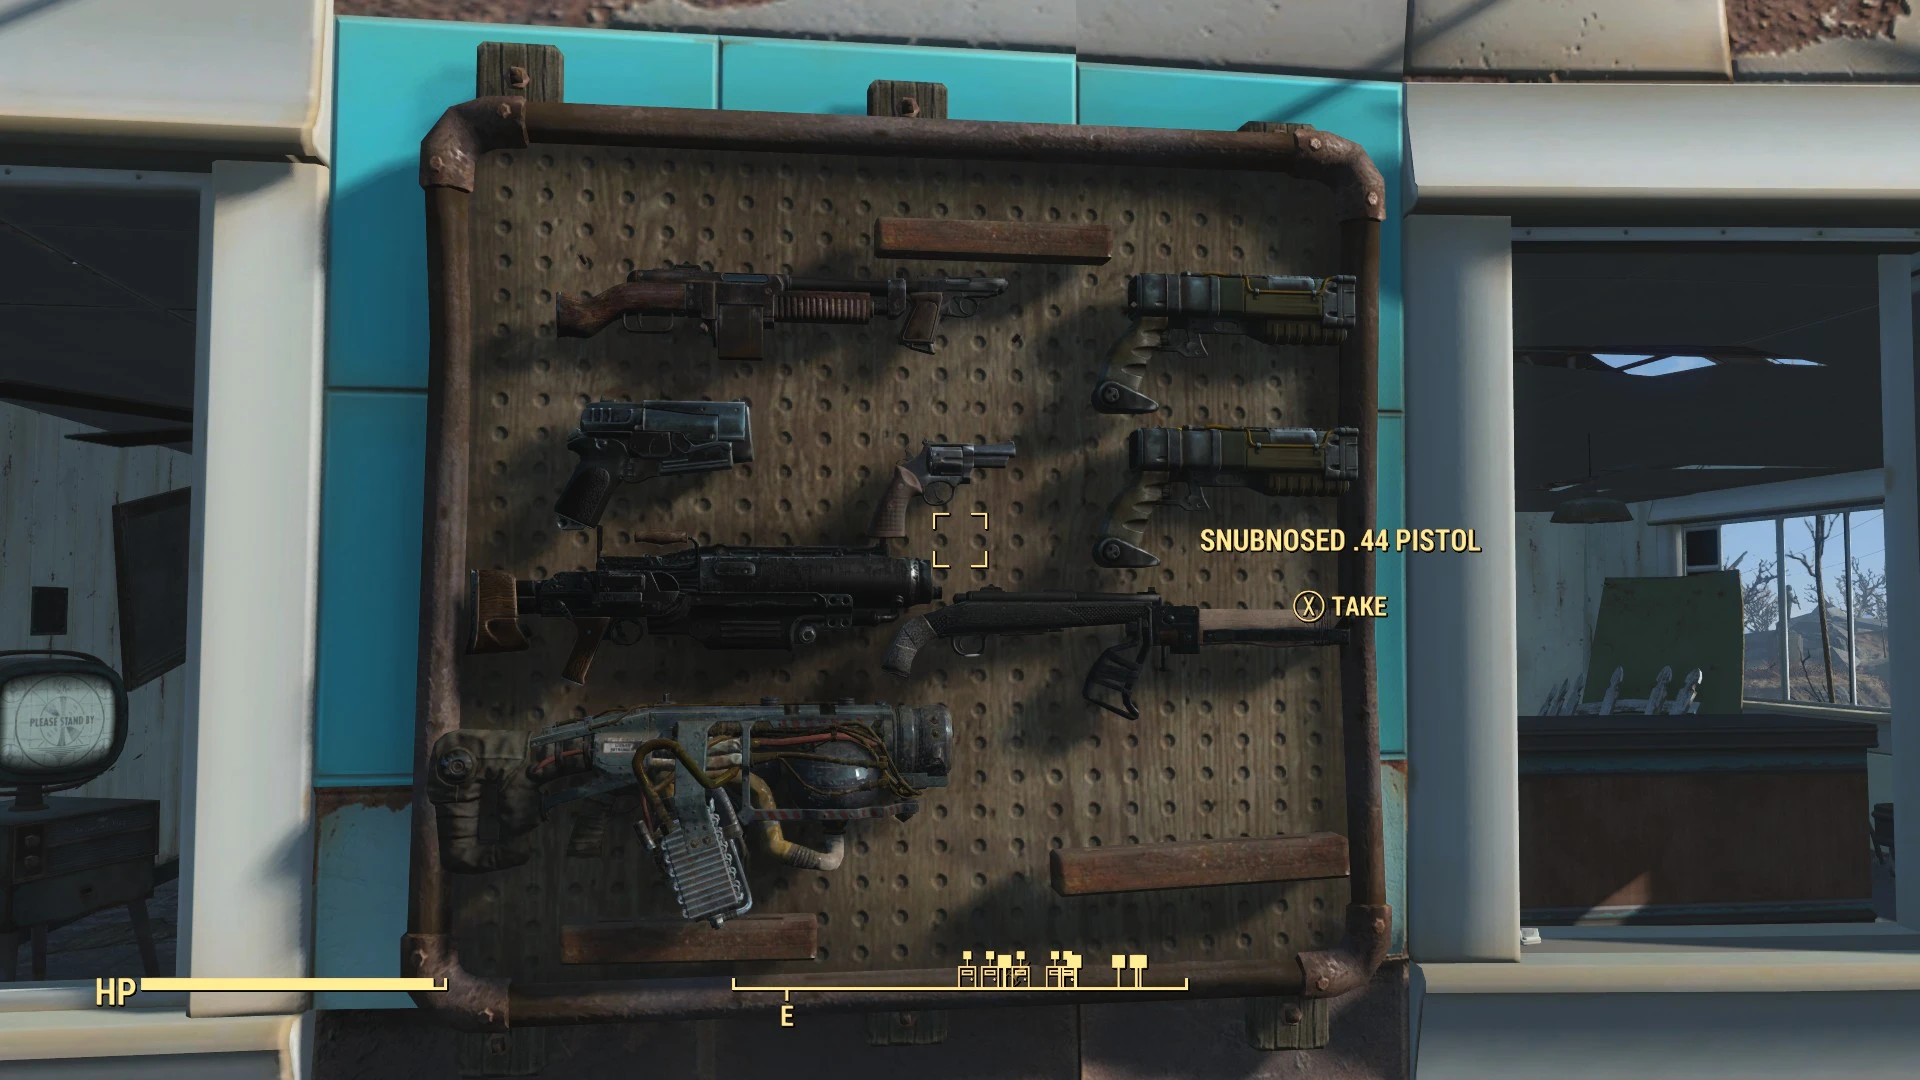
Functional Weapon Racks: Yes, you read that right. The first one on my list is a is mod that adds a fully functional weapon rack. It is still in alpha, not all weapons are displayable (yet) and all weapons go to their default base world model. They don’t loose the modifications however, they aren’t show either when you use the weapon rack. Still, it’s a f*ck*ng working weapon rack! Ow, crazy part? It doesn’t stop with weapon racks, because this mod also contains functional Armor Mannequins (but still is early development), functional bars, bobblehead shelves and a better pool table
Installation: Download and install with Nexus Mod Manager.
Homemaker – Expanded Settlements: The next mod is a must have for those who love to build settlements. The Homemaker adds a near infinitive amount of new items such as a whole bunch of working luminaires, different fences, furniture, wall and ceilings (structures), cars and so on. All nicely integrated and with working recipes.
Installation: Download and install with Nexus Mod Manager.
OCDecorator: Now that you can place wherever you want without any difficulty, it’s time to add a lot more stuff to be placed! Thanks to OCDecorator, you can now place items without fearing they will be knocked over. As says it himself: “This mod “Converts” inventory items (Food, “Junk Items,” Ammo, etc) into decorative static objects” meaning that the objects cannot be knocked over, but they can be moved around, stored into your workshop and scrapped and it will return the item to your workshop!
Installation: Download and install with Nexus Mod Manager. If you use Functional Weapon Racks, reinstall that mod with NMM and enable the patch for OCDecorator
Simple Intersection: Building in Fallout 4 isn’t always easy because the collision boxes often limit your creative ideas. With Simple Intersection you are able to place stuff like floors and walls slightly into another object. Not much, but just enough to matter and give you more freedom.
Installation: Download and install with Nexus Mod Manager. Also download the patch for Homemaker, allowing you to do the same with items from Homemaker
Power Conduits and Pylons: A strange limitation from Bethesda is that the power conduits and pylons in the vanilla game have a very small radius. For a house in Sanctuary Hills you need multiple conduits to get power everywhere. I hate that, so that’s why I love this mod!µ
Installation: Download and install with Nexus Mod Manager.
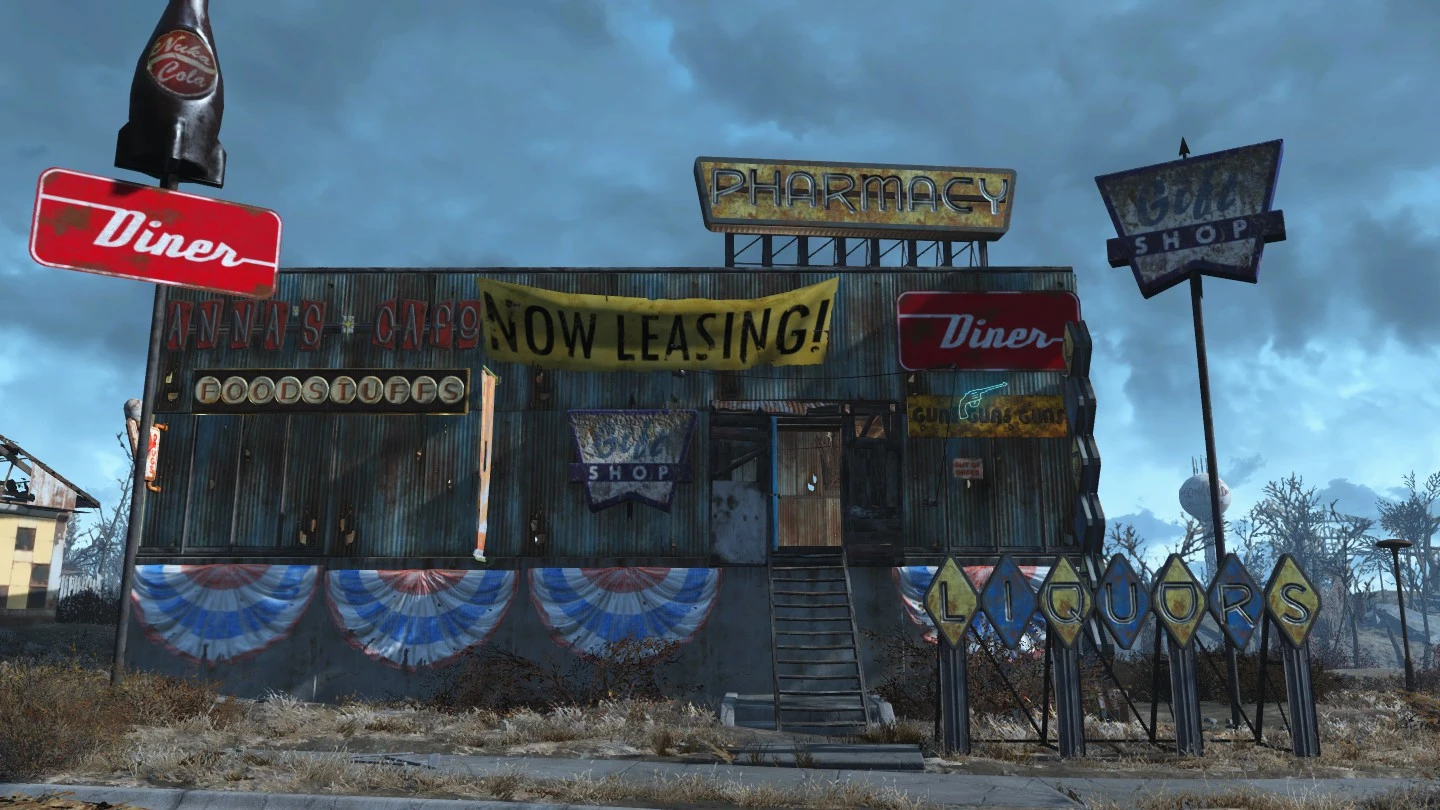
Business Settlements (Standalone): This allows you to make even better shops because you get the necessary signs! Bigger signs, banners, neon signs, everything you want!
Installation: Download and install with Nexus Mod Manager
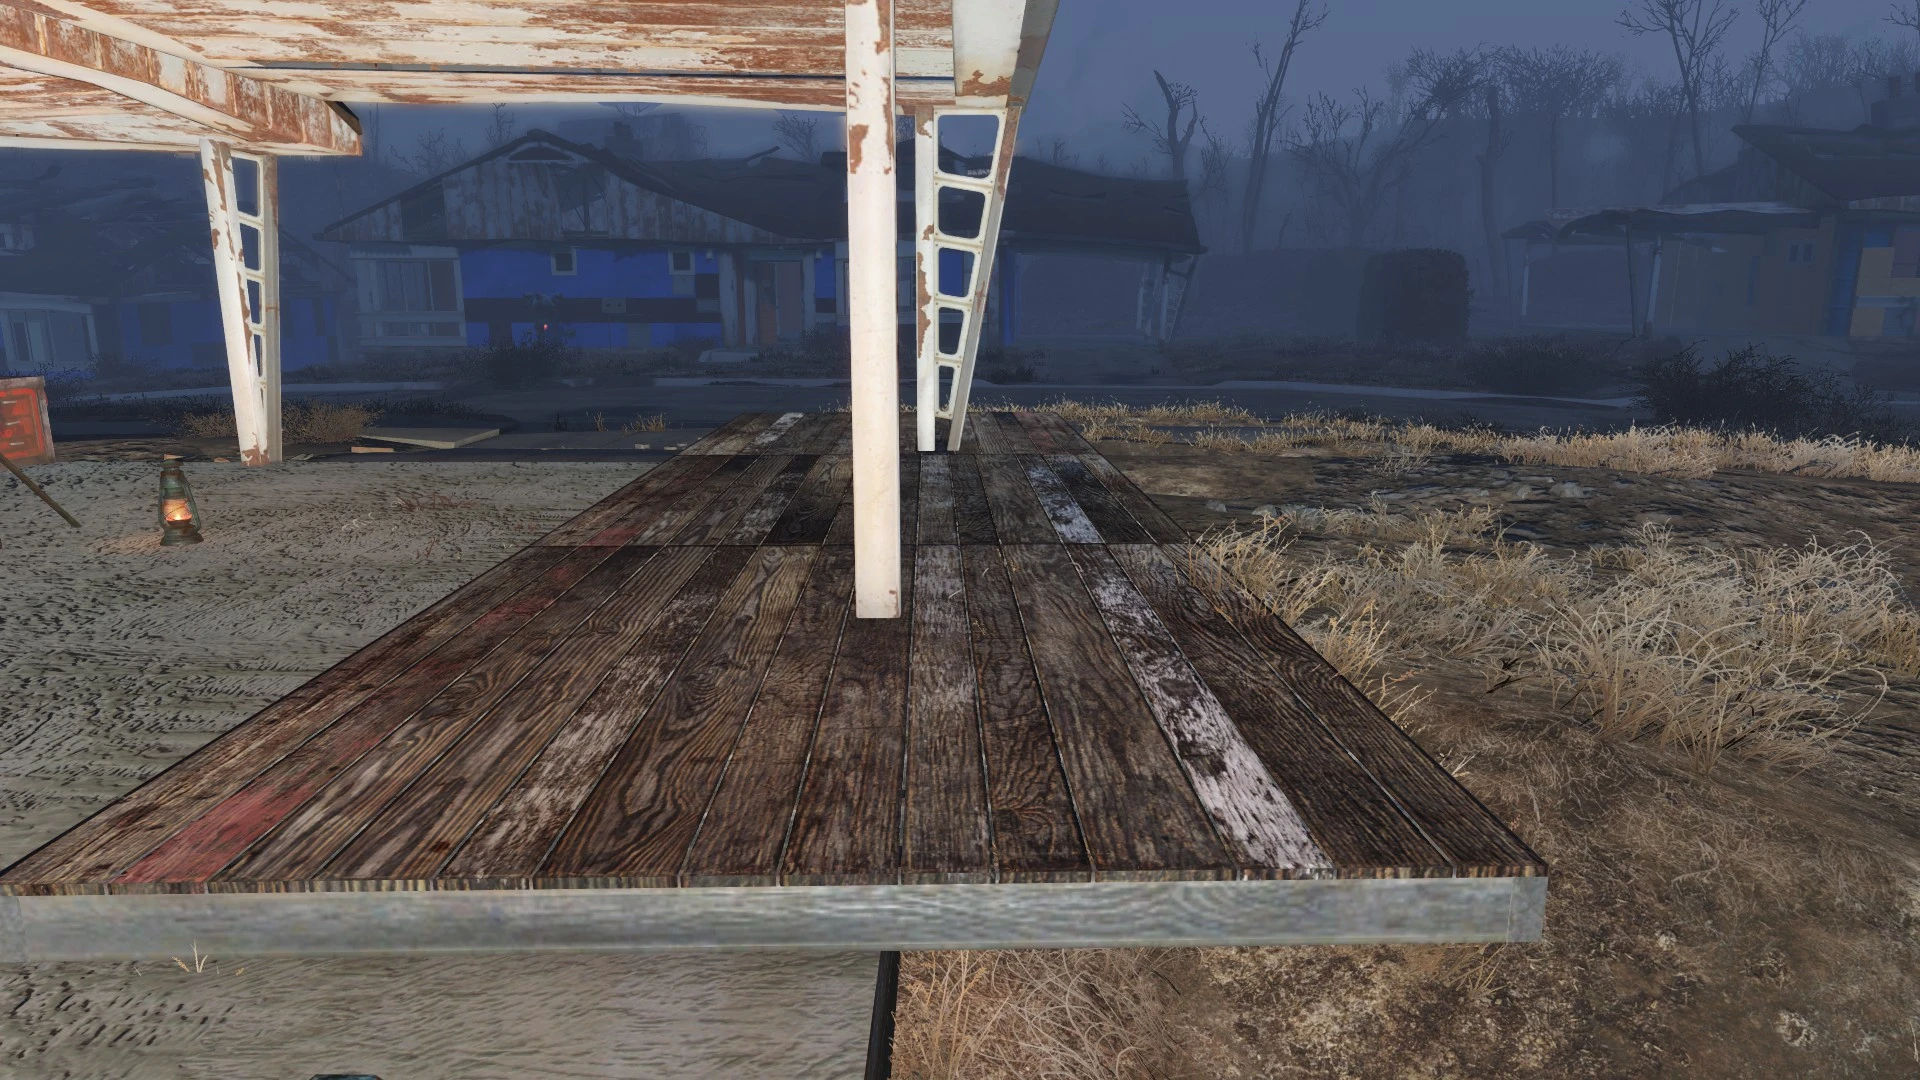
Craftable Ramps and Rails: This mod allows you to make ramps and railing for your settlements.
Installation: Download and install with Nexus Mod Manager
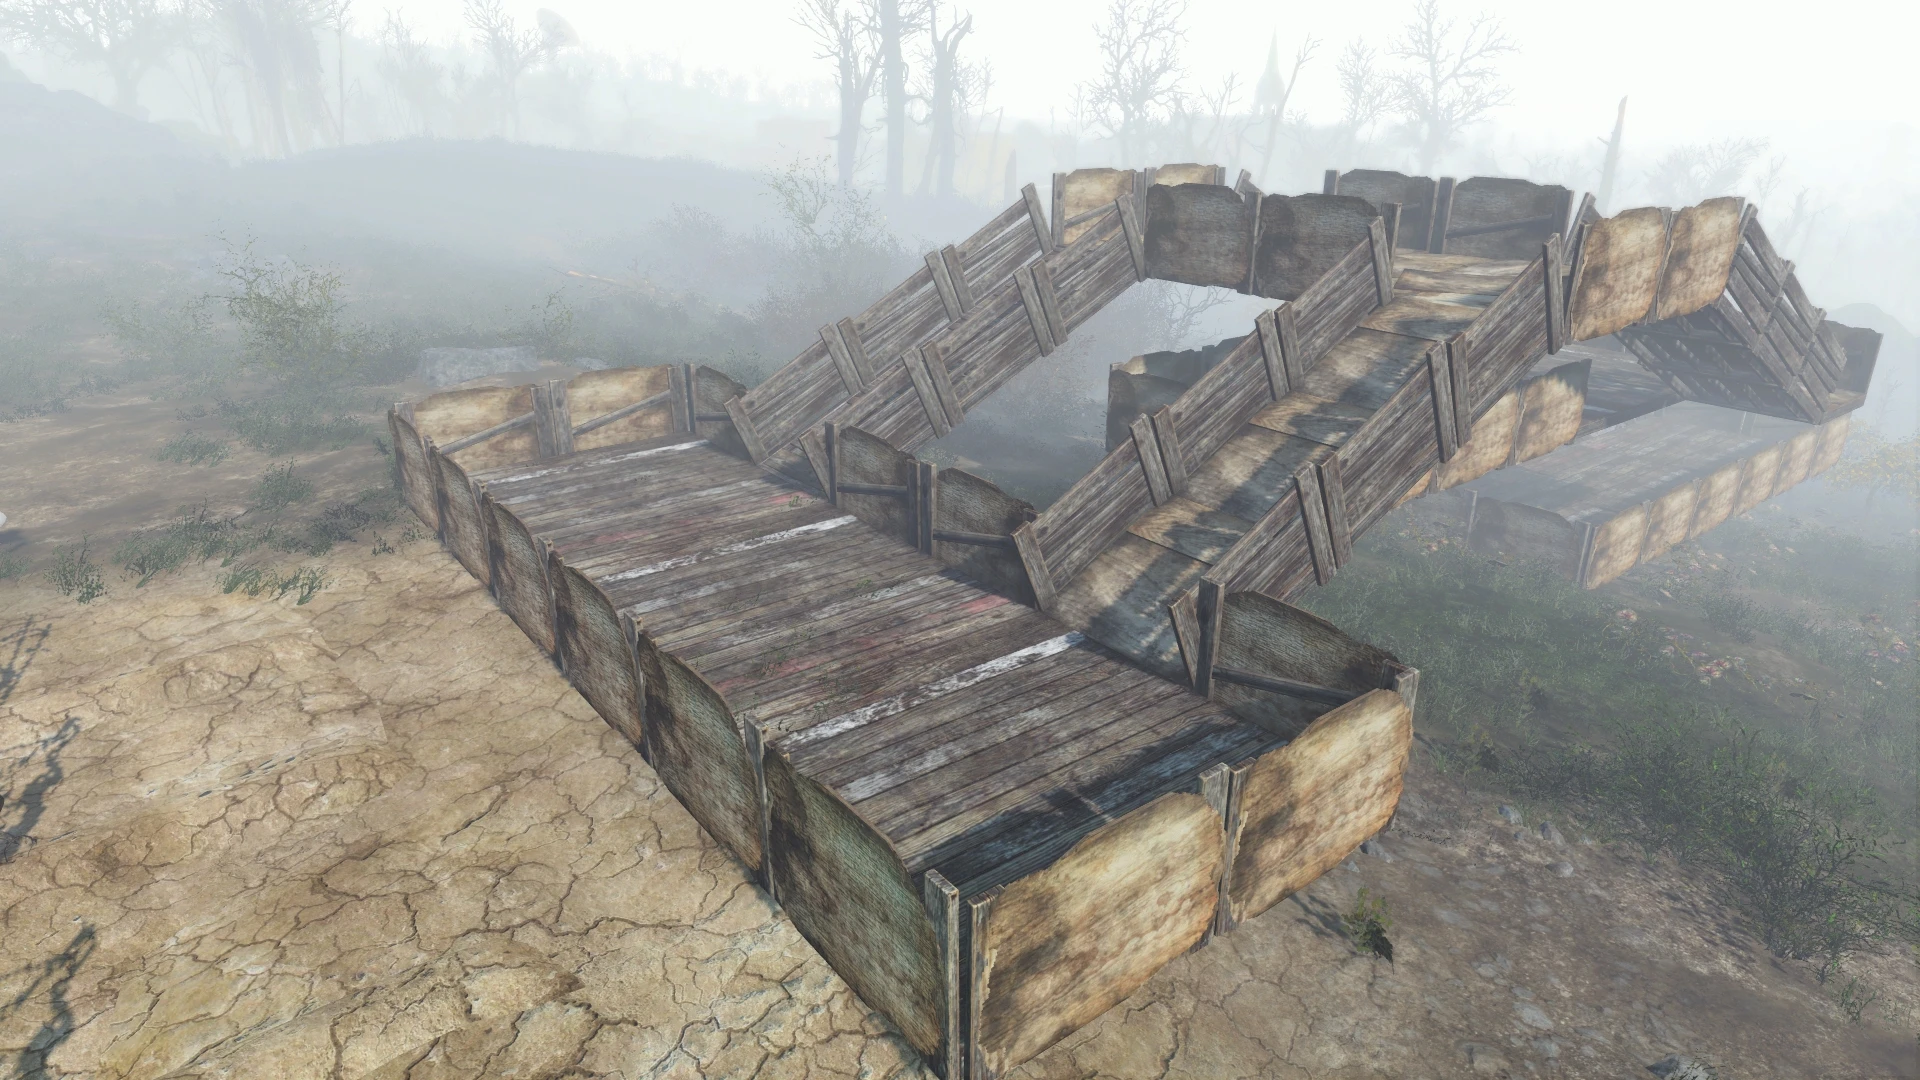
Craftable Animated Bridges: Yes, you read it right. This mod gives you animated bridges! Finally something suiting for the Castle!
Installation: Download and install with Nexus Mod Manager

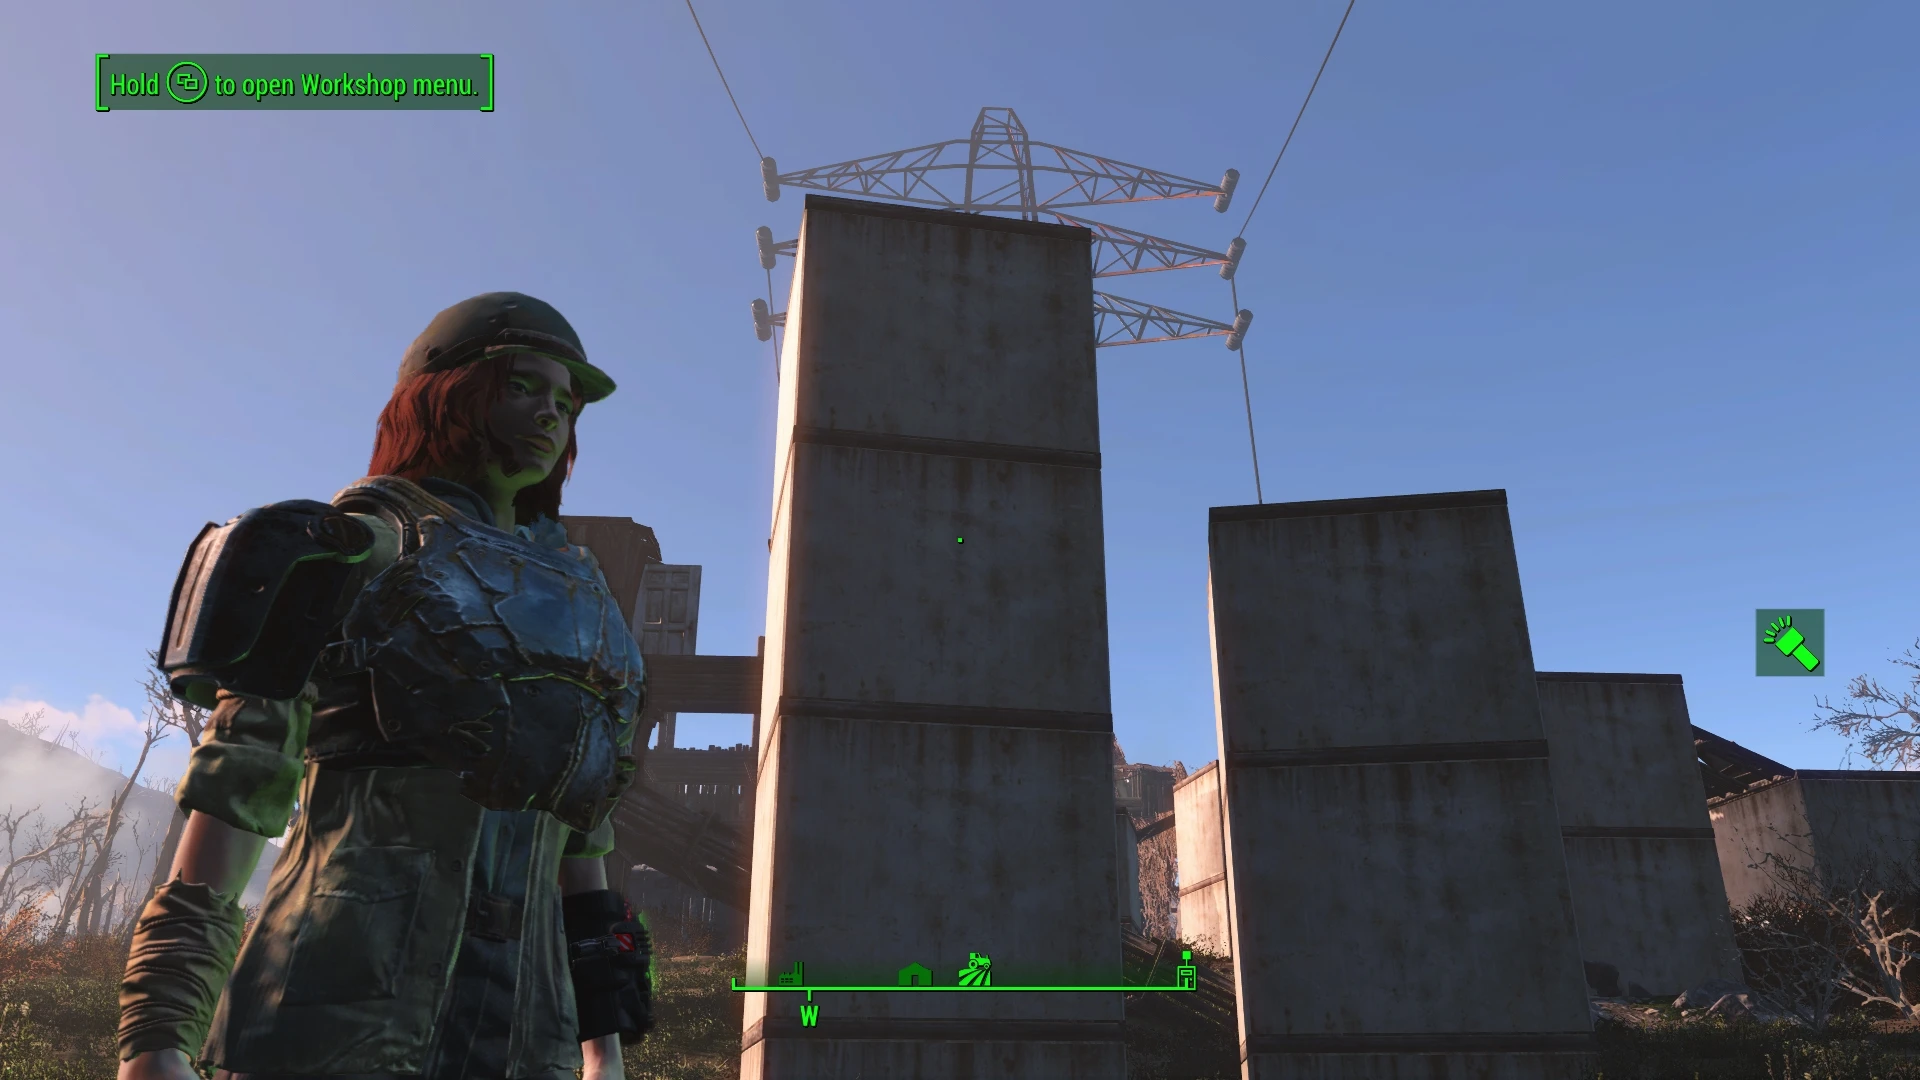
Stackable Concrete Foundations: And yes, you have also read this one right. This mod allows you to stack the concrete foundations on top of each other. Now you won’t need the stairs anymore to get a smooth wall.
Installation: Download and install with Nexus Mod Manager
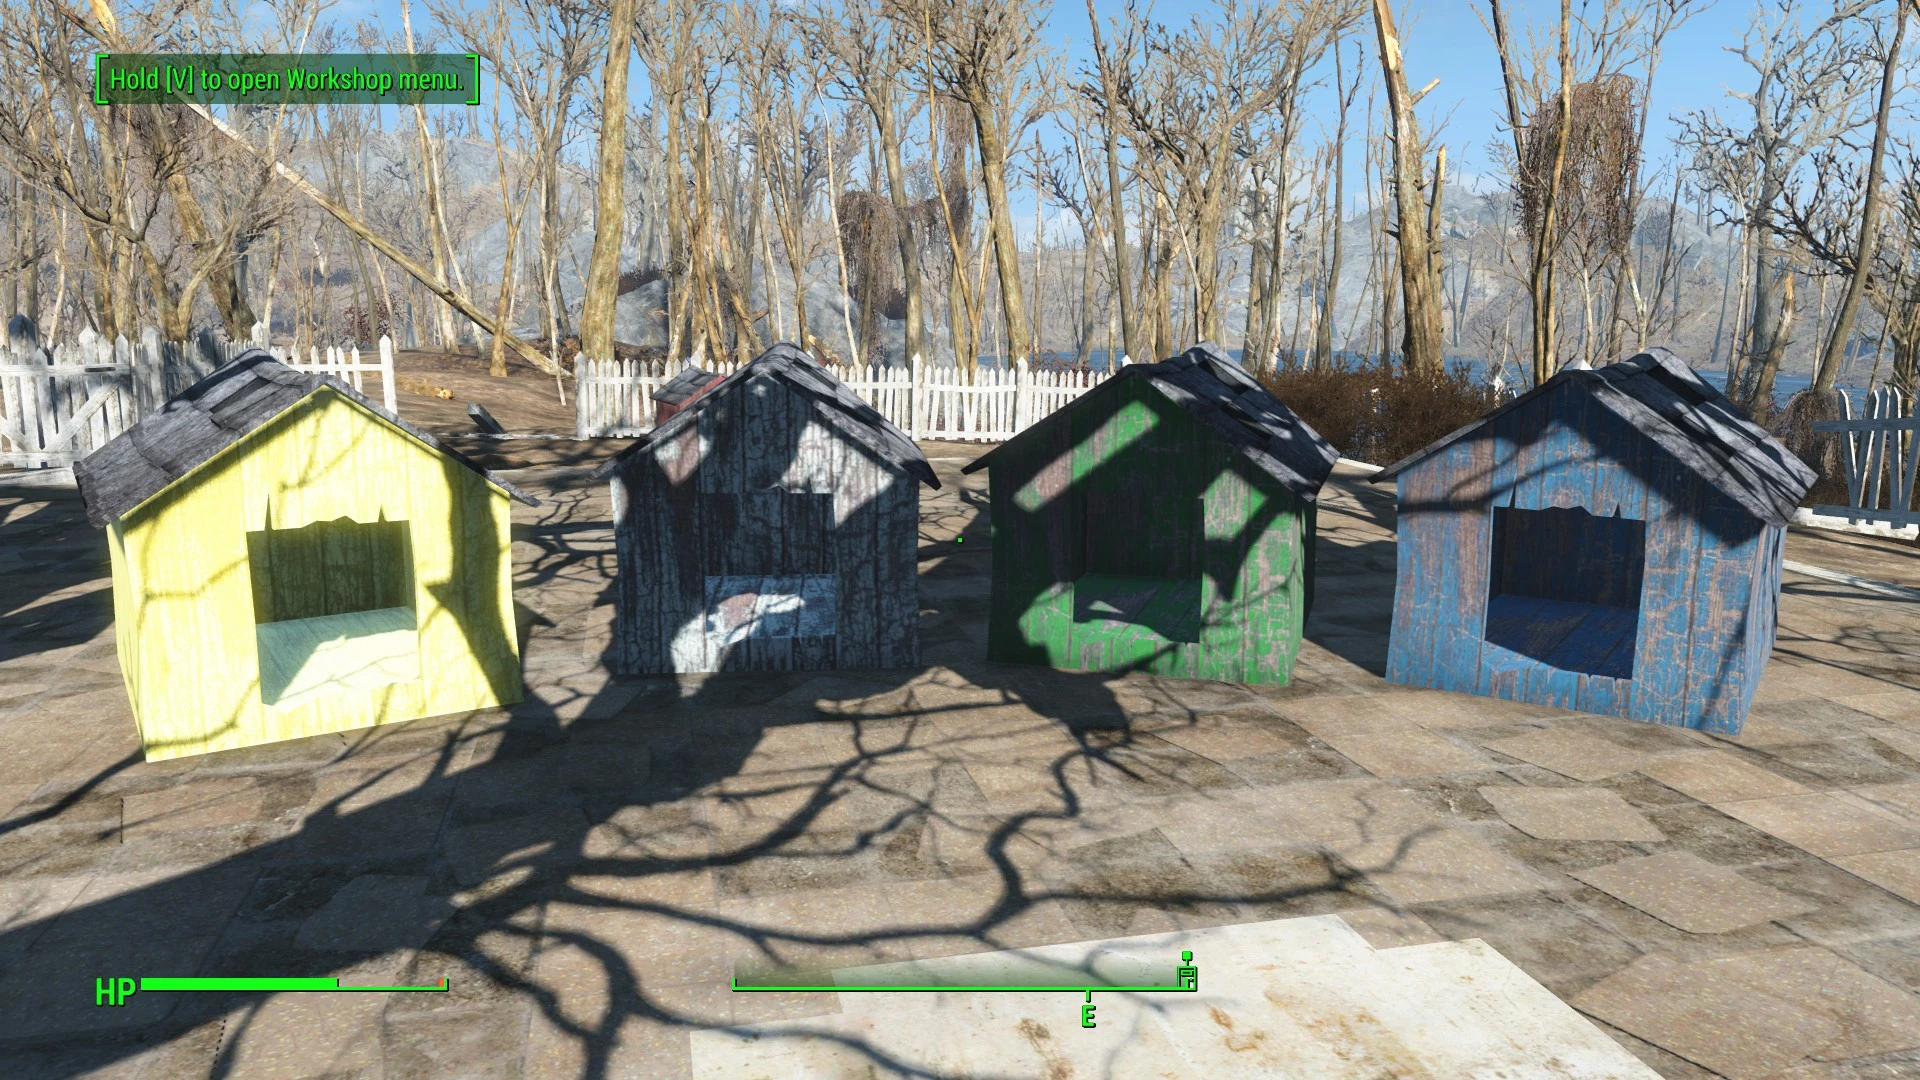
More Doghouses: What more can I say about a mod called “More Doghouses”?
Installation: Download and install with Nexus Mod Manager.
Colored Workshop Lights: This mod adds 8 new coloured industrial wall light: basic red, blue, green, yellow, orange, purple, warm white, and cool white. It also has plans to add spotlight, street light, high-tech lights, and hanging light bulb. So keep an eye on this one.
Installation: Download and install using the Nexus Mod Manager

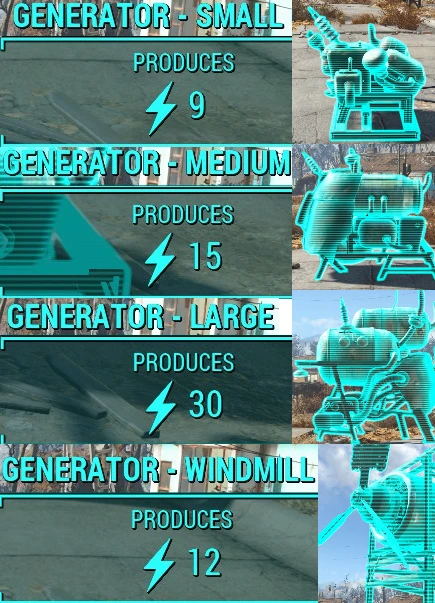
Wattz Powerful Generators and Water Pumps: The vanilla settings for power generators and water pumps just don’t do it for me. This mod slightly improves the output without exaggerating.
Installation: Download and install with Nexus Mod Manager. Make sure the .esp loads after homemaker/SSEx/OCDecorator (see further in this guide)
Quieter Settlements: In the beginning, the generator sound didn’t bothered me that much. However, after some days building new settlements I can only say 1 thing: those damn generators are loud enough to attract Deathclaws! This mod improves the loudness with a fully configurable installation menu!
Installation: Download and install with Nexus Mod Manager. Make sure the .esp loads after the previous one

Graphics – NPC
D.E.C.A.Y – Better Ghouls: I was surprised when I met my first ghoul. They were a bit more human than I remembered. Oke, they look like they are melted, but I found the ghouls from Fallout 3 much more scarier. Thankfully with this mod, I now fear going out in the middle of the night, because the ghouls now look like the zombies that they are ment to be. Scary, way to close and always in high numbers.
Installation: Download and install with Nexus Mod Manager

The Eyes Of Beauty Fallout Edition: TEOB is a mod from Skyrim that has made the transition to Fallout 4. This mod seriously upgrades the eyes for women and men. They look so much more realistic instead of the washed-out textures from the vanilla game.
Installation: This mod requires manual installation. So go ahead and download the file. Extract the content on your desktop or a temporary folder. Then run ‘TEOB Replacer Managemnt Tool.exe’ file (the 5,531 KB version). Follow the on-screen instruction from the installer (tip: if you don’t have the necessary folders, make them manually). Now you can choose which eyes you want to retexture (this isn’t done by default). The left side shows the vanilla eyes, the right side allows you to pick a replacement texture for that eye. Once you have made your choice, just press apply to install the new textures.

Graphics – Nature
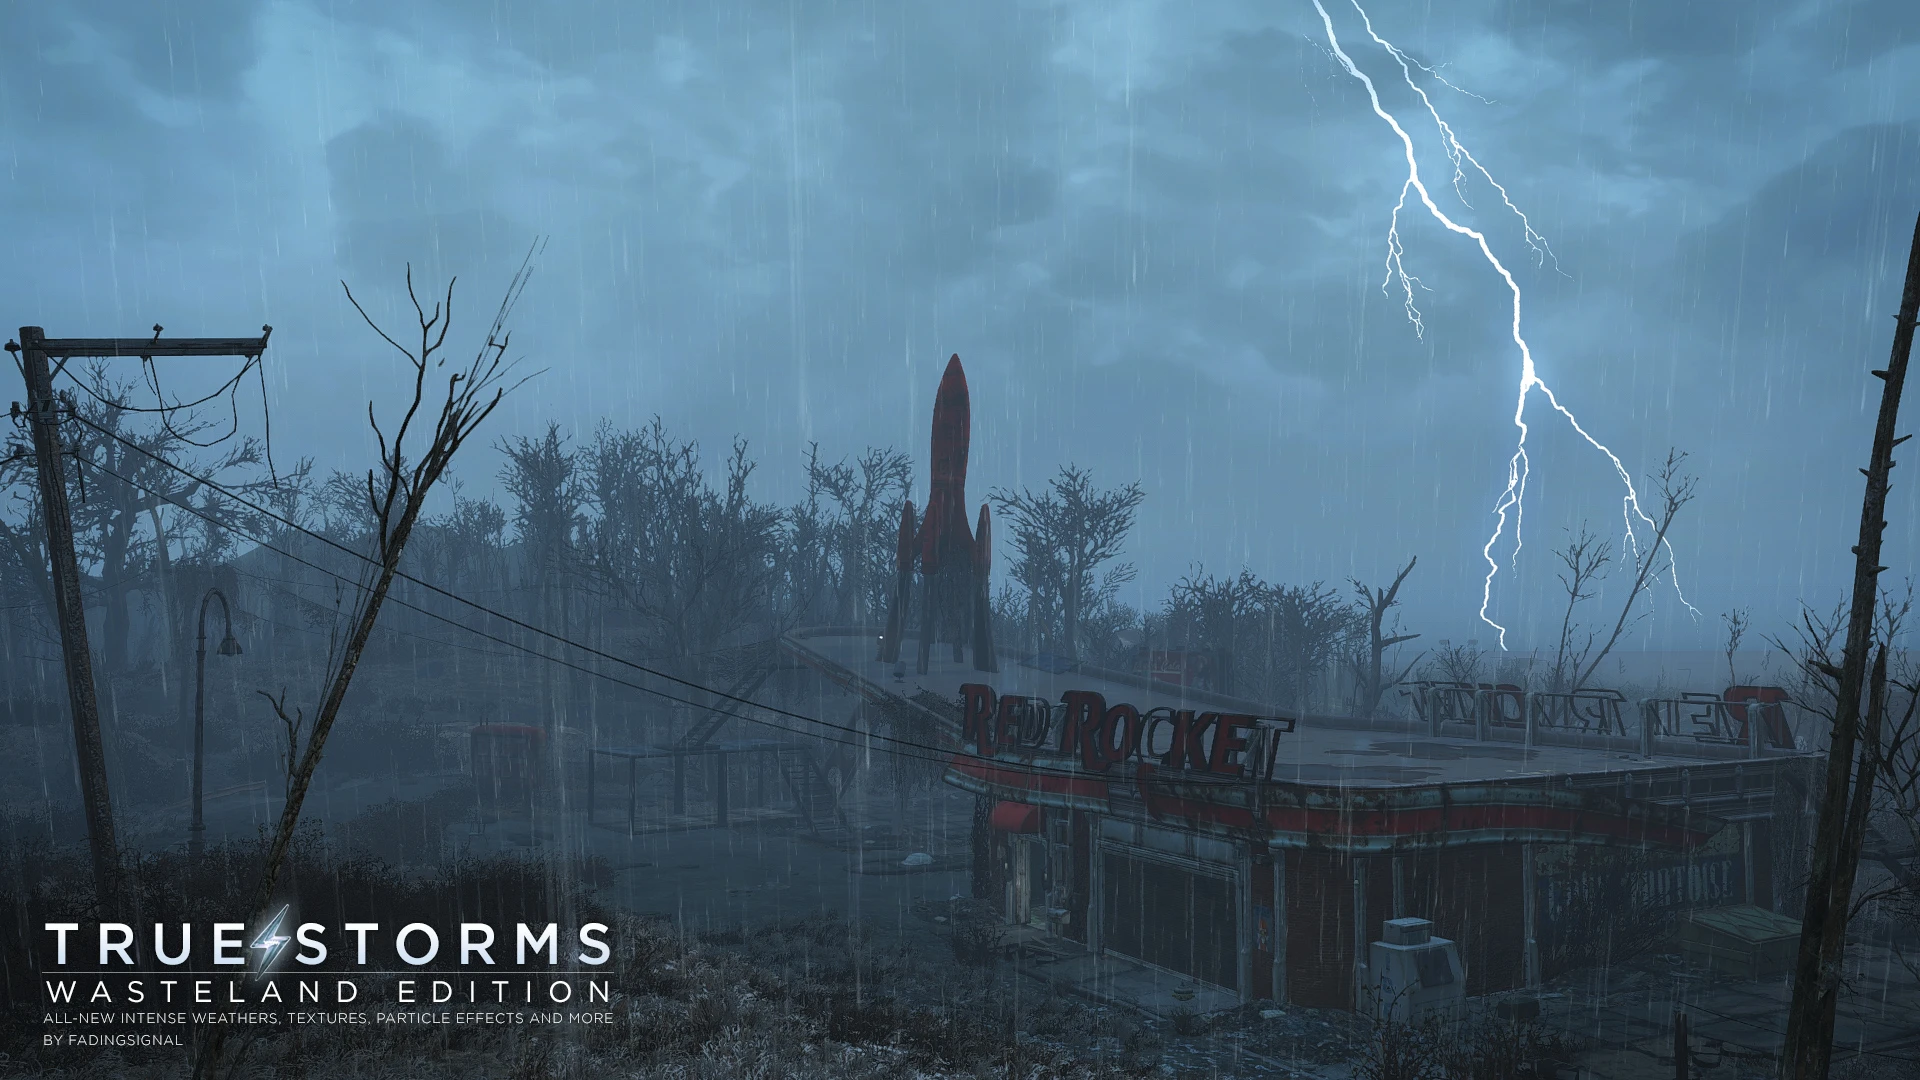
True Storms – Wasteland Edition: This mod is a beauty. True Storms has gained a lot of renown from the Skyrim community. And now they are coming to Fallout 4. True Storms – Wasteland Edition is a complete overhaul to the storm systems in Fallout 4, including new unique weather, sound effects, particle effects, textures, intense visual effects, fogs, dust storms, hazardous radiation rain, and more…
Installation: Download and install with Nexus Mod Manager. After that, download the compatibility patch for Dark Nights (dark). You can also download the other optional files ‘No Rolling Fogs’ (if you lose a lot of performance) and ‘Proper Sundown Times’ (makes nights longer). After that, you can also do the optional ‘Weather Effect to Self’. If you want this, I recommend to check the Nexuspage.
Enhanced Blood Textures: This one is an oldie for people who have modded Fallout games before. This mod makes blood look much more realistic instead of the vanilla ketchup look.
Installation: Download and install with Nexus Mod Manager.

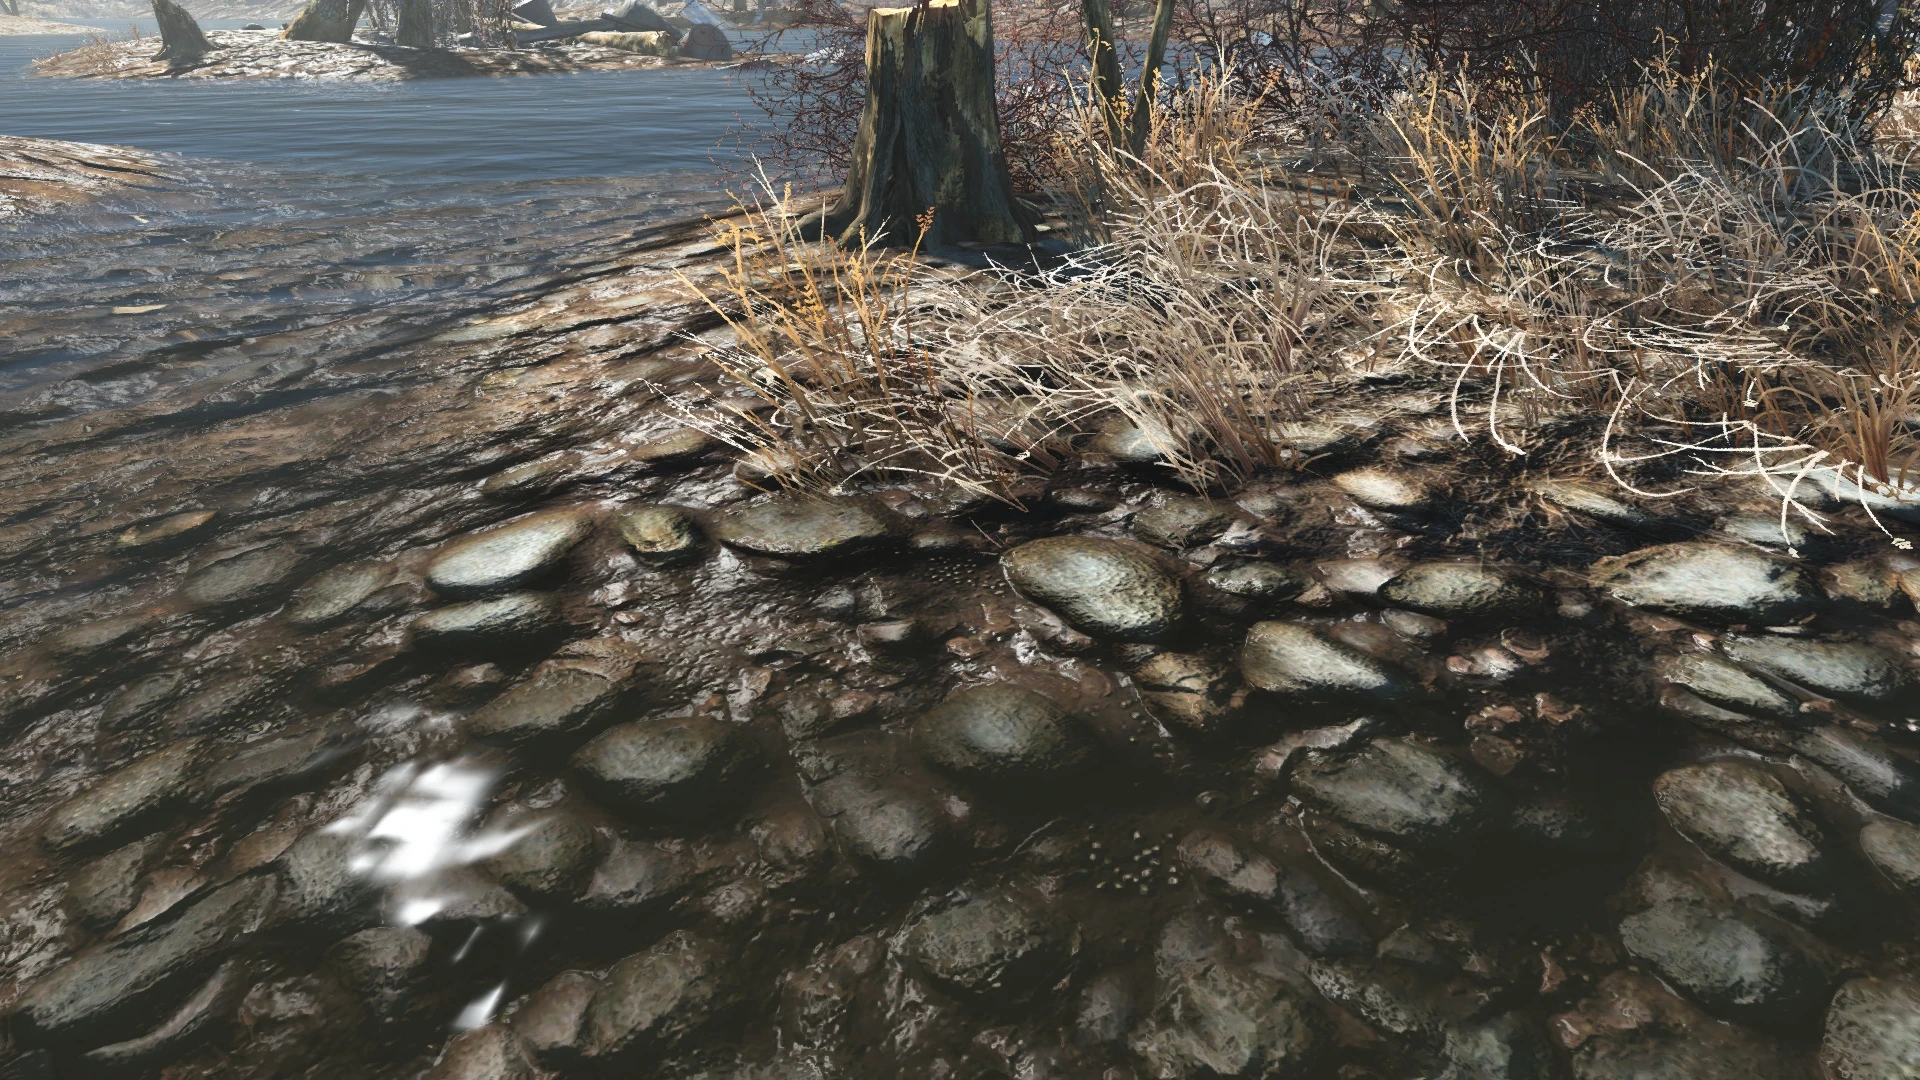
WET – Water Enhancement Textures: Water has a much more dominant role in Fallout 4 thanks to the Boston area. But the water doesn’t look that amazing, especially the splashing effect. This mod makes it so much more realistic
Installation: Download and install with Nexus Mod Manager. Do not use the rain option, since I don’t know it this option is compatible with True Storms – Wasteland Edition

Vivid Fallout – Landscapes: This mod and the next one focus on retexturing the landscape in Fallout 4. Both seem to do the same, but this one seems more focused on the nature side of the landscape.
Installation: Download and install with Nexus Mod Manager. I picked the ‘Best Choice’ version
Commonwealth HQ Landscape Overhaul WIP: This mod and the previous one focus on retexturing the landscape in Fallout 4. Both seem to do the same, but this one seems more focused on the urban landscapes.
Installation: Download and install with Nexus Mod Manager. I choose to overwrite the Vivid Fallout – Landscapes when asked (‘Yes to mod’)

Fallout 4 Seasons Project: I love this mod! Fallout 4 has more colours than Fallout 3, but sadly nature is still dead. Even though footage from Fukushima and Chernobyl show that nature doesn’t die, in Fallout 4 there isn’t a single leave on a tree. The Fallout 4 Season Projects brings nature back to life, and you can even pick when it’s alive! You can choose summer, autumn, winter or spring, each with its own look!
Installation: Download the season you like and install it with Nexus Mod Manager. Overwrite when asked. I suggest to use the optional more grass and the optional tree mods.


FAR – Faraway Area Reform (LOD): This mod adds a huge improvement over the LOD textures, and according to the description, it also adds an improvement in performance. But a screenshot is better than some words, so be sure to check out the picture below.
Installation: Download both files and install them with Nexus Mod Manager

Graphics – Items
Better Settlements and Camps 2: Settlements and Camps are now even better with all new lore friendly textures redesigned from the ground up in 4K, 2K and 1K files. Be smart when choosing the quality of your textures. If your computer has problems with Fallout 4, it might not be wise to use higher quality textures!
Installation: Download and install with Nexus Mod Manager.

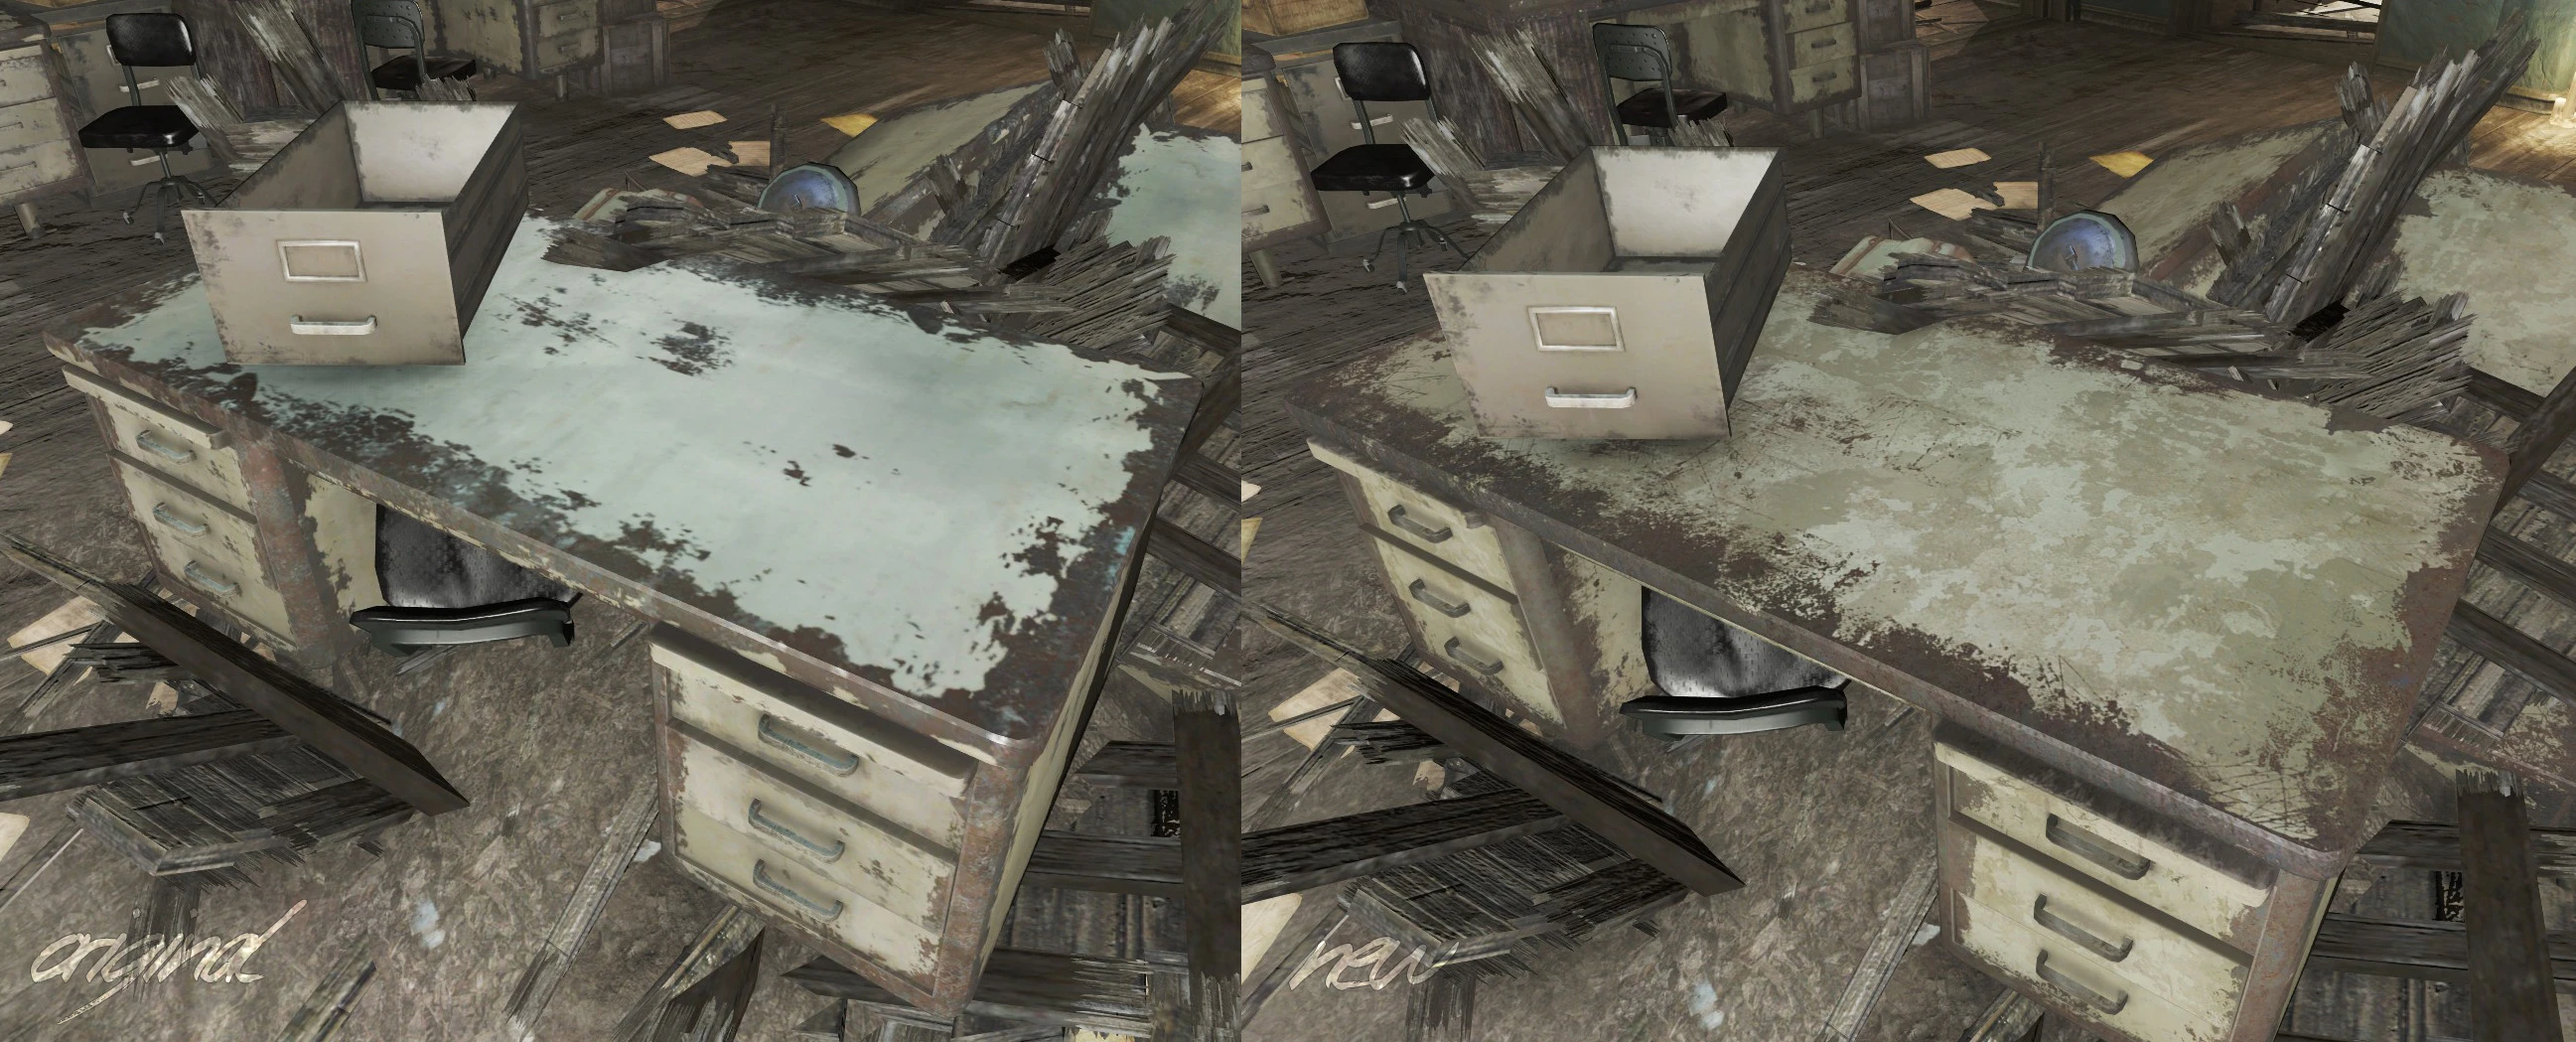
High Resolution Texture Pack – Valius: A mod that retextures a lot of office related furnitures. It comes with 2 versions: a full 2K version, and a 4K version that still has some 2k textures. This mod is a work in progress and I am sure that with due time everything will have its 4K variant.
Installation: Download and install with Nexus Mod Manager
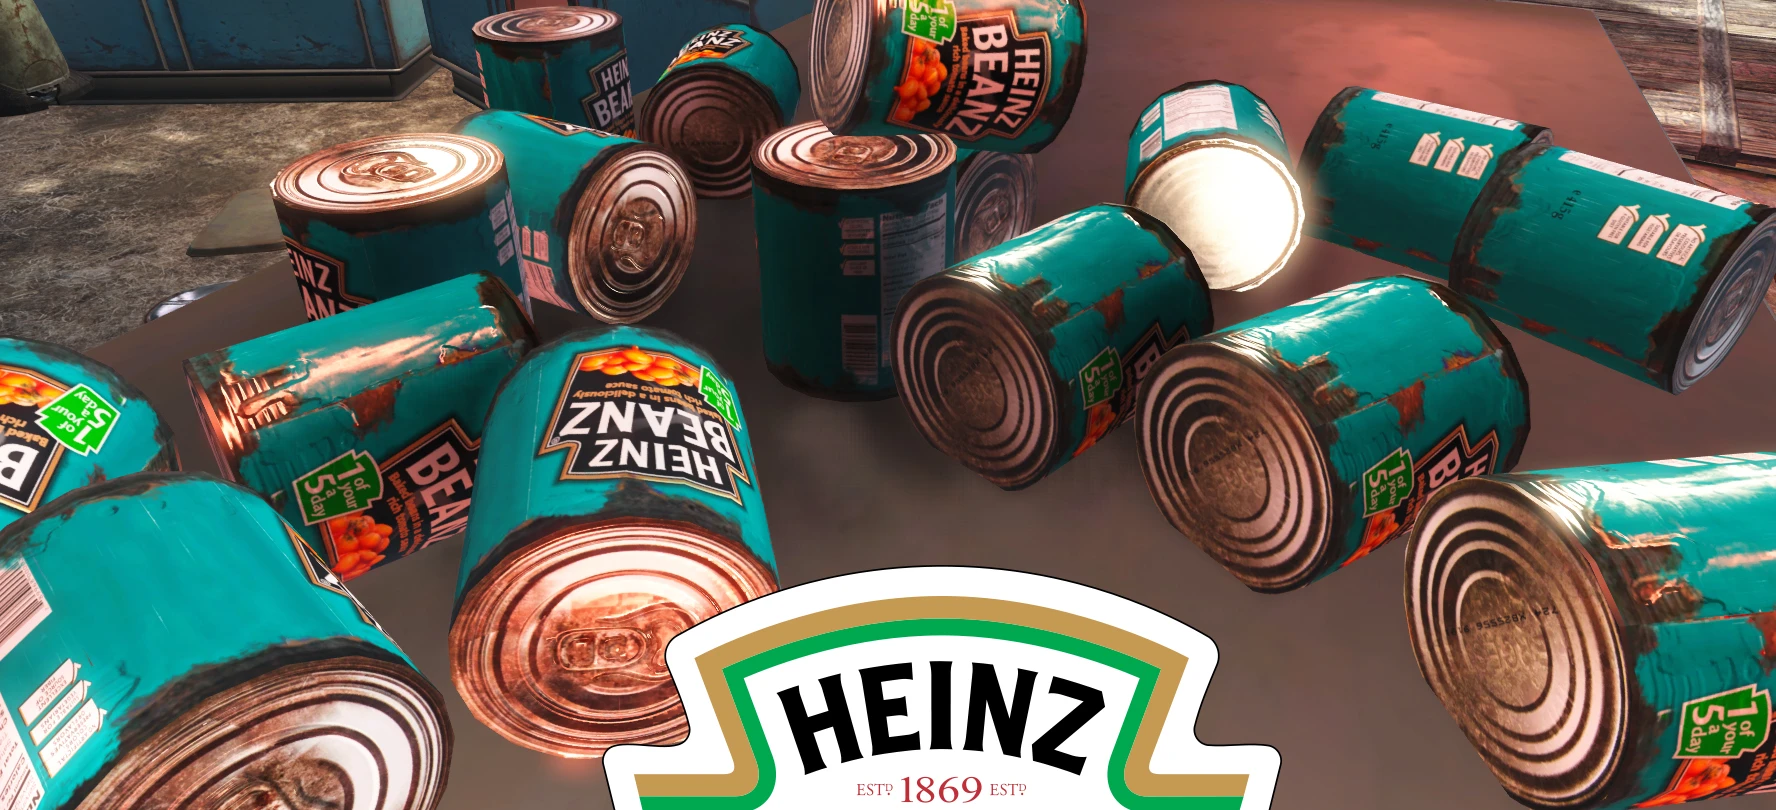
Heinz Beanz Texture (Pork and Beans): A simple retexture mod that adds the Heinz Beans look to the Pork&Beans cans in Fallout 4
Installation: Download and install with Nexus Mod Manager
Bottles Labels Overhaul: This funny mod adds HD and super detailed textures for the labels of bottles.
Installation: Download the version you want (be sure that you can run it) and install it with Nexus Mod Manager. Pick the options you prefer and get drunk ingame!

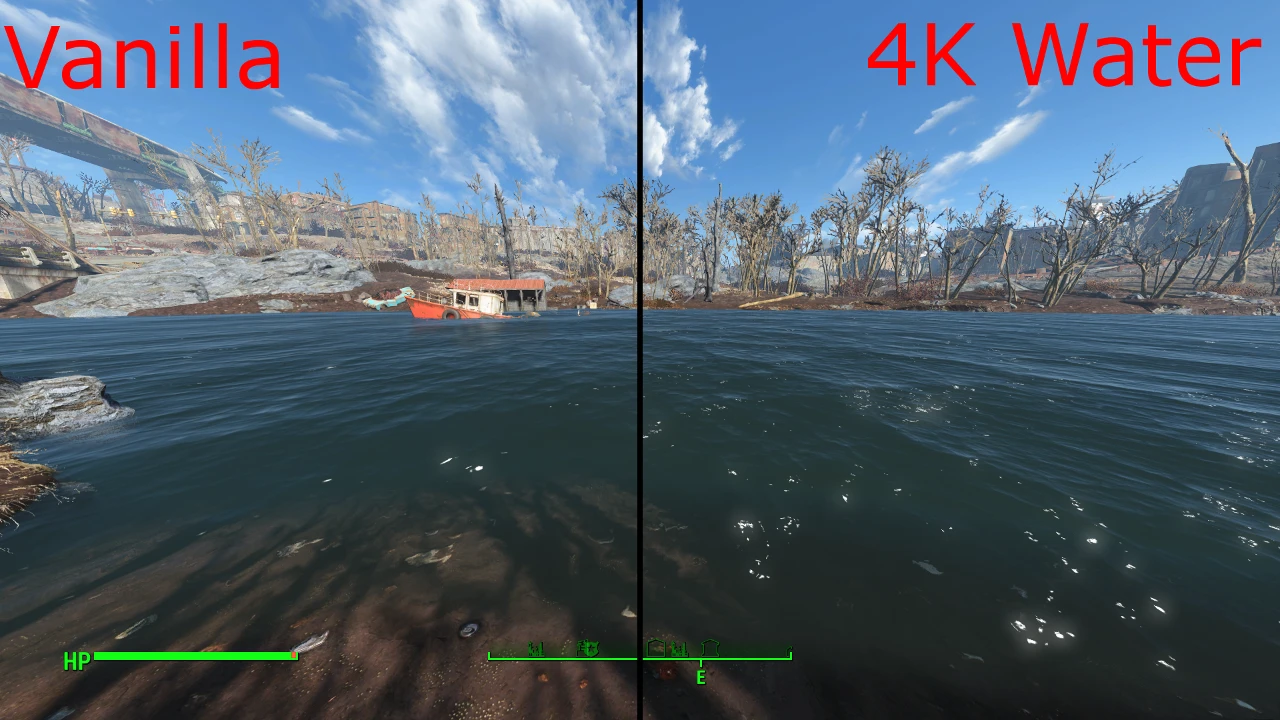
Water Enhanced: An upgrade for the water textures, because these are amazing!
Installation: Download and install using the Nexus Mod Manager
OJO BUENO NUKA-COLA MACHINE – 4K 2K 1K: If you check the screenshots, you will see that this mod increases the texture quality of the Nuke-Cola machines to an amazing level of details!
Installation: Download, drink something and install using the Nexus Mod Manager

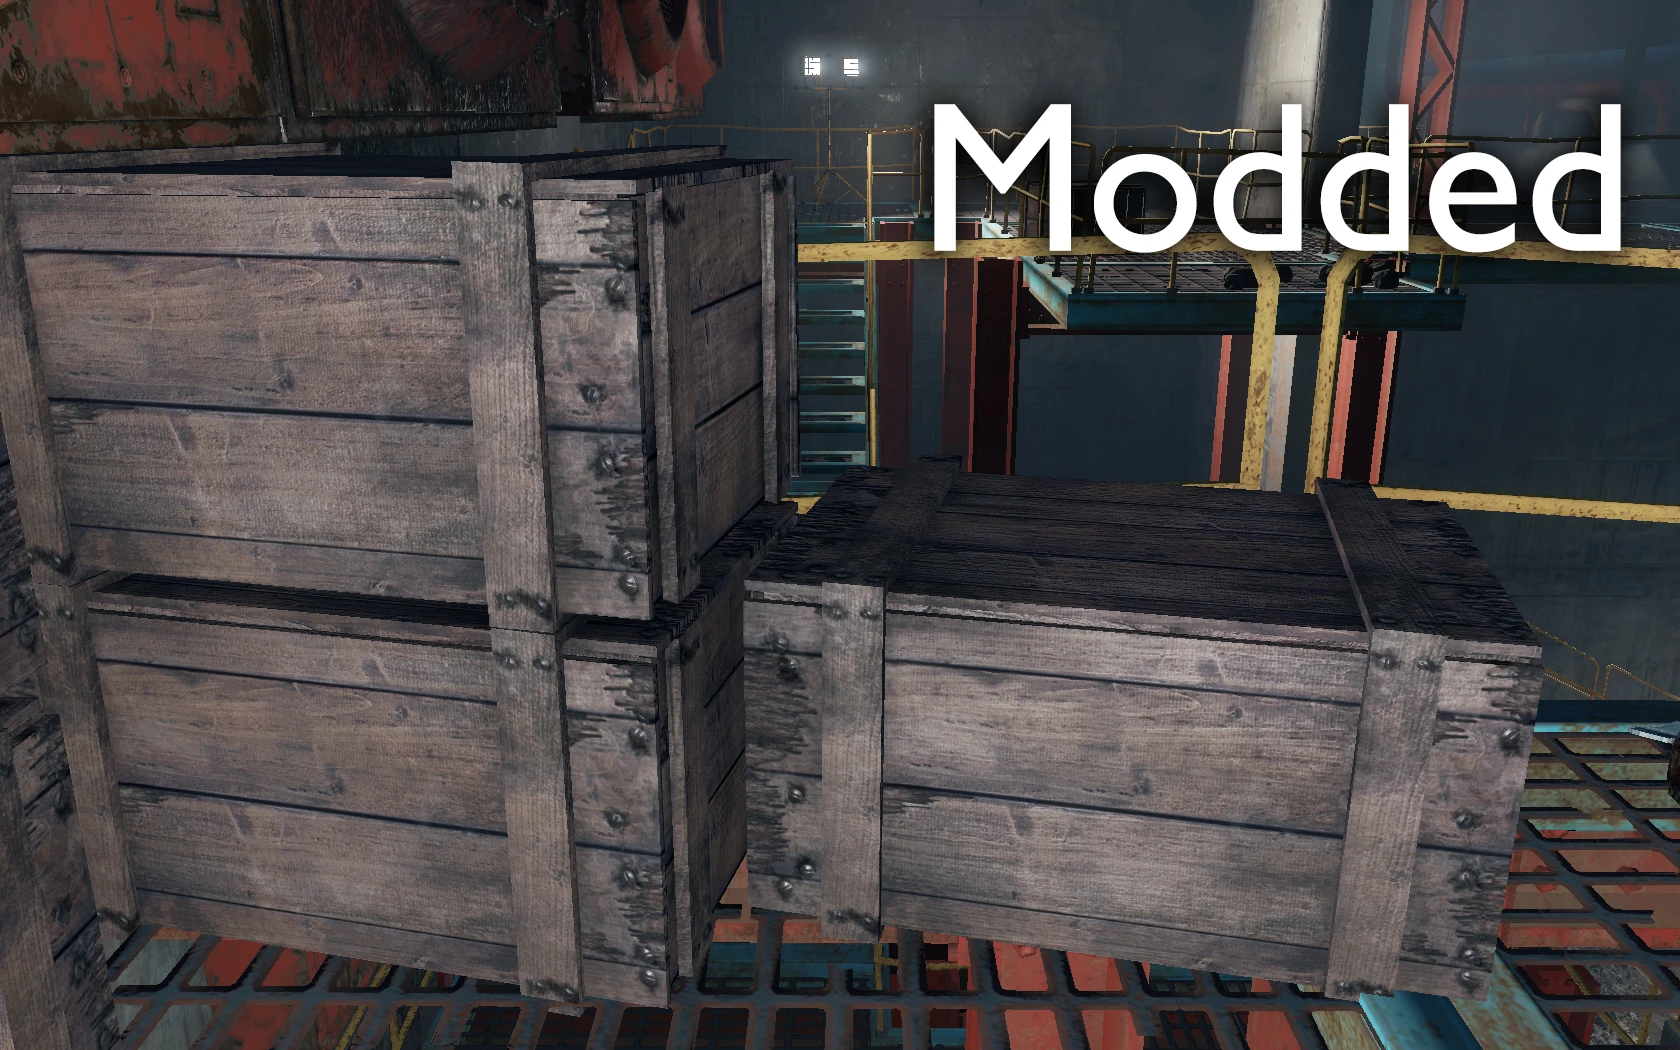
Better Crates: Hi-res textures for crates, made from scratch. The mod aims for more detail and a “more wooden” look for the crates
Installation: Download, drink something and install using the Nexus Mod Manager
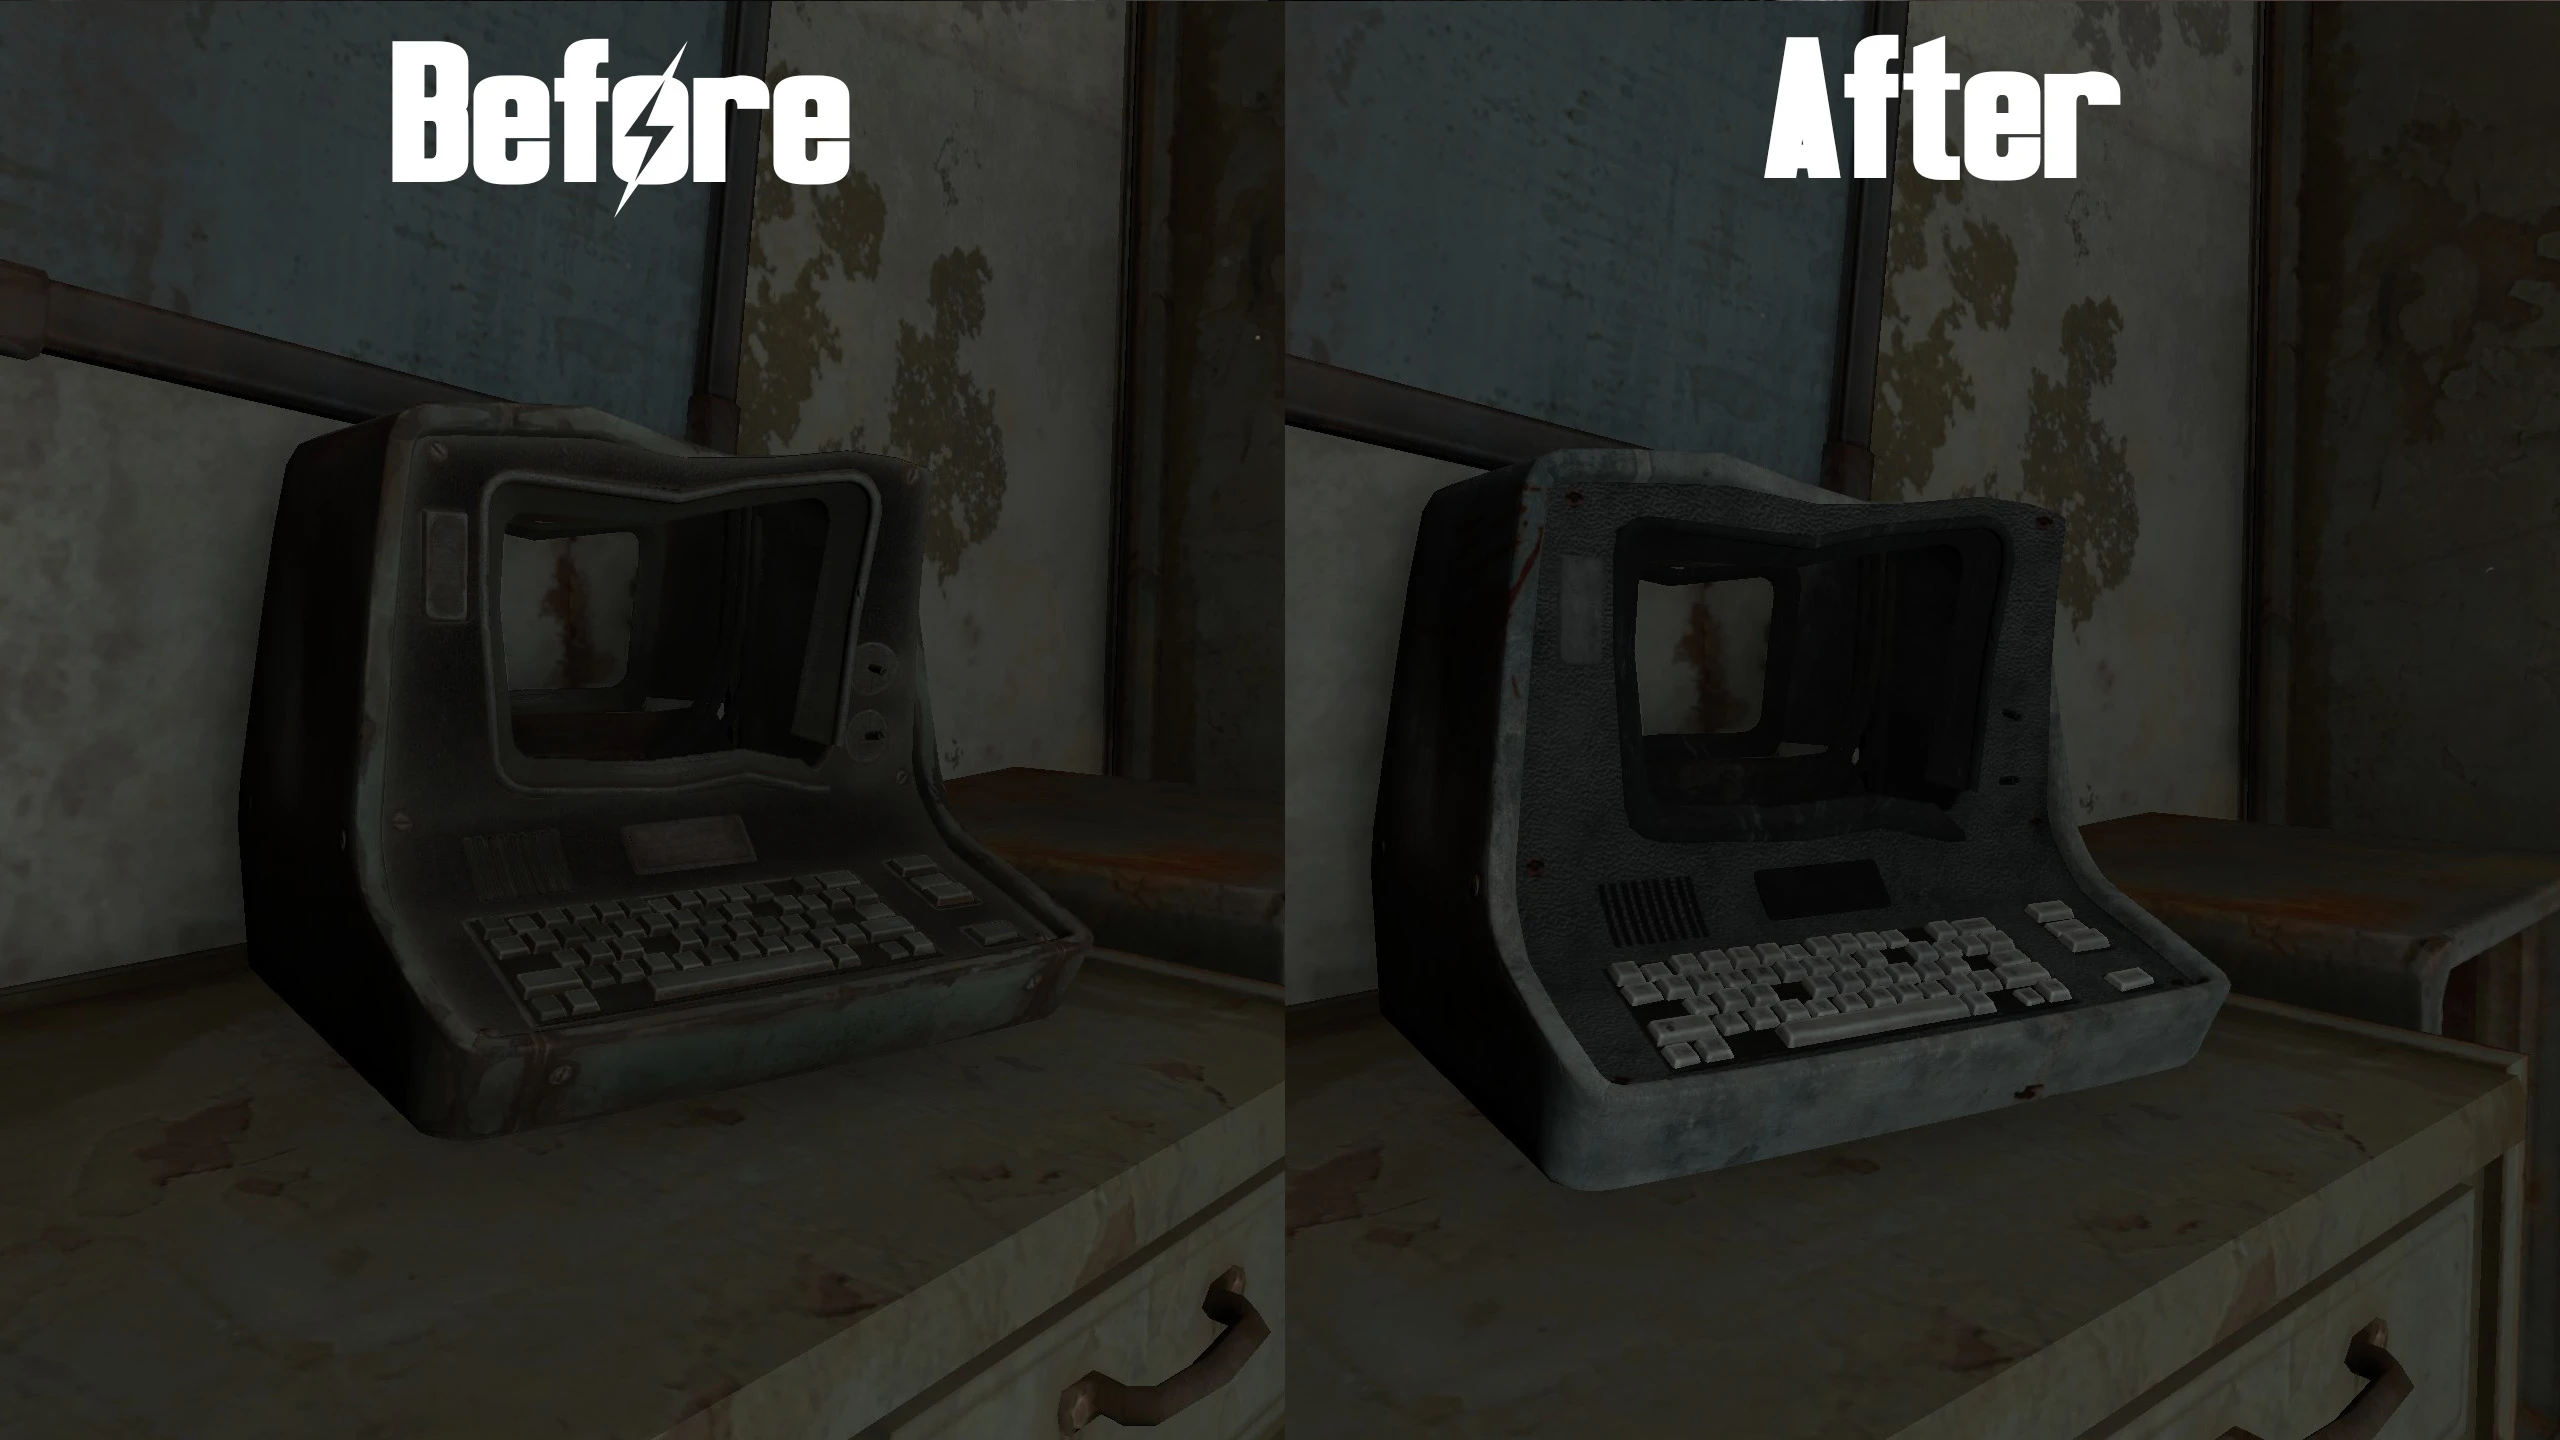
Better Computer Terminals – 4K or 2K: New textures for computer terminals. This one comes in 3 variations: Standard, Dirtier, Even dirtier.
Installation: Download the version and the resolution you want and install using the Nexus Mod Manager
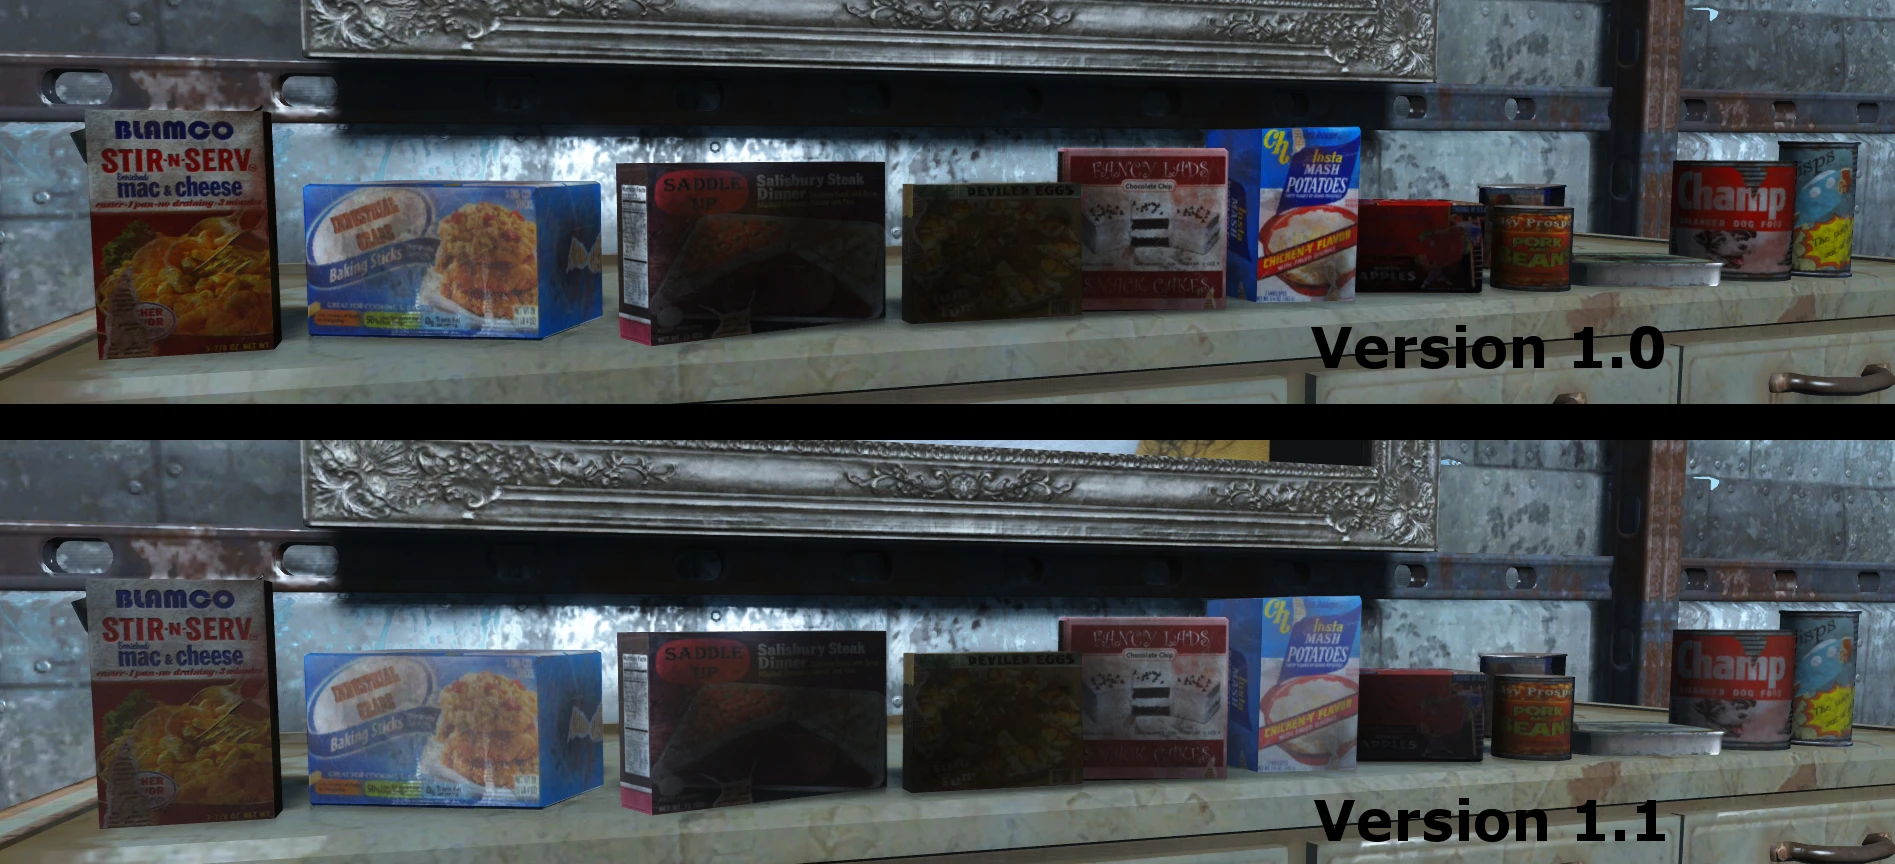
Detailed Urban Food: This mod replaces packaged foods (boxed goods and canned stuff). Your quest for food will be much more appealing thanks toy these detailed and more realistic textures.
Installation: Download the version and the resolution you want and install using the Nexus Mod Manager
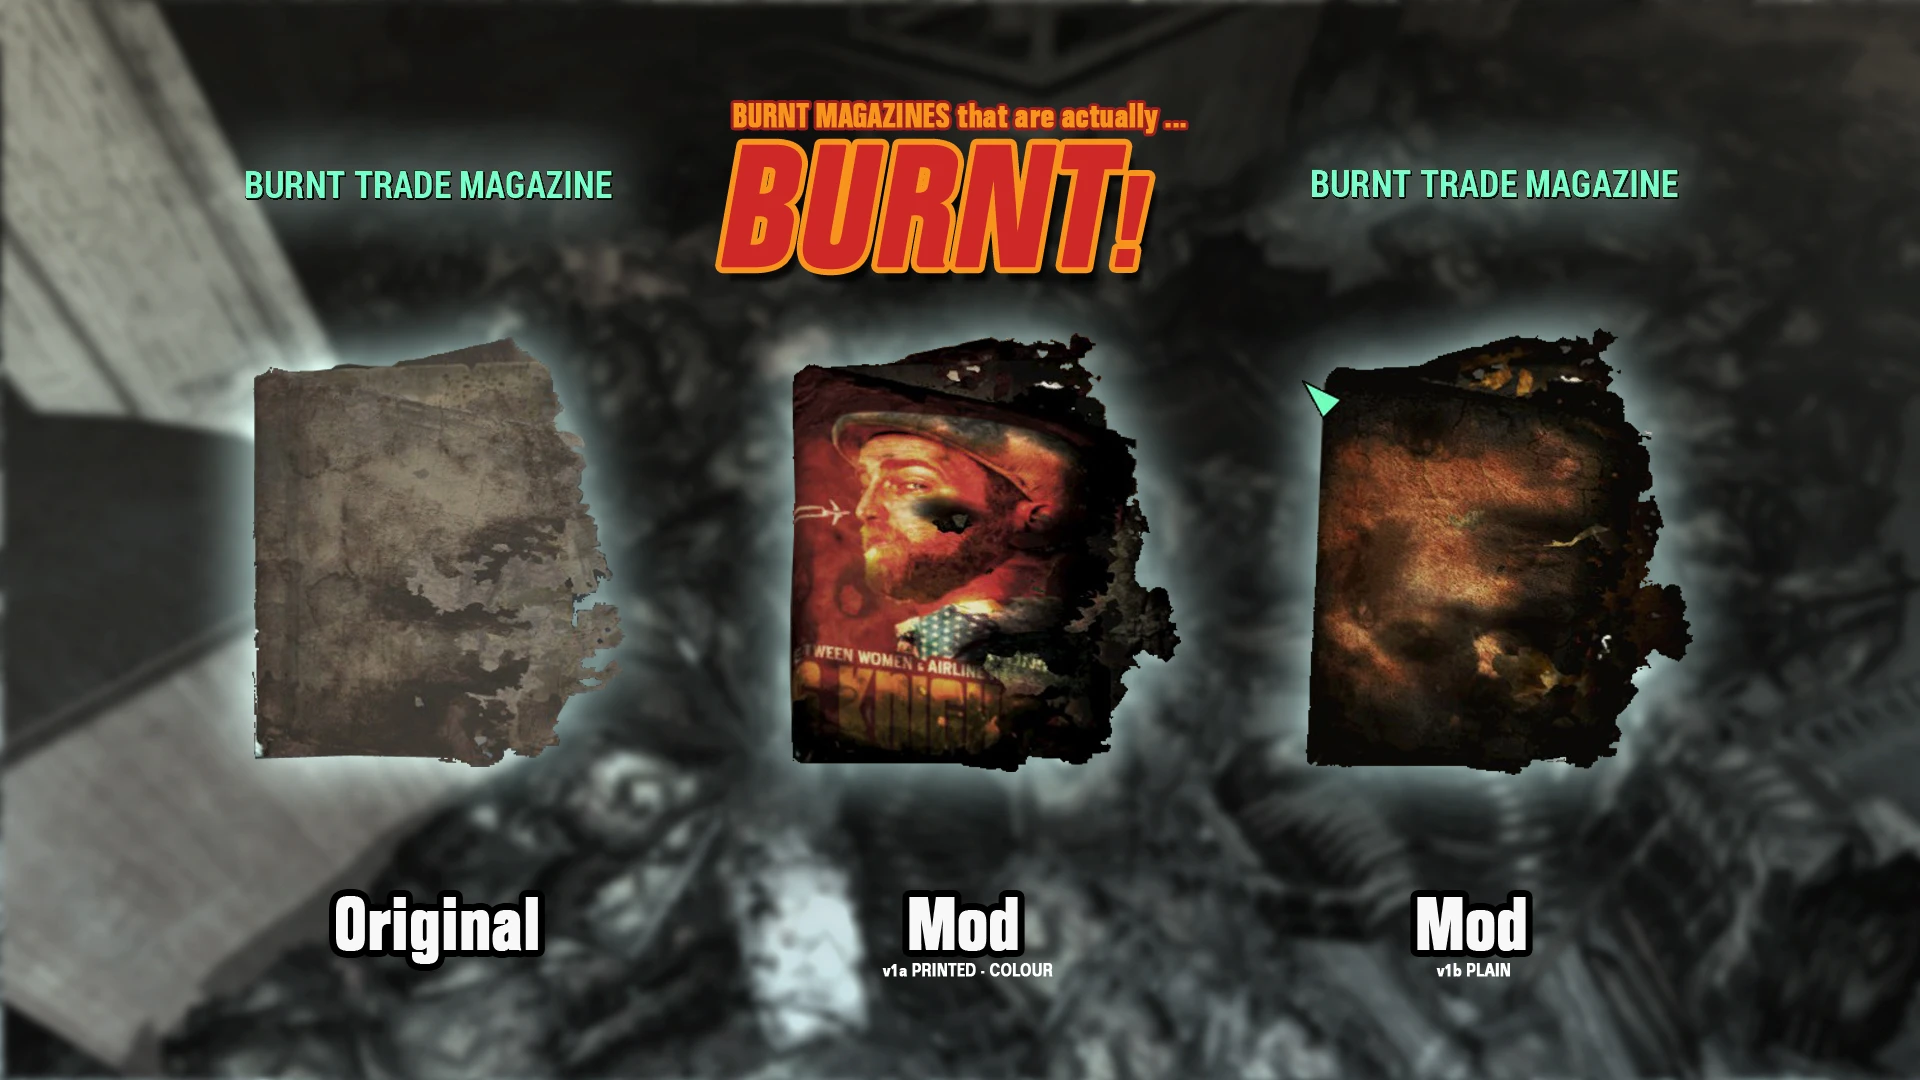
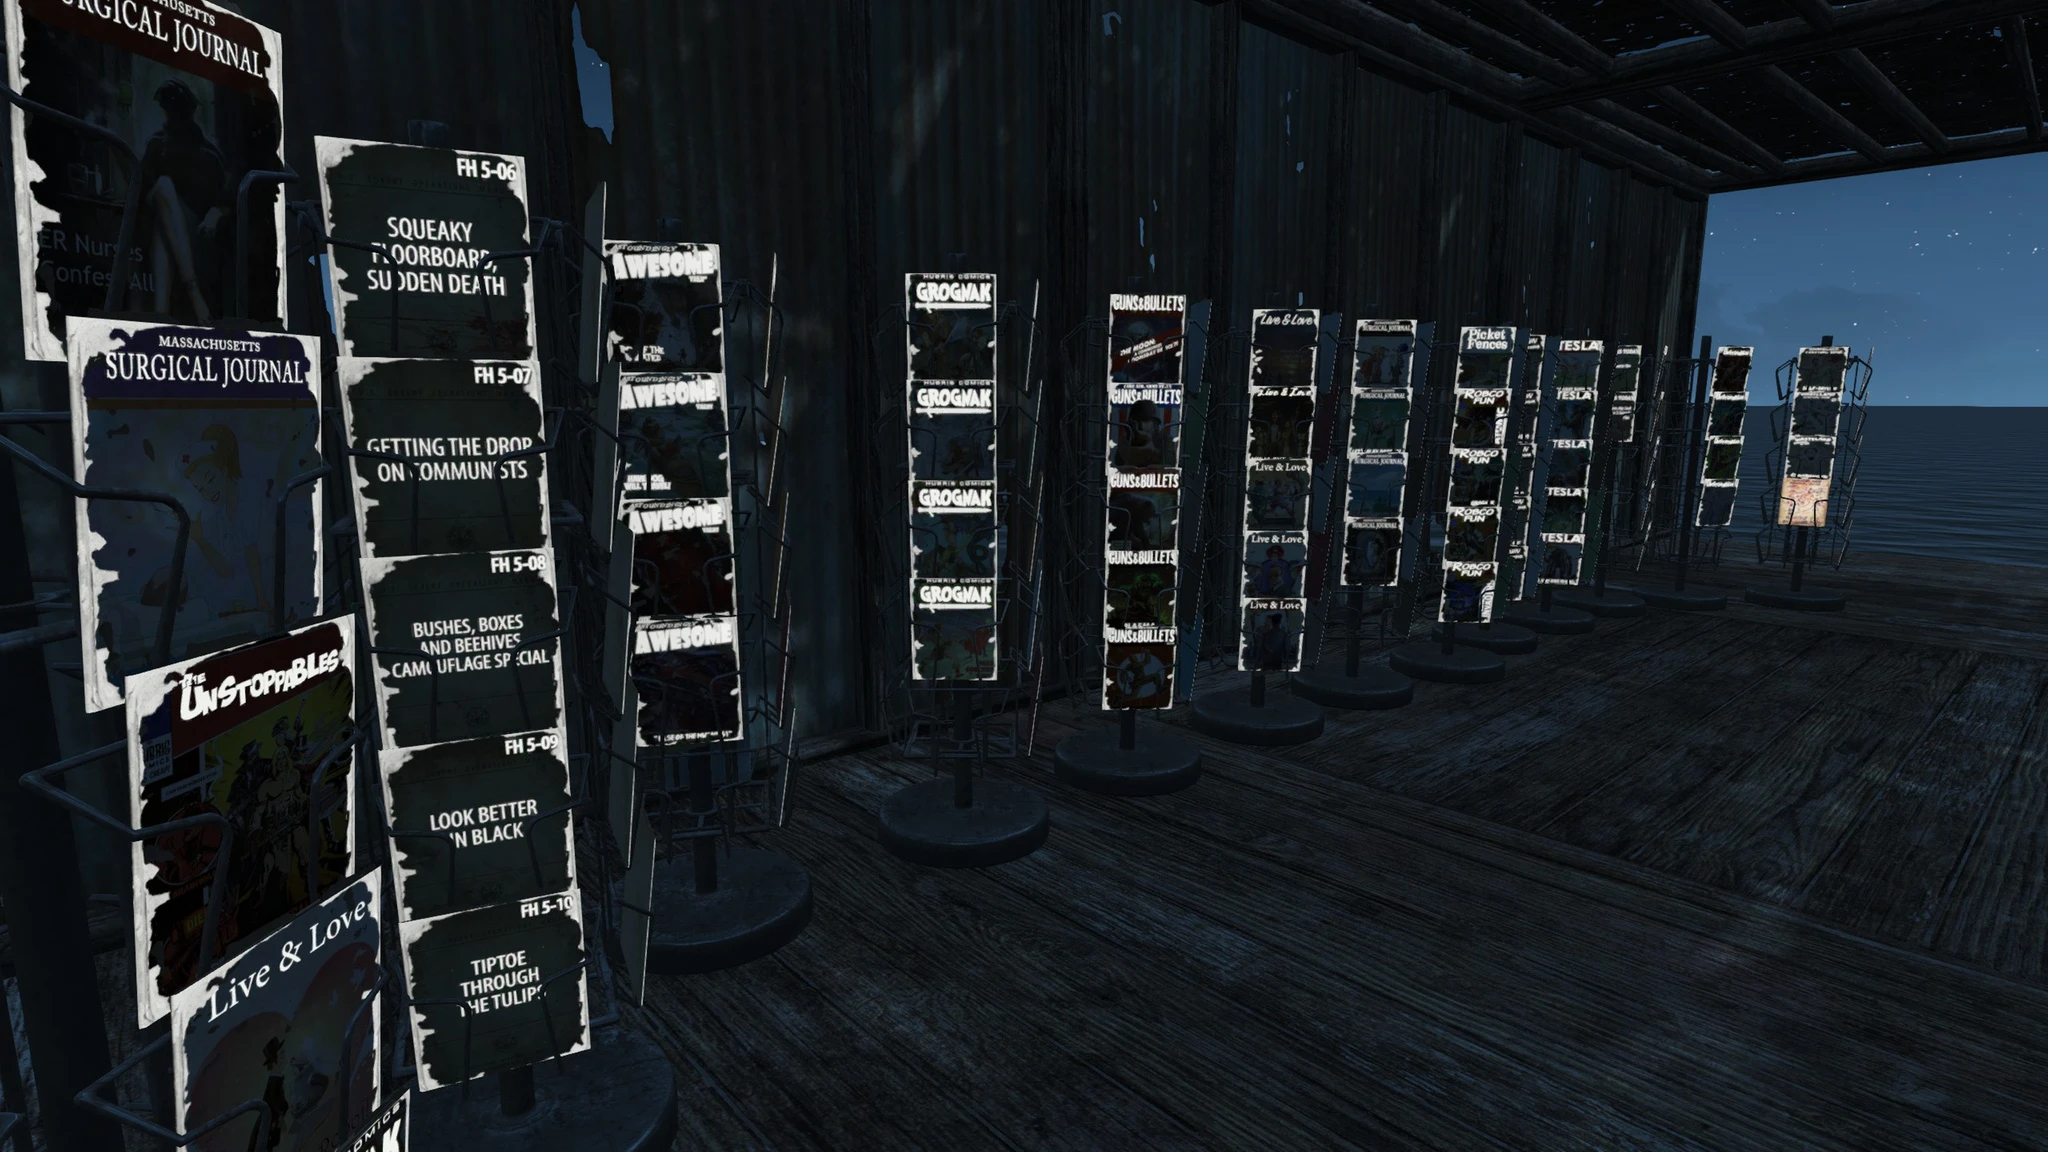
Burnt Magazines are actually BURNT: Replaces the dull blanc burned magazines with coloured and real looking burned magazines. You also have it for “Burnt Comics are actually BURNT” and “Burnt Books are actually BURNT“
Installation: Download the version and the resolution you want and install using the Nexus Mod Manager
Electrical Tower 8K 4K 2K: An increase for the textures used in the electrical tower.
Installation: Download the version and the resolution you want and install using the Nexus Mod Manager
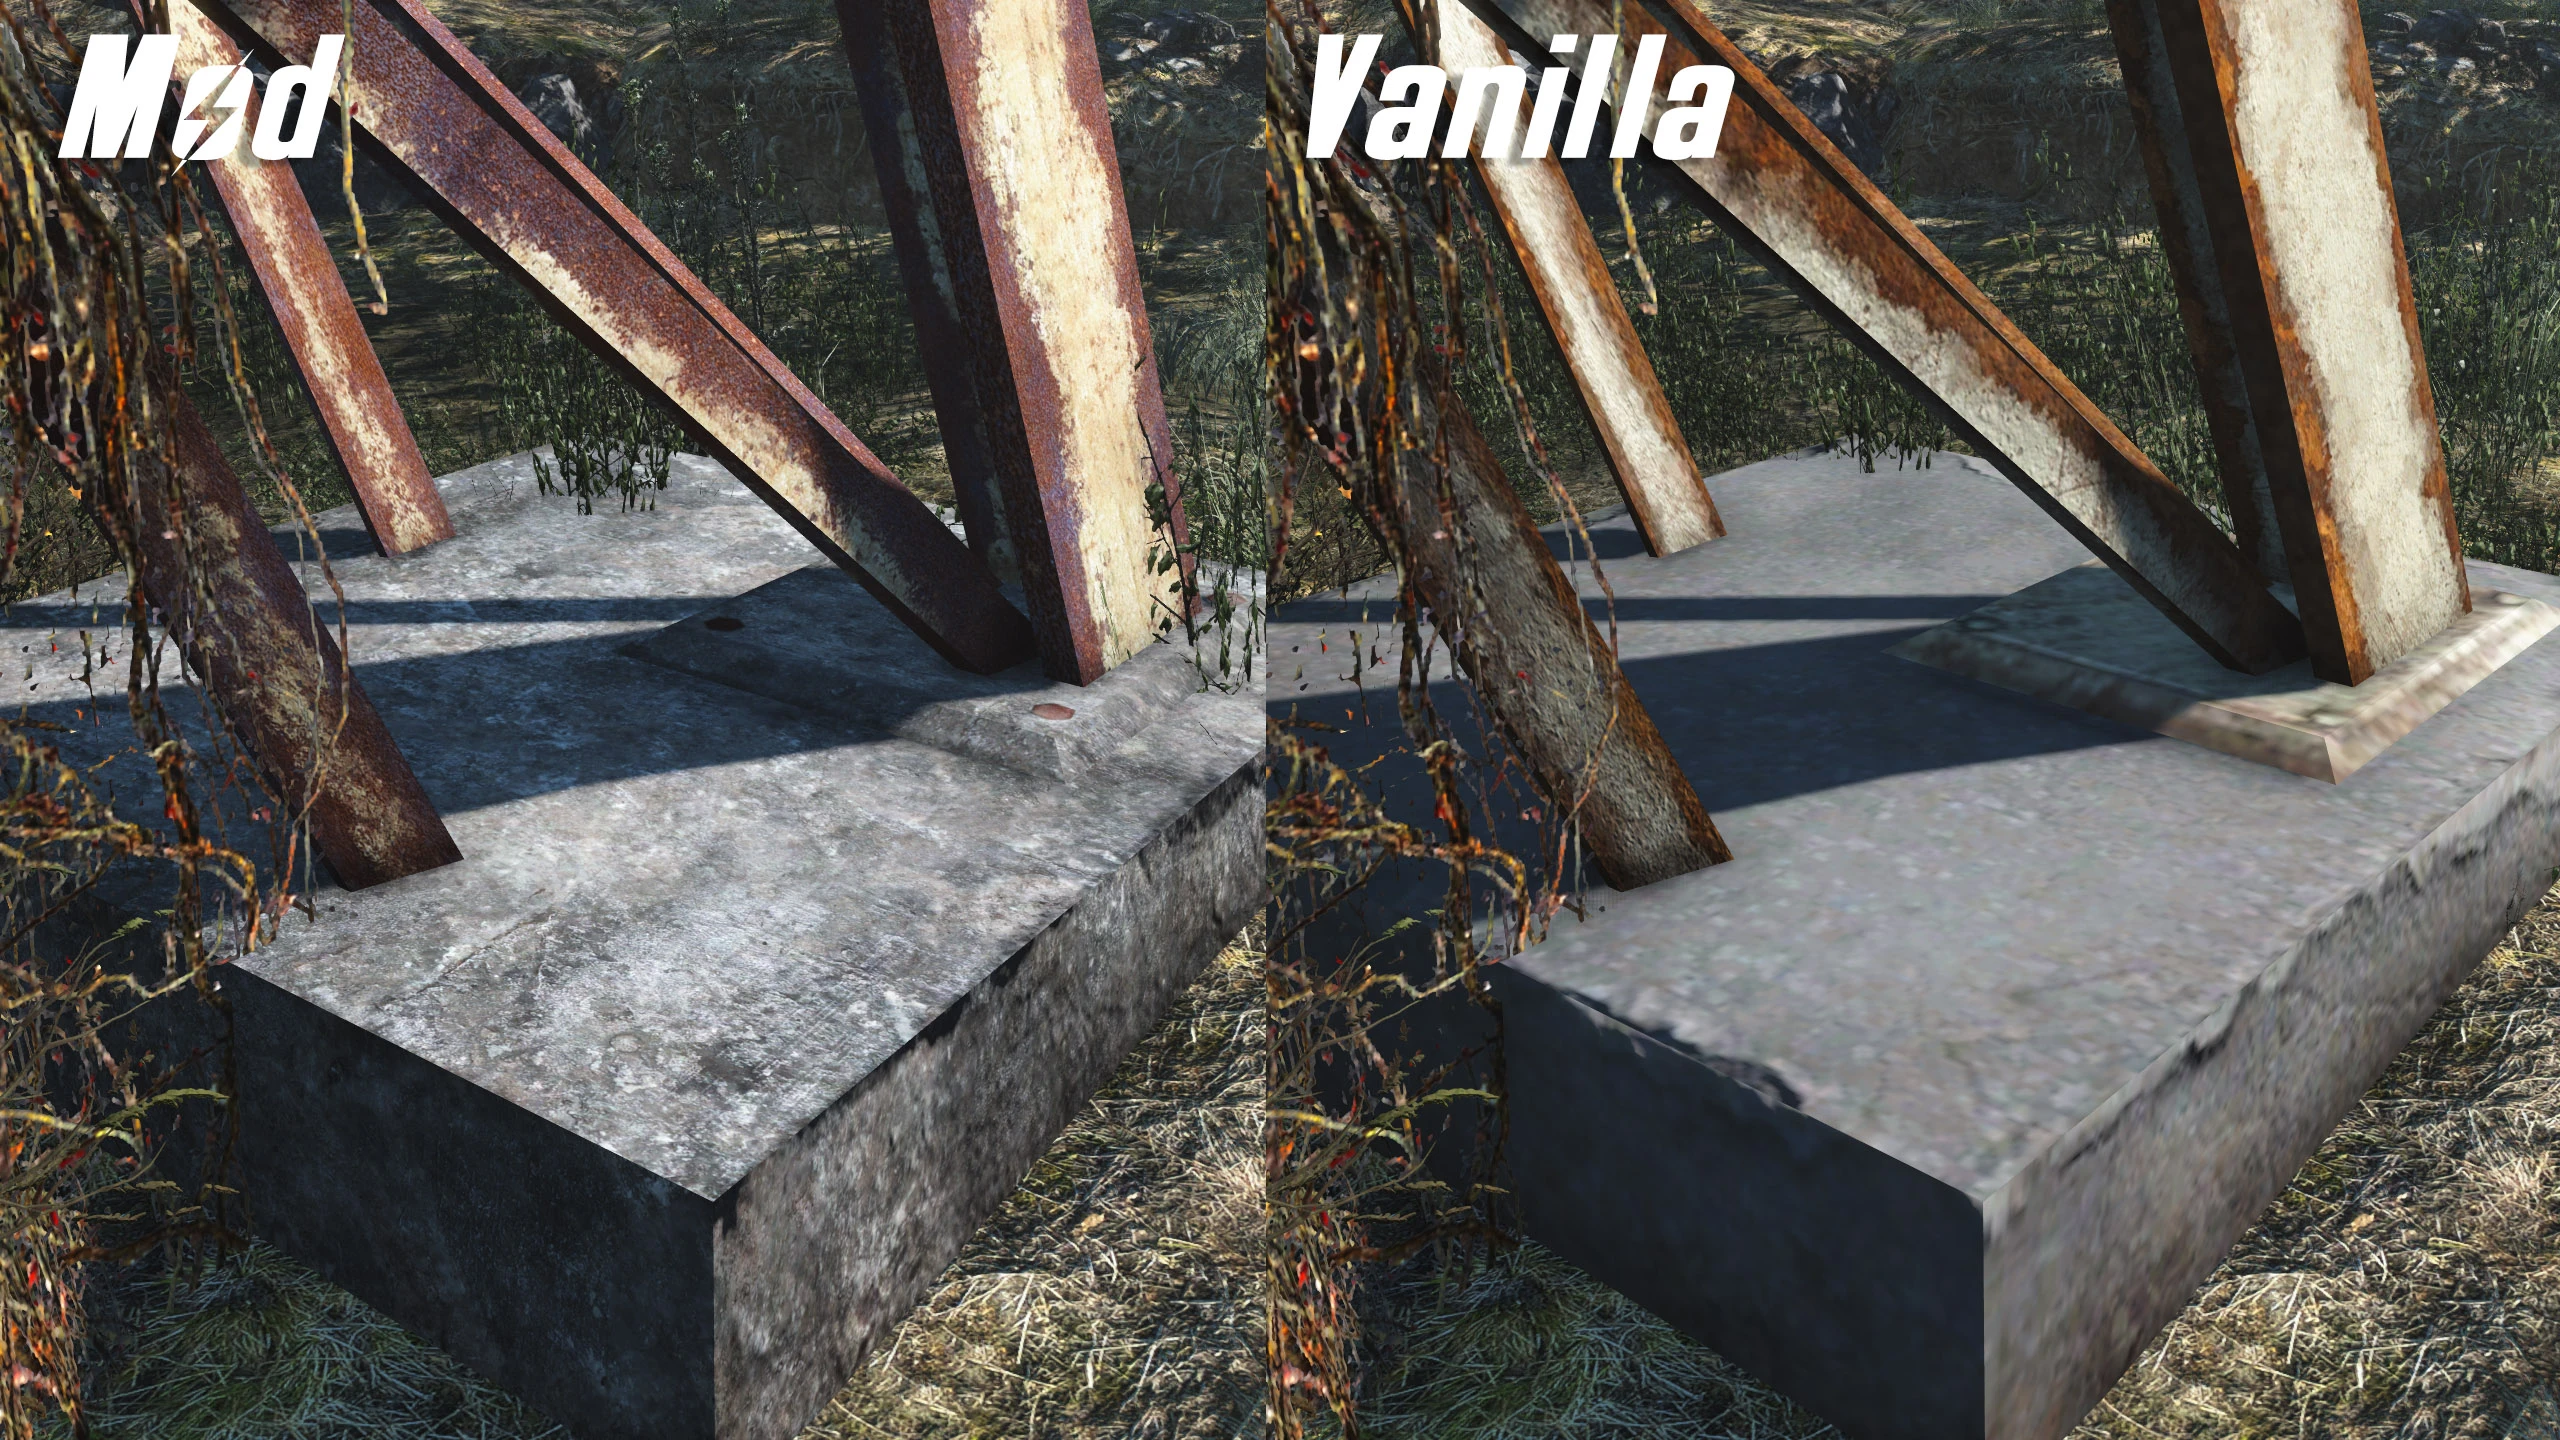
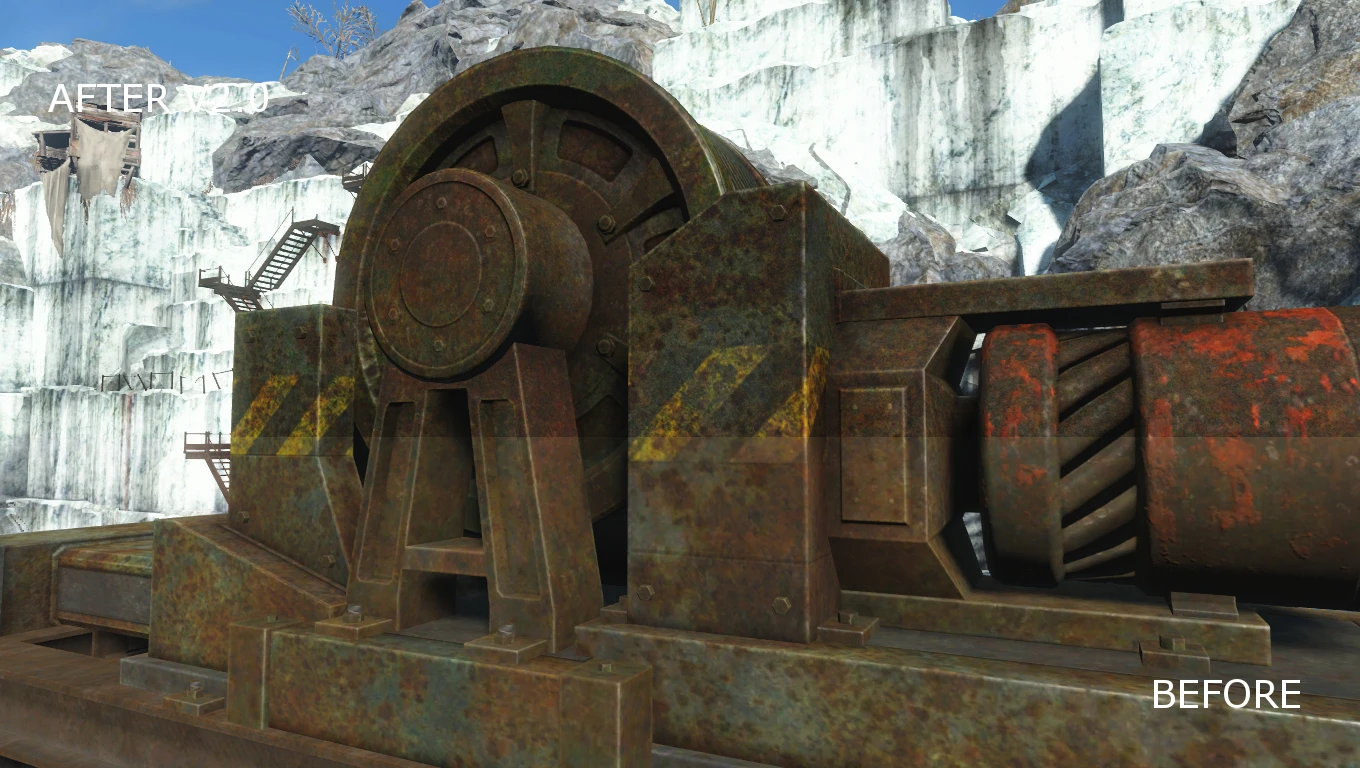
Better Quarry Sites: Bethesda has made some decisions to get the game working on as many computer configurations as possible. That’s why there are a lot of blurry textures, and that’s why I’m adding this mod to our list. The author uses a bunch of trick methods known by most editors and a collection of custom filters that do wonders on the textures, greatly improving their visuals.
Installation: Download both files and install them with Nexus Mod Manager
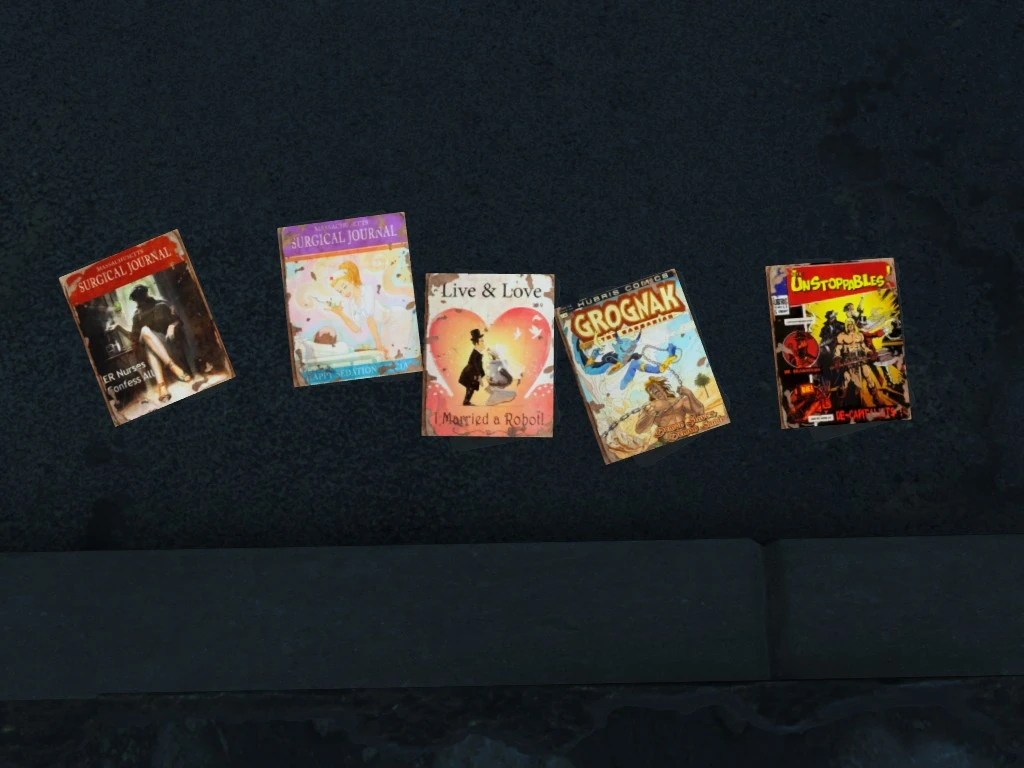
Cool and Sexy Clutter Pack: A mod that replaces the boring grey burned books with something much more euhm… interesting 🙂
Installation: Download and install with Nexus Mod Manager

HQ Statues: Another mod that replaces some textures. This time it’s the statues that deserve a make-over.
Installation: Download and install with Nexus Mod Manager. I picked the ‘original color’ versions for ‘Q statues, Baseball and the

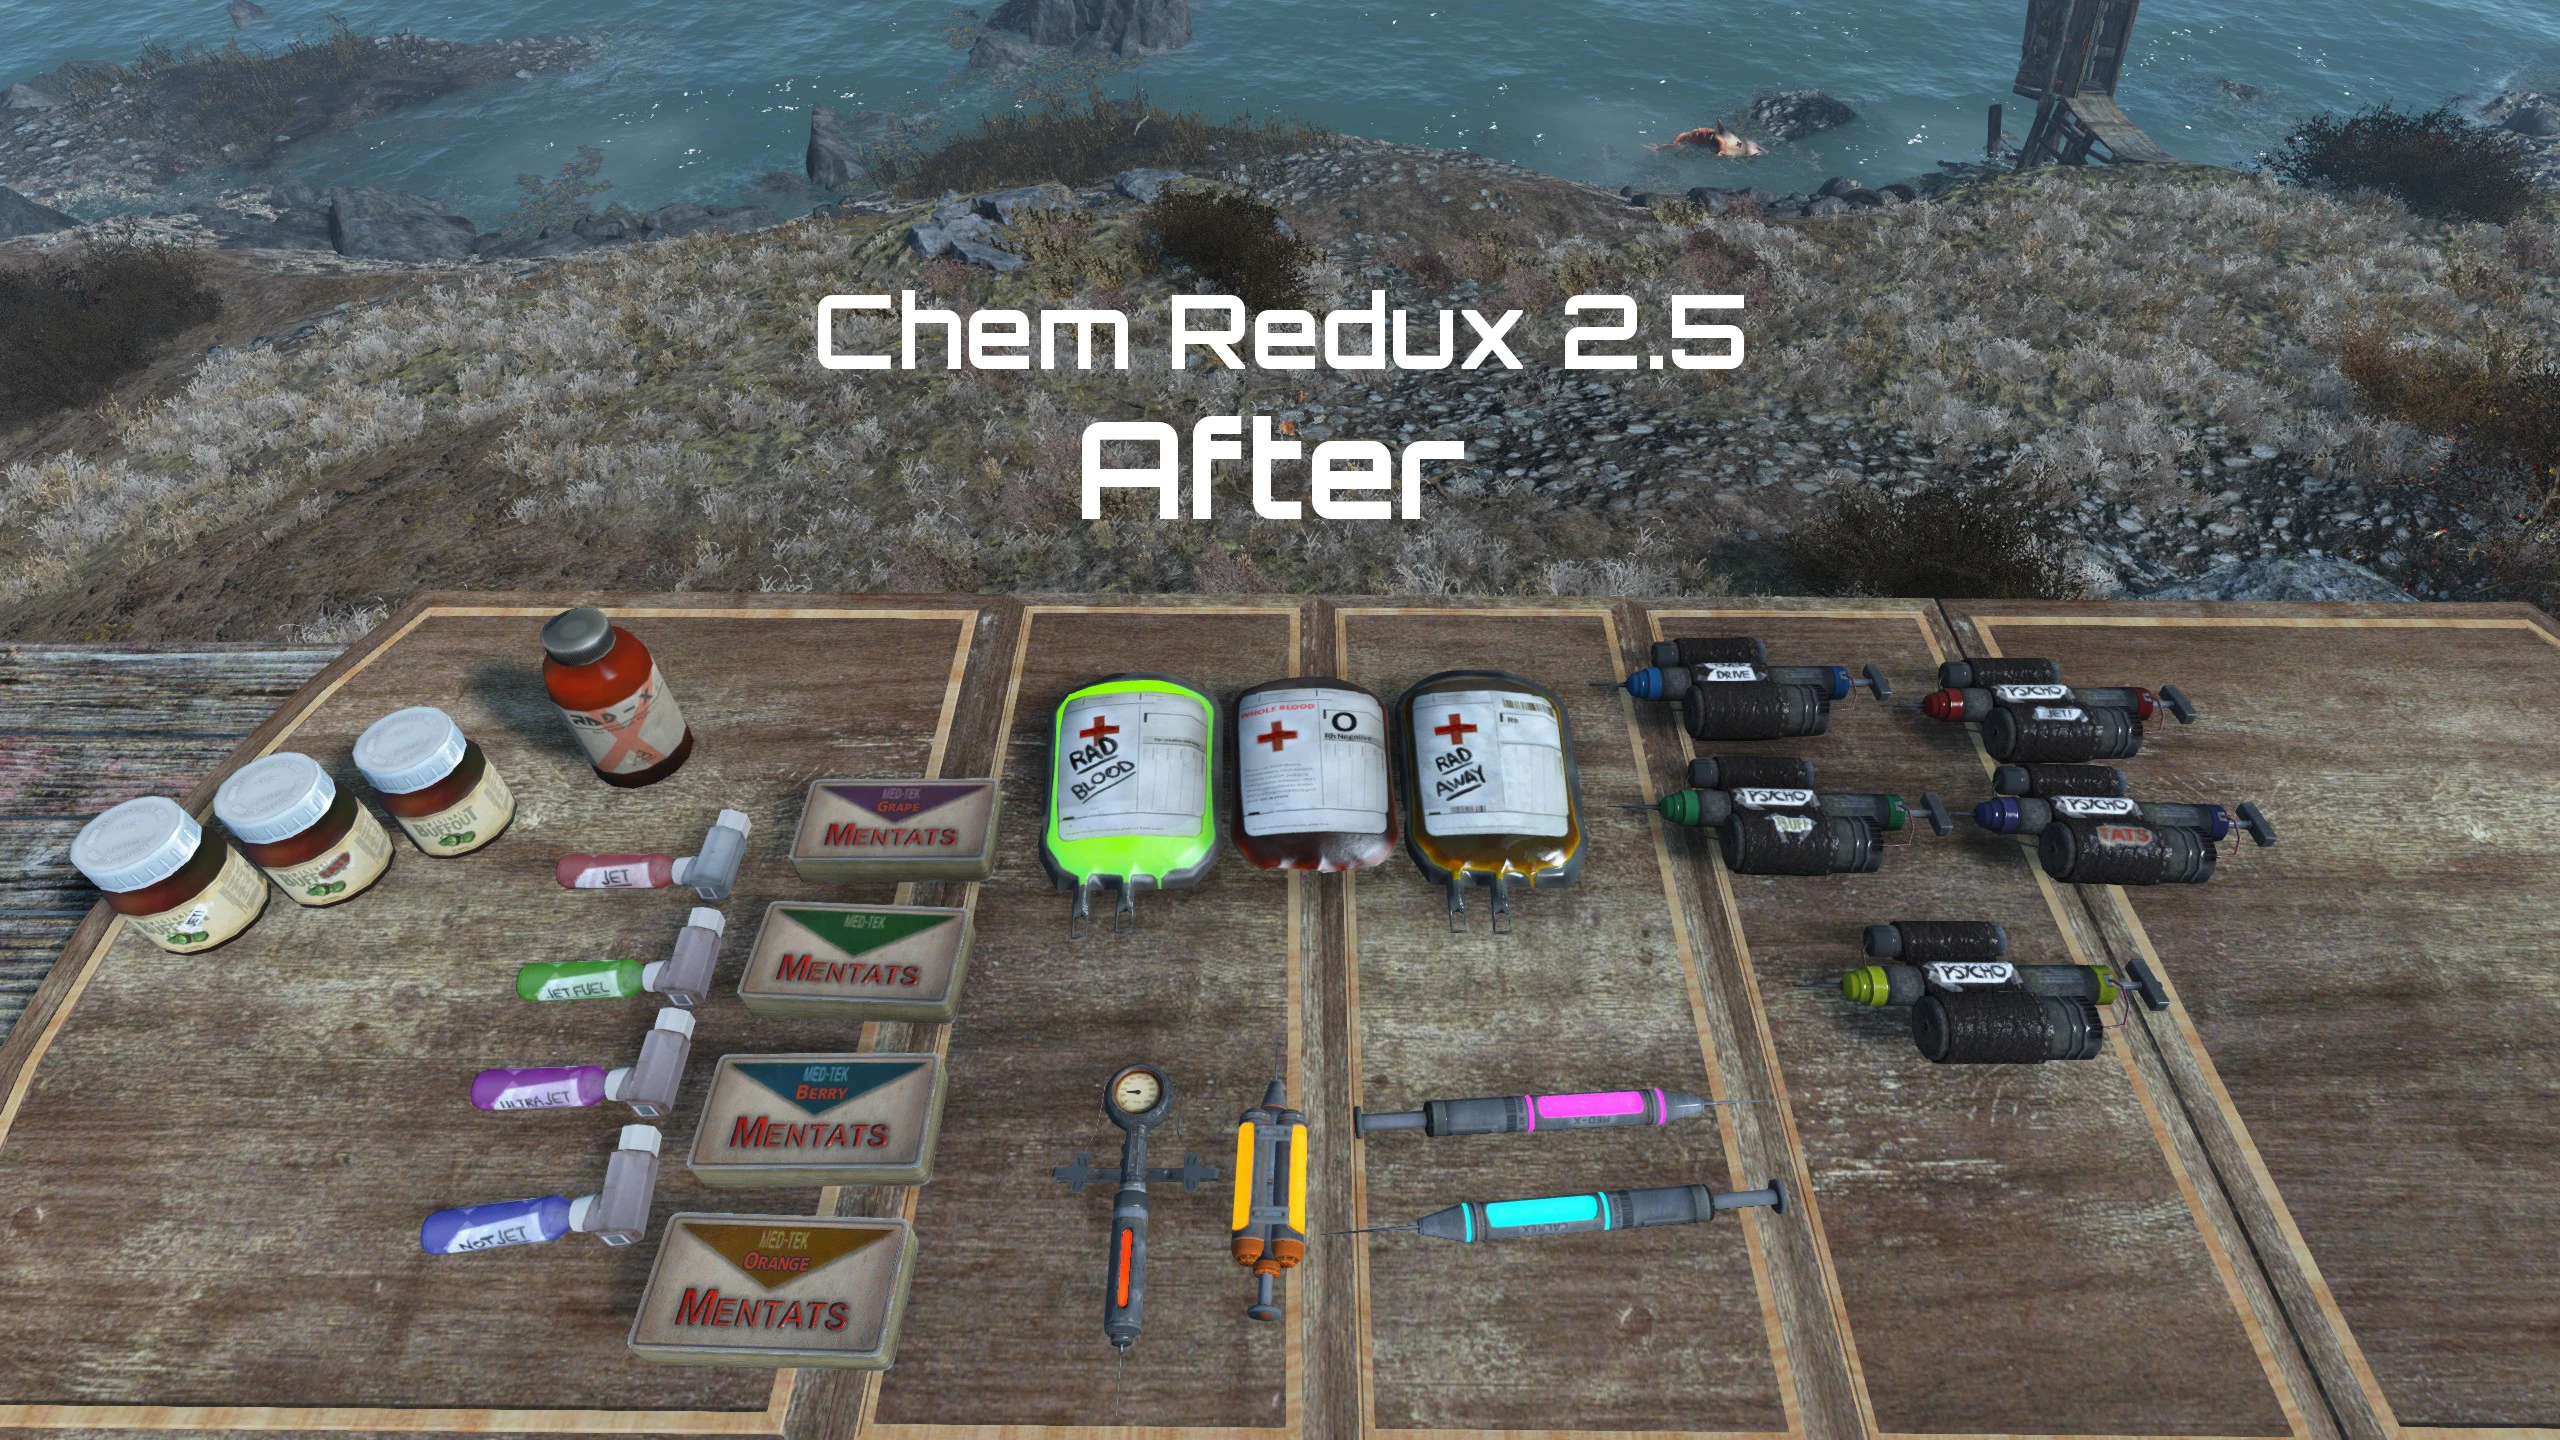
Chem Redux: A new collection of textures for the chems in Fallout 4. They now stand out a bit more and look a lot more inviting ;). They go great with the Darker Nights mod (from Week II) and Fr4nsson’s Light Tweaks (from Week V)
Installation: Download and install using the Nexus Mod Manager
ETSGS – Easy To See Glowing Stuff: If you use the Darker Nights mod (from Week II) and Fr4nsson’s Light Tweaks (from Week V), you might have noticed that you tend to miss collectible items because you look over them due to the darkness. With this collection of Easy To See Glowing Stuff those days are behind you. The installer gives you a nice set of options so you can make them as visible as you want.
Installation: Download and install using the Nexus Mod Manager. In the installation menu pick the luminosity levels you want and continue with the installation
Perk Magazine Material Fix: You need this mod when you use the previous one. This is because of some bugs with the textures that this mod fixes.
Installation: Download and install using the Nexus Mod Manager
Graphics – Weapons
Jesters Ammo Retexture Mod: Replaces the boring old textures from the ammo with these amazing detailed ones. You also have a coloured version! One for each flavour! Or you can pick the next one in the list
Installation: Pick a version you like and install it by the default way (See Fallout 4 Mod Manager if this doesn’t ring a bell).

Better Ammo Boxes: This mod also retextures all the conventional ammo boxes. Each box is hand textured to fit the lore and look of fallout. Each box will come in two resolutions and multiple variants.
Installation: Download, in the installer pick the version and the resolution you want

ScratchMade – New Double Barrel Shotgun textures: New textures for the shotgun. I figured: a new sound requires also a new texture, right?
Installation: Download and install with Nexus Mod Manager
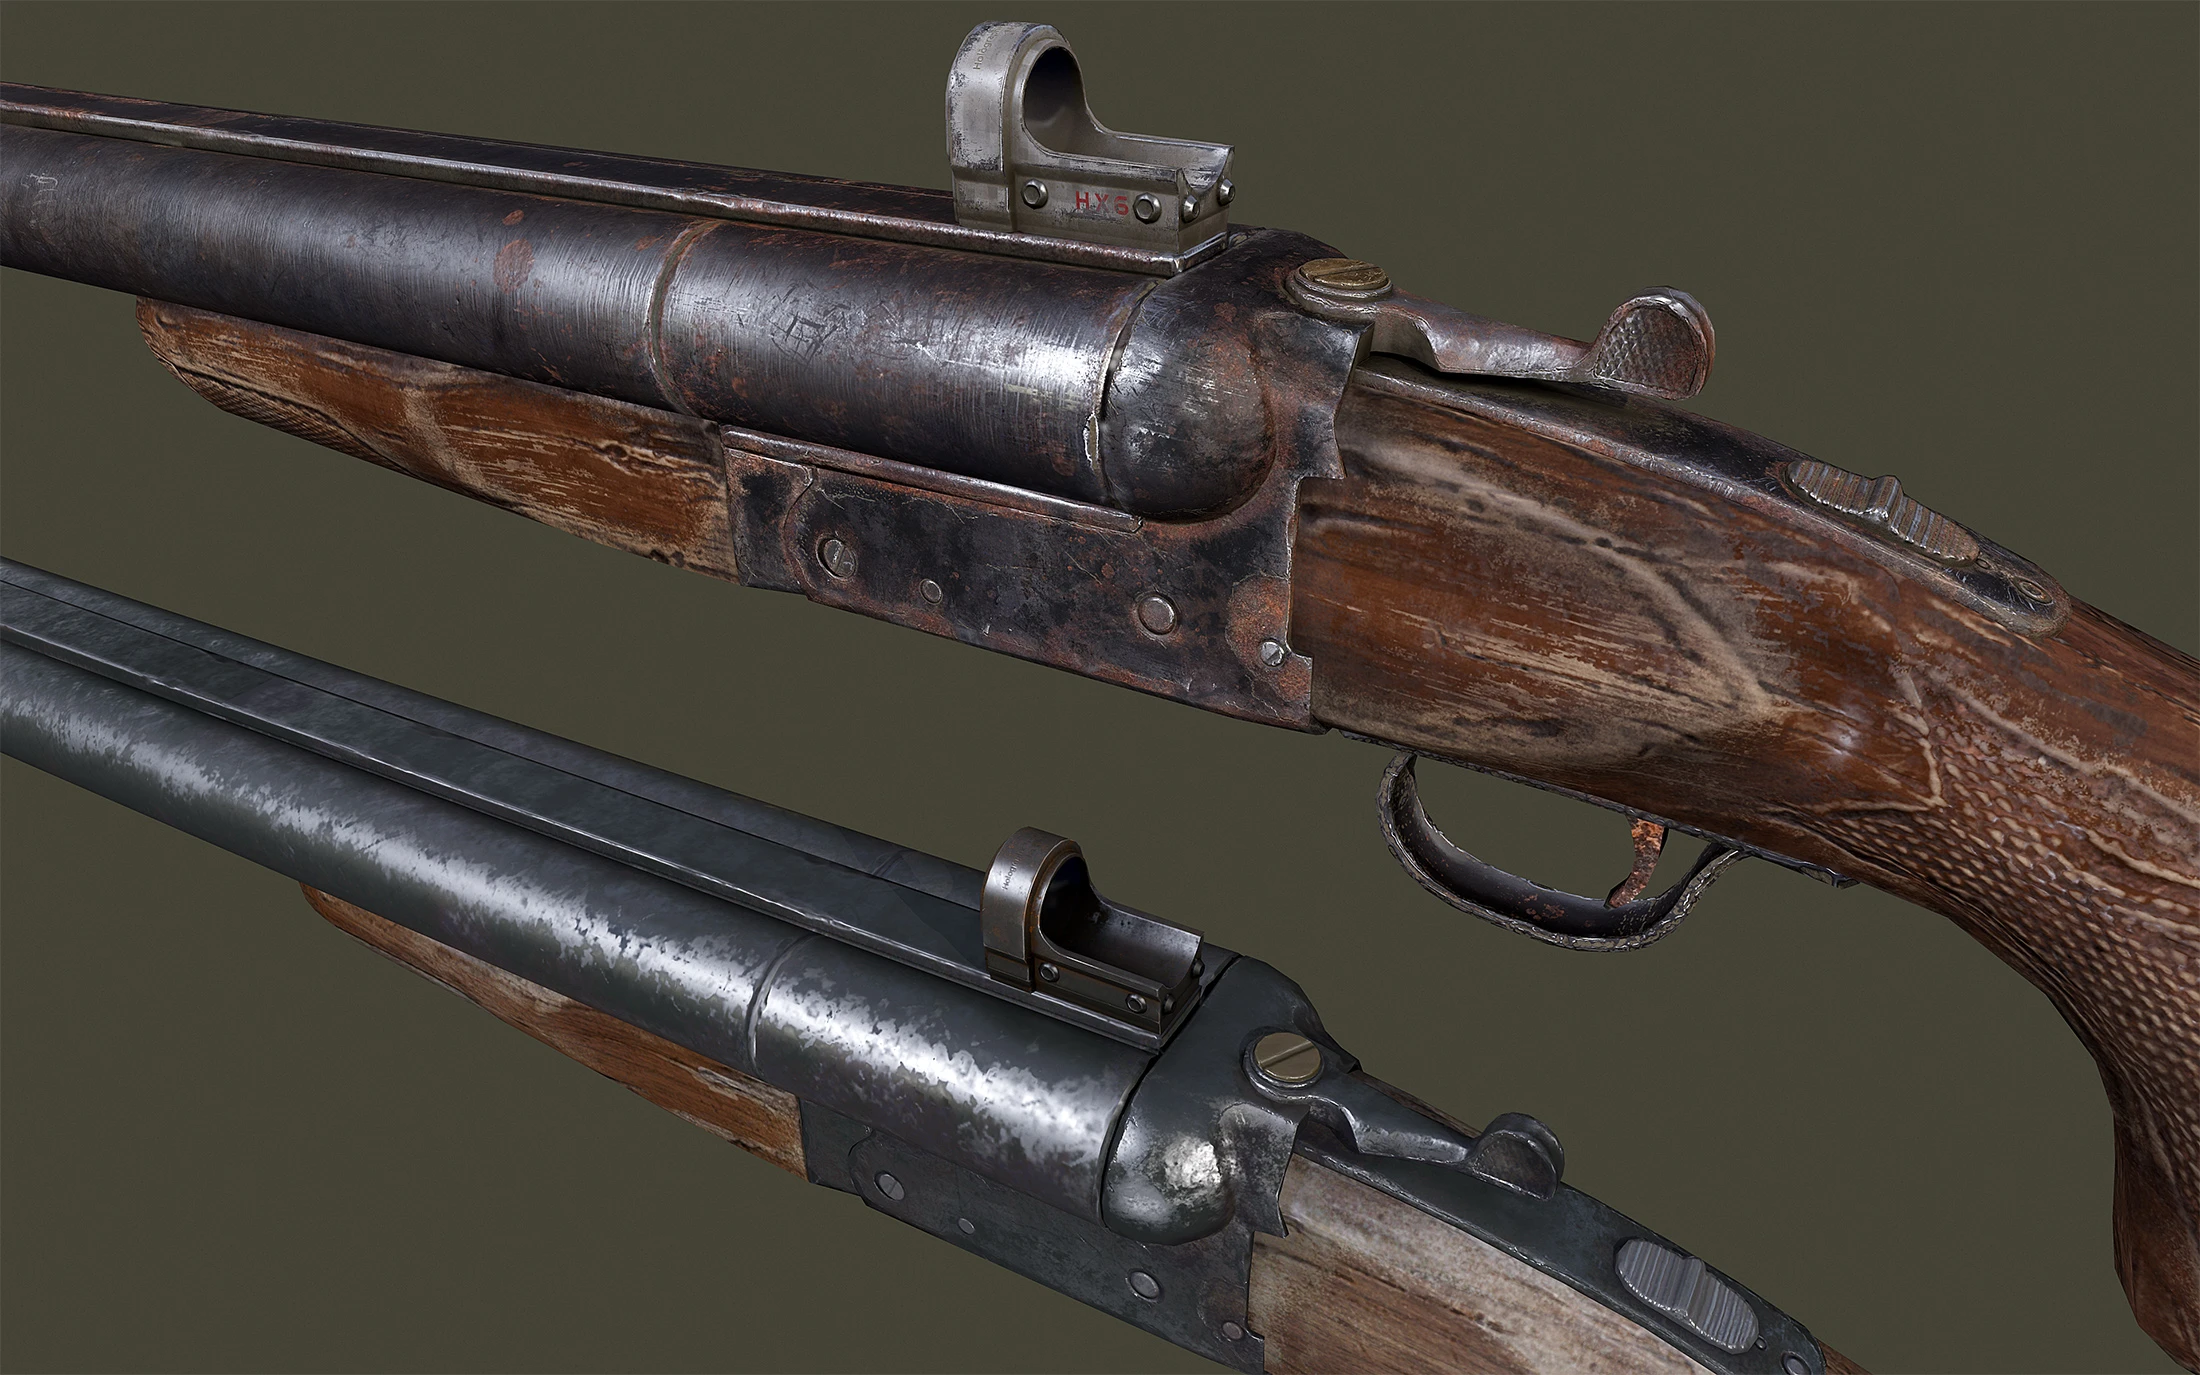
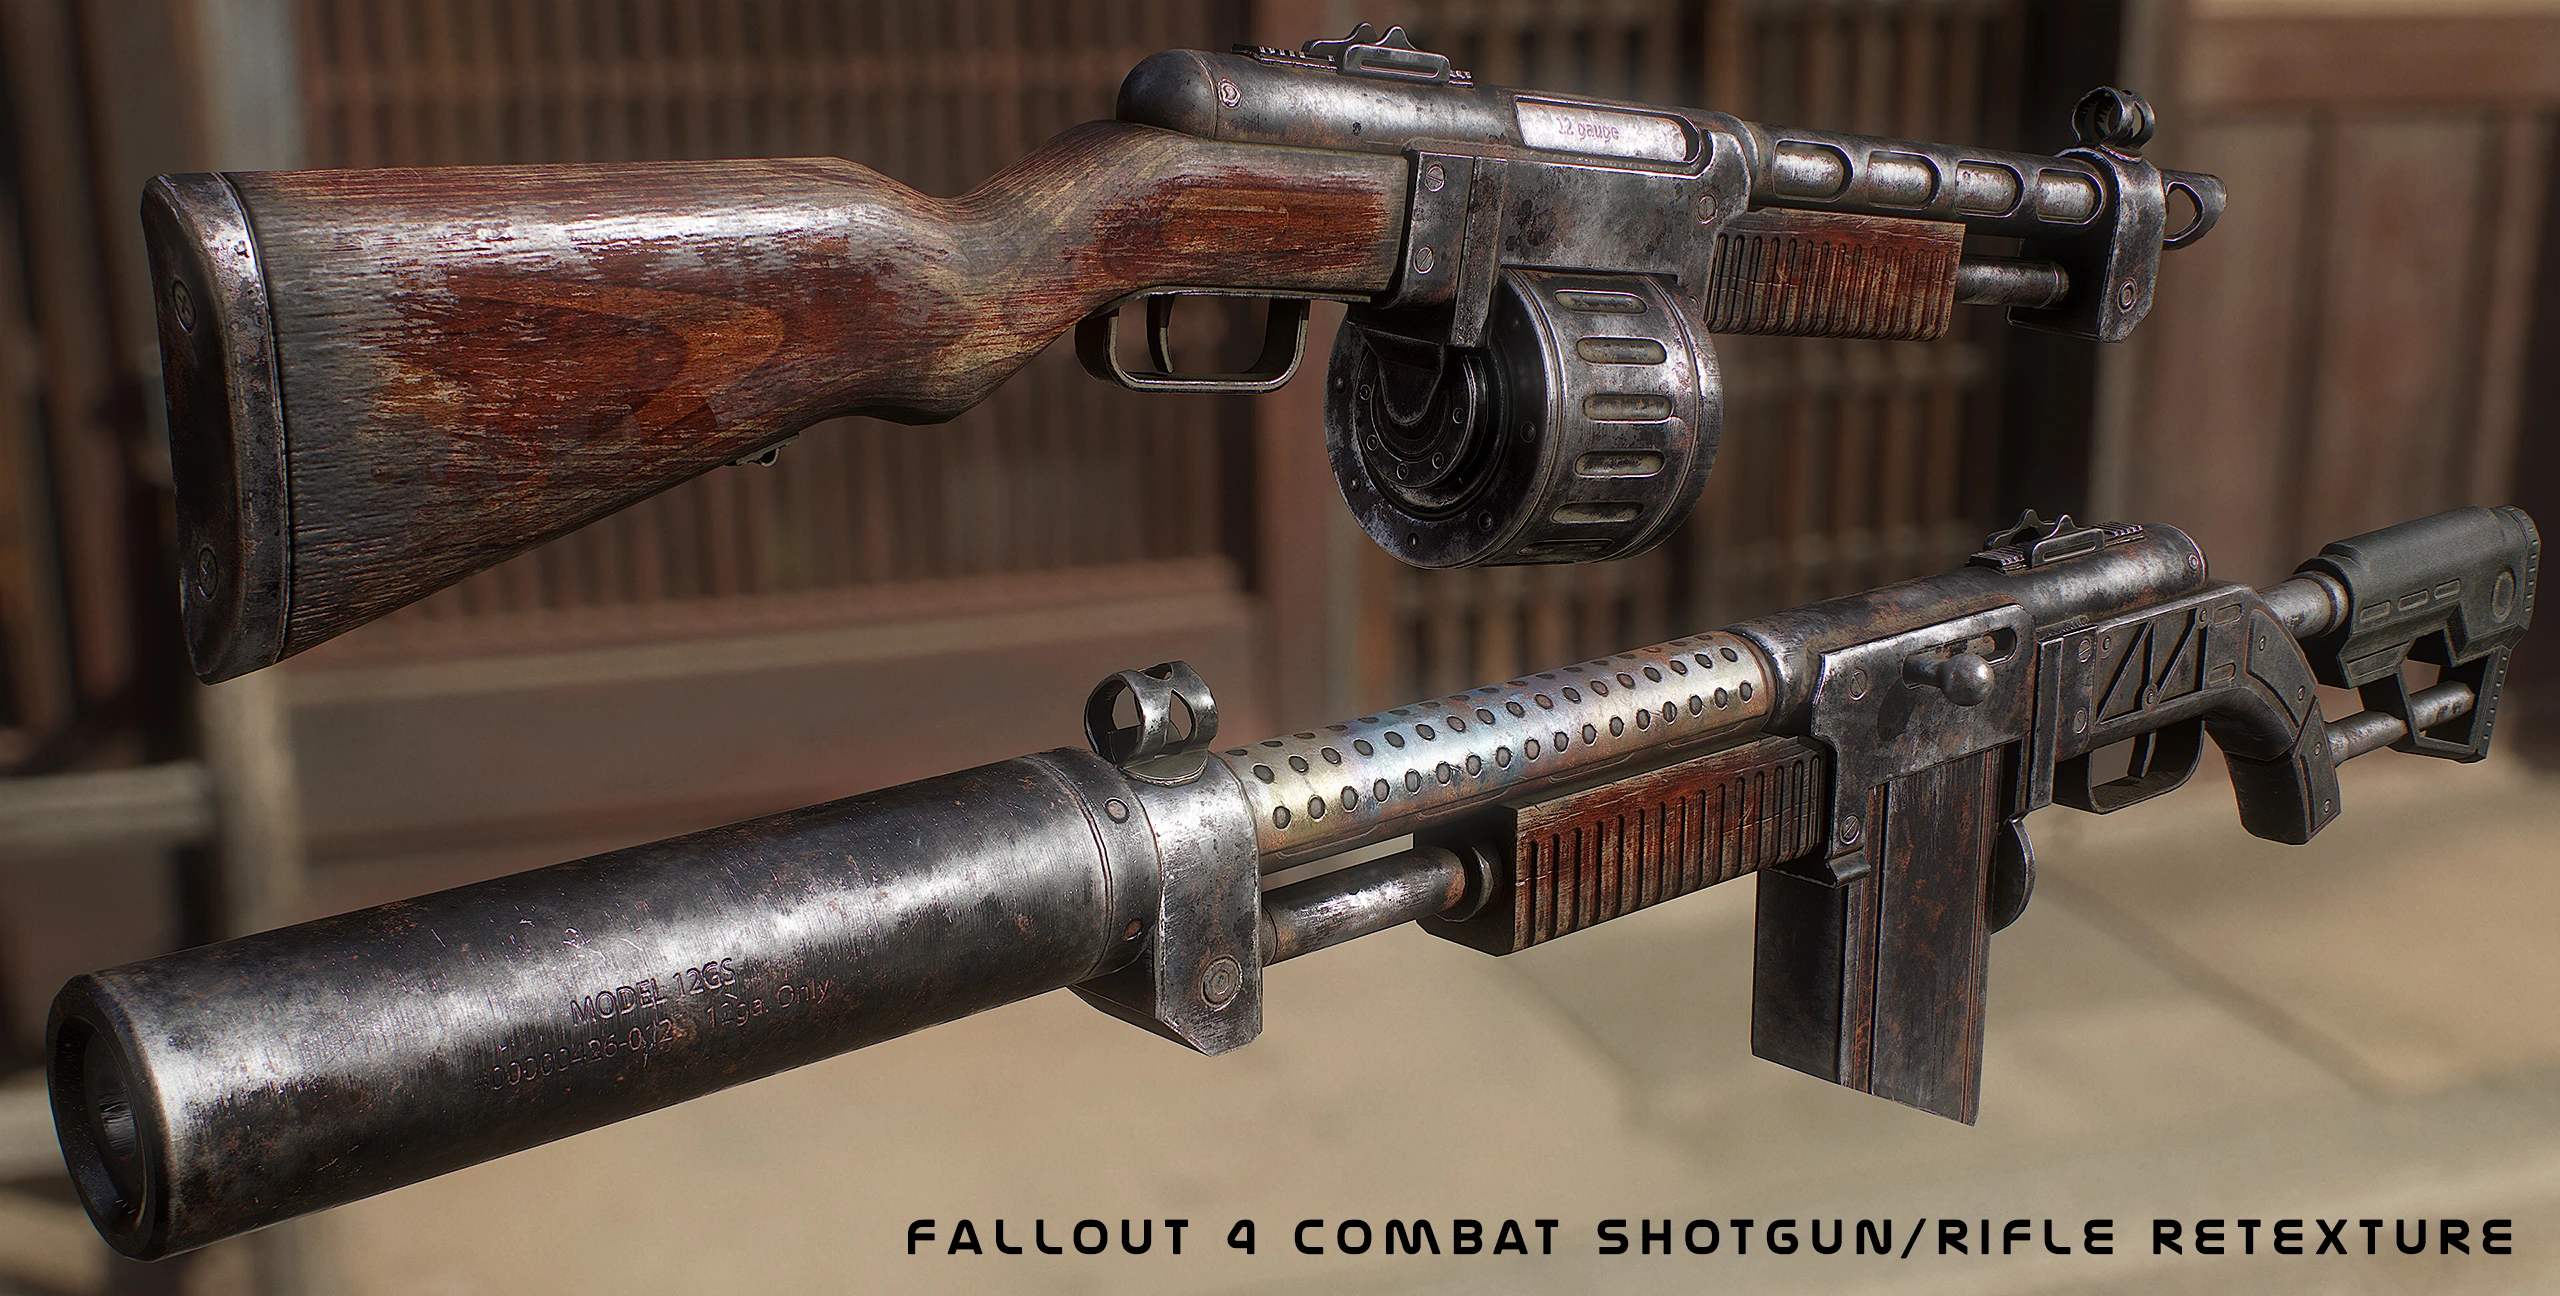
ScratchMade – New Combat Shotgun and Rifle textures: Yup, also new textures for the combat shotgun and rifle.
Installation: Install with Nexus Mod Manager and download. Or the other way around 😉
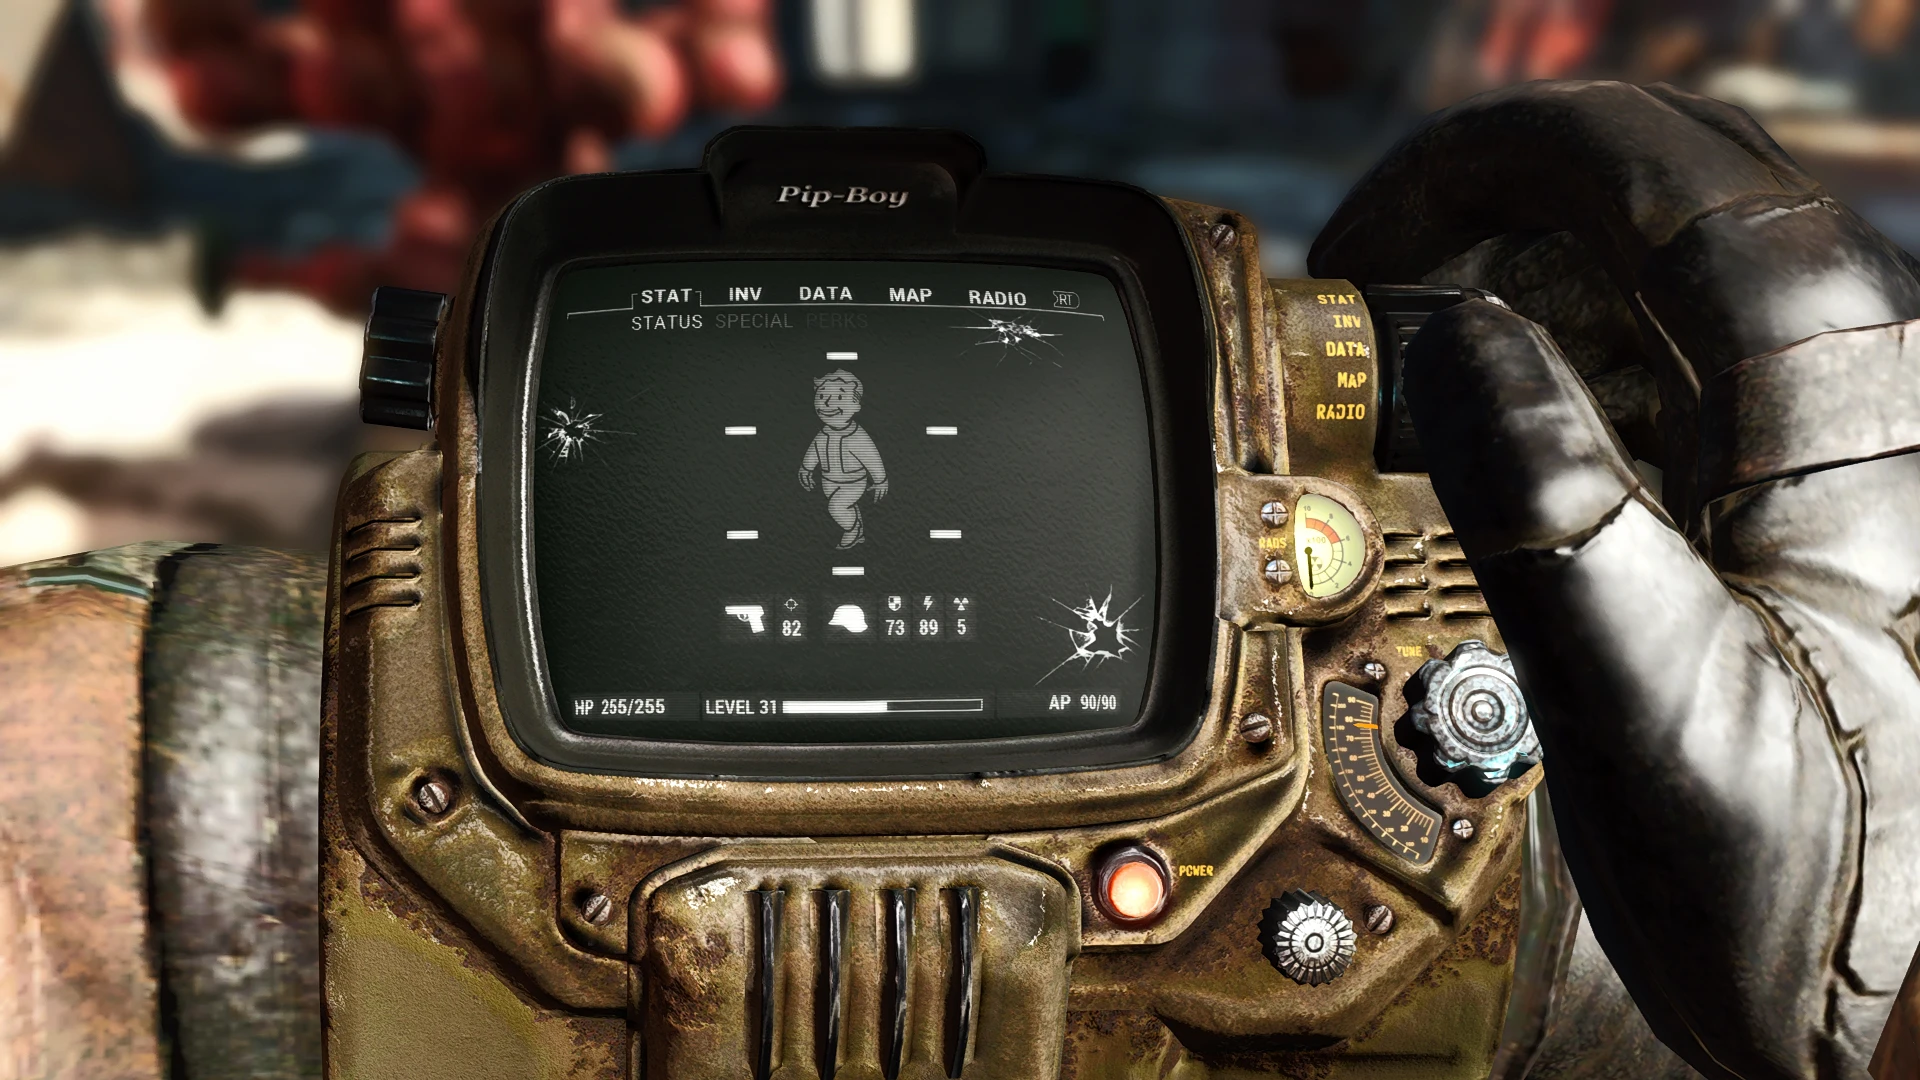
Fallout Texture Overhaul PipBoy (Pip-Boy) UHD 4K: Sweet mother of detail for the PipBoy. I mean, after you have installed this mod, because that what is does. It gives the PipBoy some amazing details. When you pick a size, make sure your computer can handle it. One single mod that increases a single texture won’t have a huge impact, but 10 mods that increase a lot of textures might cause a bigger hit.
Installation: Download and install with Nexus Mod Manager
Music
More Where That Came From – Diamond City Radio Edition: I was a bit disappointed with Bethesda’s choice to include the music from Fallout 3 for their radio stations. I know why they did it (world is gone, so who’s going to make and produce new songs?), but still I would have loved to hear different songs. Lucky for me, the modding community came to my rescue with 74 new lore-friendly songs!
Installation: Manually installation is required here. Extract the t of the archived file in your main Fallout 4 folder.
- After that use Fallout 4 Configuration Tool and edit Fallout4.ini to replacesResourceDataDirsFinal=STRINGS\withsResourceDataDirsFinal=STRINGS\, TEXTURES\, MUSIC\, SOUND\, INTERFACE\, MESHES\, PROGRAMS\, MATERIALS\, LODSETTINGS\, VIS\, MISC\, SCRIPTS\, SHADERSFX\
- Edit your Fallout4Prefs.ini to add the following line under [Launcher]bEnableFileSelection=1
- Done, you can turn the radio on and enjoy

Classical Radio Freedom – Radio Freedom Alternative: I like to build with the classical radio on. And now I get some of the most beautiful classics pieces ever made! Moments like this make my day, so big thanks to the modcreator!
Installation: Download and install with Nexus Mod Manager

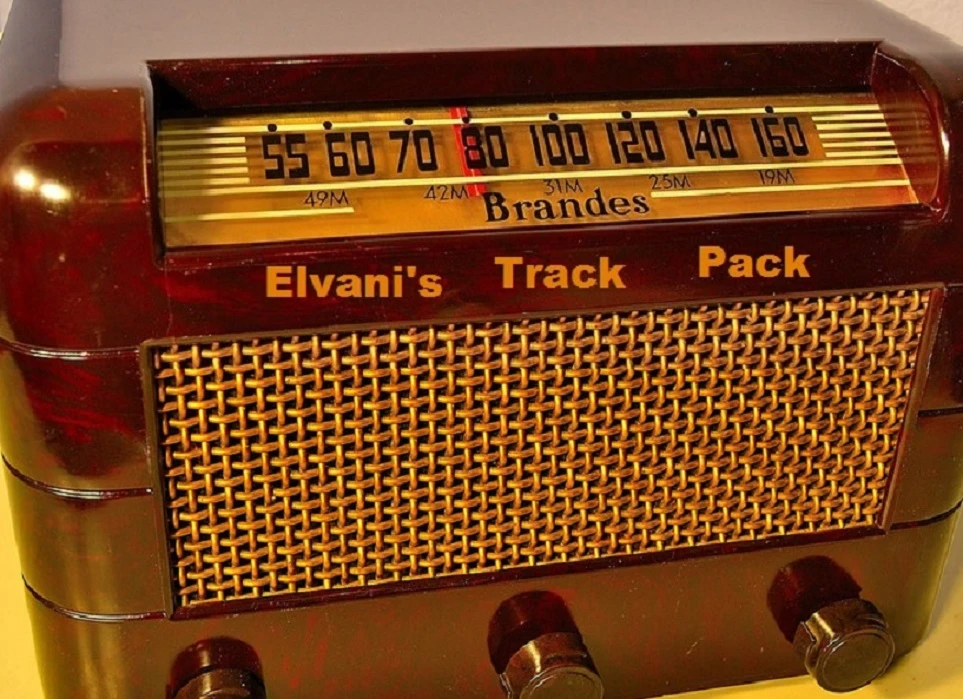
Elvani’s Track Pack for Diamond City Radio: Not everyone loves classic music, and while I’m questing, I prefer Diamond City Radio. I have already recommended the ‘More Where That Came From‘ mod, the ‘Elvani’s Track Pack for Diamond City Radio’ adds another 36 songs to the game. Now you have a wooping total 189 songs :).
Installation: Download and install with Nexus Mod Manager
Craftables
Proper Trading Stores and Animation: This mod replaces the boring trading stands with the related workbenches and it adds animations for the settlers who work there.
Installation: Download and install with Nexus Mod Manager
Armorsmith Extended: This mod does a lot of things.
- Every outfit in the game can now be worn under armour pieces.
- Every hat and helmet in the game that doesn’t cover your face can be worn with bandana’s & gas masks.
- Every outfit and every hat & helmet in the game can have ballistic weave armour added to it.
- A completely redone clothing modding system. There are now 5 different types of mods: Lining mods, outfit add-on mods, headgear add-on mods, Glove mods, and eyewear mods. The categories of what mods are available for a specific item correspond with which of these 5 categories are present on that item.
- New outfits, headgear, gloves, and custom Dogmeat armors to be crafted from the new custom Armorsmith Workbench.
- All clothing items are moddable now and are also rename-able.
- A new craftable set of armor called Therm Optics Combat Armor for the master armorsmith/scientists. (check the nexus page for more information)
- This mod is now fully compatible with Legendary Modification and Valdacil’s Item Sorting. Choose the sort clothes by class option to have your apparel sorted in a way that compliments the changes made to clothing by Armorsmith Extended. I highly recommend this mod. Also to make the inventory sorting experience even better I also recommend DEF_INV – Improved inventory beta by Neanka. It makes a bunch of UI improvements and does cool stuff like replacing sorting tags with icons. From here on out Armor Keywords Community Resource (AKCR) by Valdacil and Gambit77 is a required file for AE, as the ArmorKeywords.esm contains the framework to make AE compatible with VIS without compatibility patches.
Installation: Download and install with Nexus Mod Manager

Craftable Armor Size: This mod enables Light, Sturdy and Heavy armour mods in the armour workbench. And it is fully compatible with the other mods mentioned in this guide!
Installation: Download and install with Nexus Mod Manager

Craftable Ammunition: You can craft a whole town, but are unable to make your own ammunition? That’s weird, but with this mod, that’s something weird from the past.
Installation by the default way (See Fallout 4 Mod Manager if this doesn’t ring a bell).

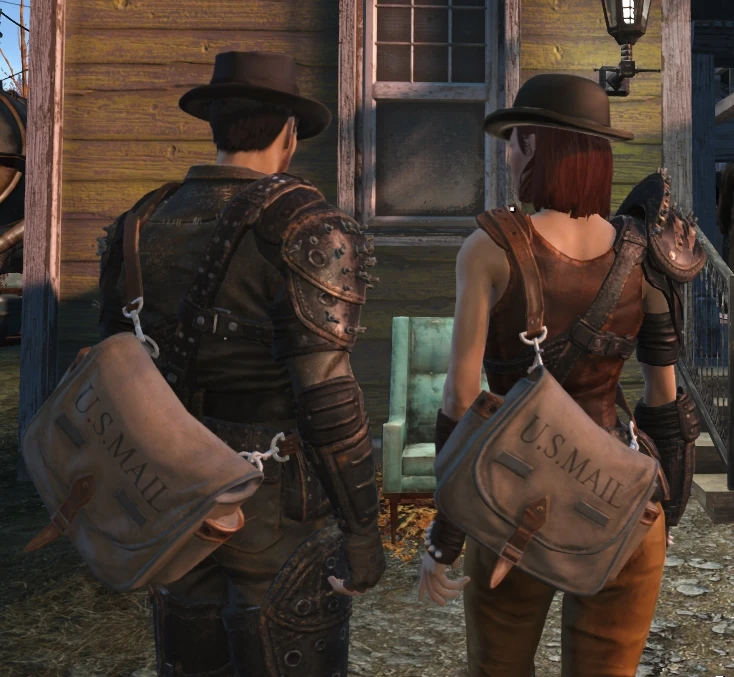
Wearable Postman Shoulder Bag or Backpack: I like the postman outfit in Fallout 4 because it has a sweet shoulder bag. This mod allows you to wear this bag on any cloth set.
Installation: Download and install with Nexus Mod Manager
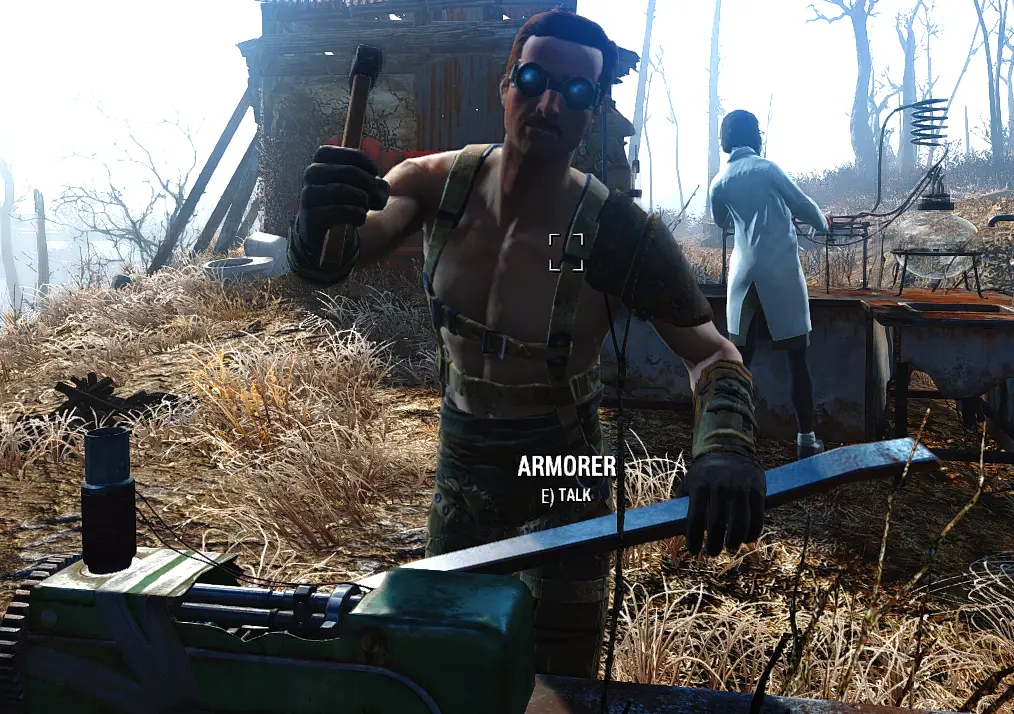
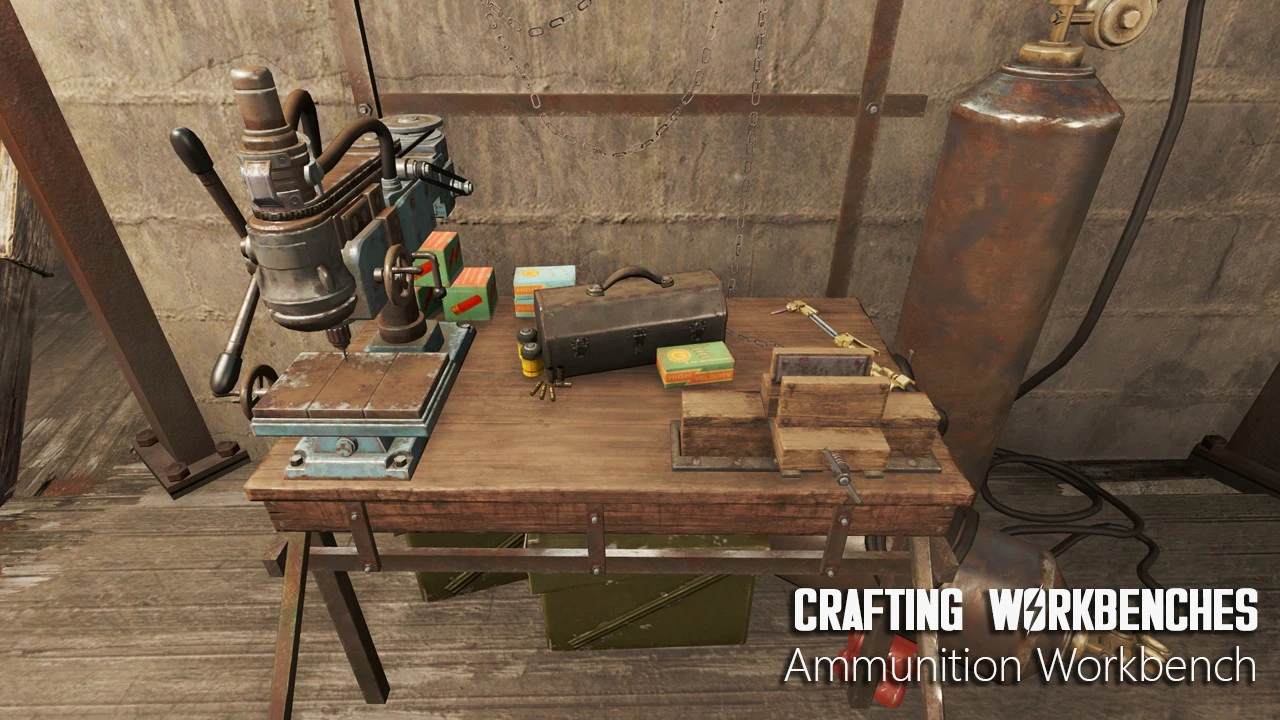
Crafting Workbenches: In Fallout 4 you can’t make new weapons, only modifications. This mod adds three placeable workbenches, allowing you to craft weapons or armour, but also bobby pins and other miscellaneous items. Other than that they look and sound like they usual, with settlers interacting with them as well, which is an amazing bonus! You can also use this one to make your ammo, instead of the ‘Craftable Ammunition‘ mod
Installation: Download and install with Nexus Mod Manager
Concealed Armors: This mod is designed to be used with Armorsmith Extended from last week. The Concealed Armors mod acts as the solution for armour pieces clipping through outfits. You will find a new category in the crafting menu, allowing you to hide a certain piece of armour.
Installation: Download and install using the Nexus Mod Manager

Mechanics
PipBoyShadows: Cast shadows with the light coming from your PipBoy. However, these shadows can be weird because of the way Fallout 4 implements the PipBoy light. Be sure to read the description and pick a version that suits you best. Also a fair warning is that casting shadows will have an impact on your computers performance.
Installation by the default way (See Fallout 4 Mod Manager if this doesn’t ring a bell). Just don’t forget the activate the .esp file on the end.
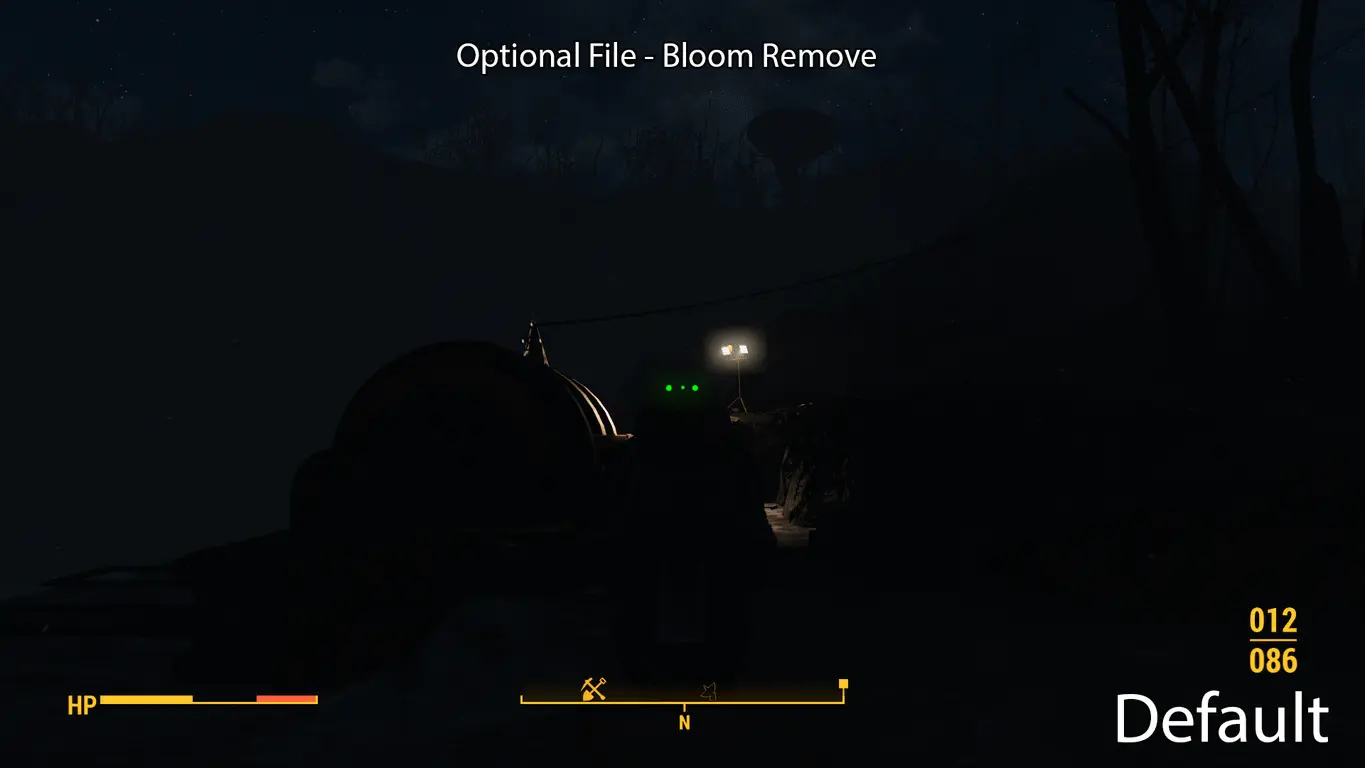
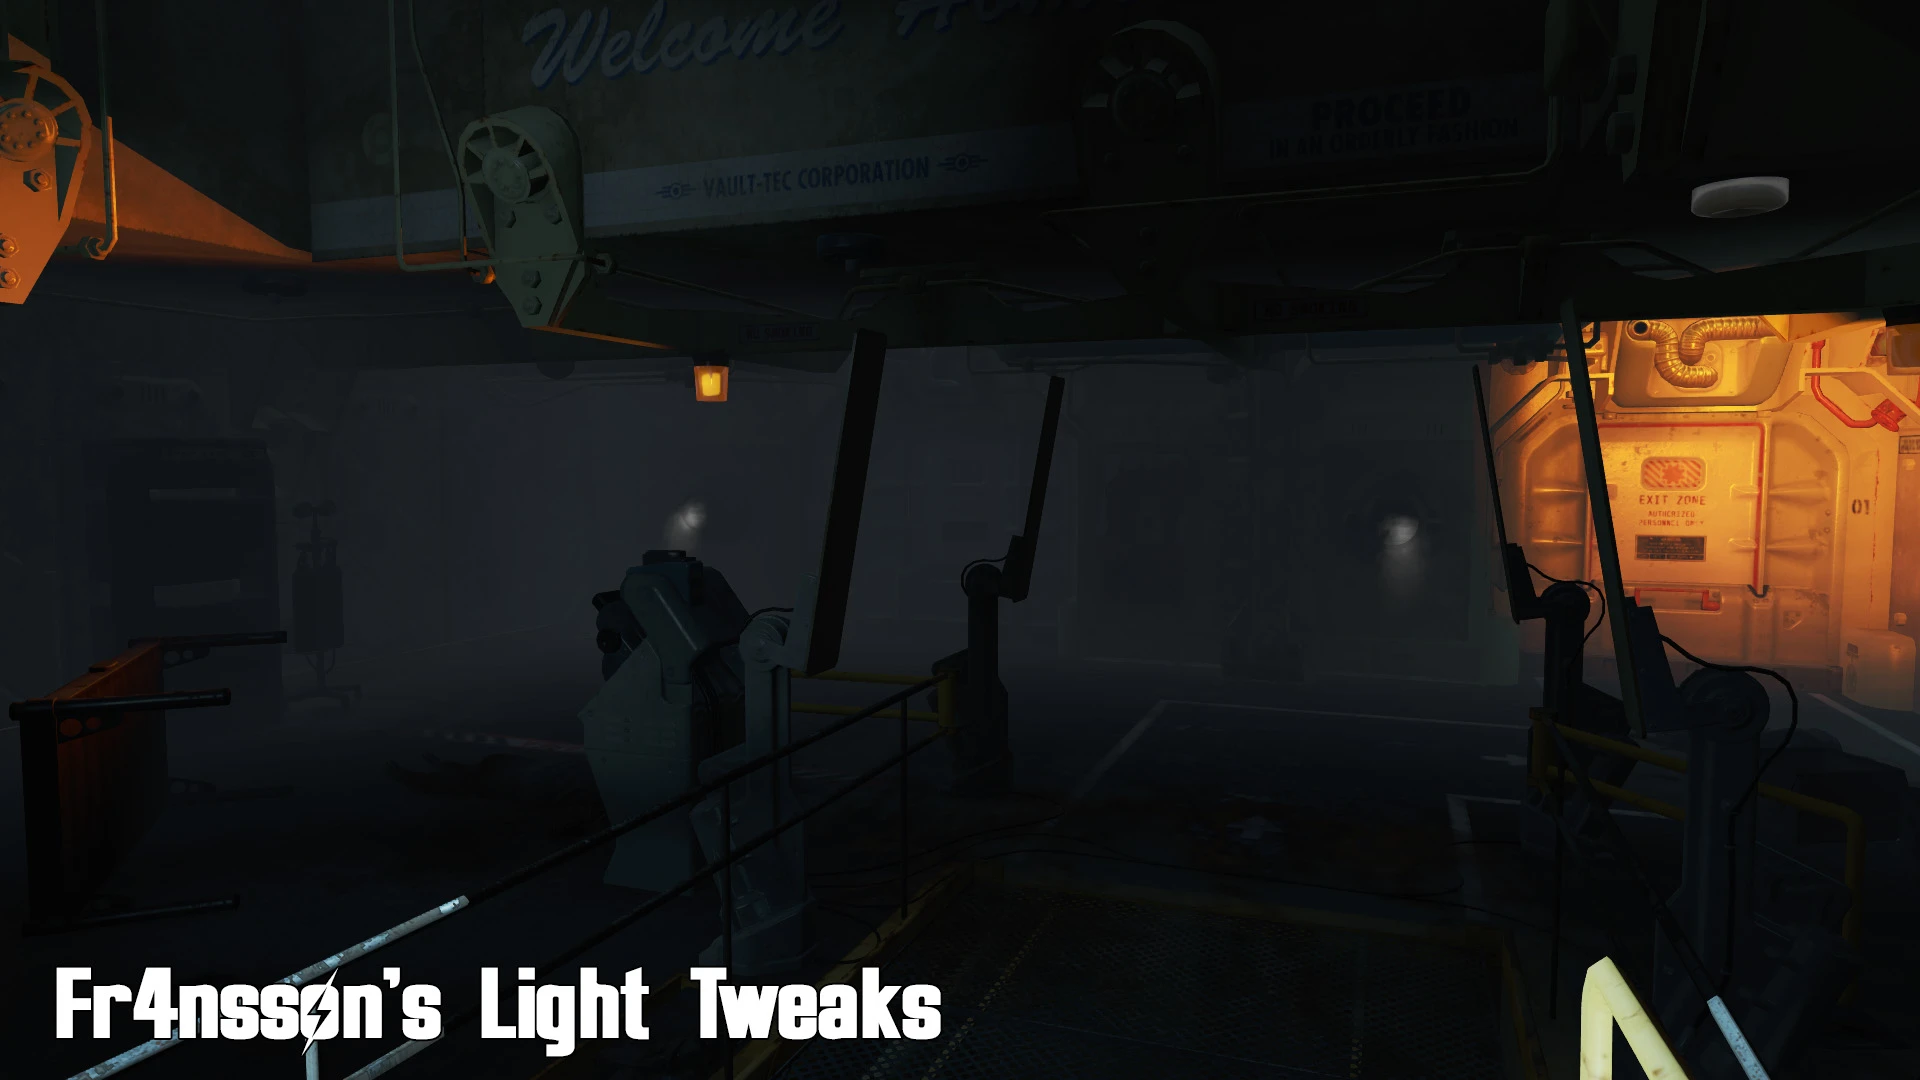
Fr4nsson’s Light Tweaks: This mod fixes the lights from Fallout 4 both indoors and outdoors. Light doesn’t bounce around indefinably, lighting up a whole room. The mod also removes skylights a.k.a FakeLights indoors. It does also remove bloom if you want to (look in file section). It goes very well with Darker Nights.
Installation: Download and install with Nexus Mod Manager
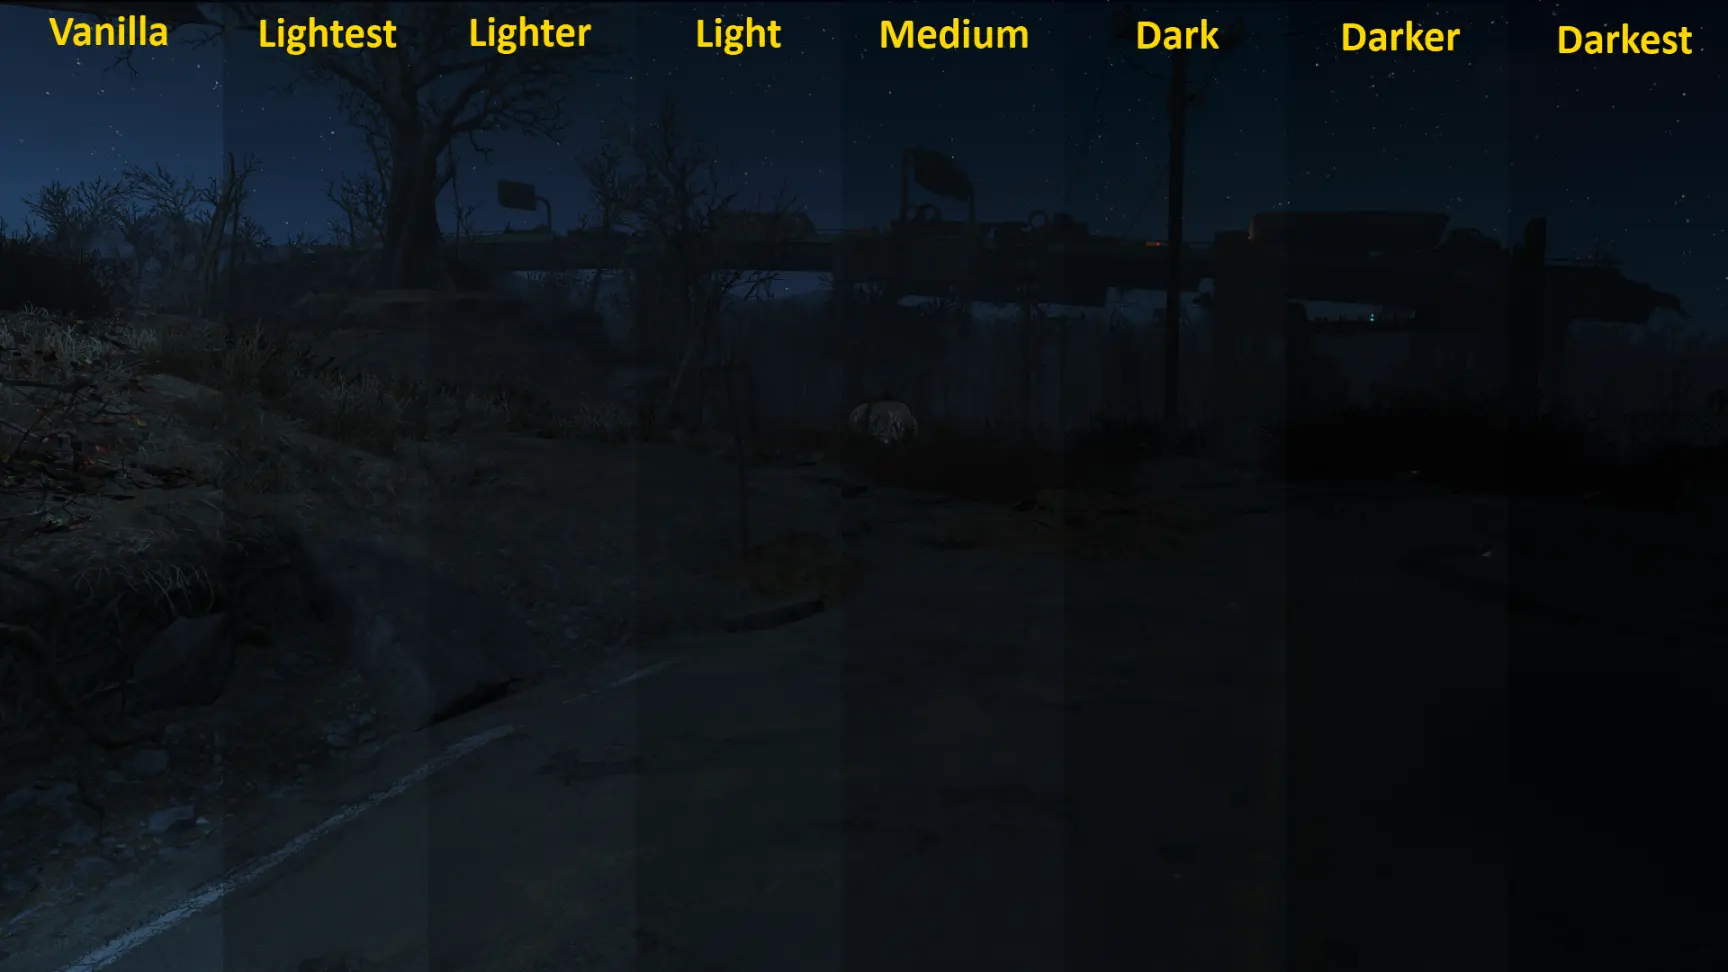
Darker Nights: Light works best when it’s dark. It’s not because of the previous mod that I recommend Darker Nights, but because the Fallout 4 nights don’t really feel like a dark, post-apocalyptic night. The vanilla nights are to bright, and with Darker Nights, you can make the night as dark as you like/dare.
Installation: Download and install with Nexus Mod Manager. Follow the provided installation menu and configure the mod so it suits your personal taste.
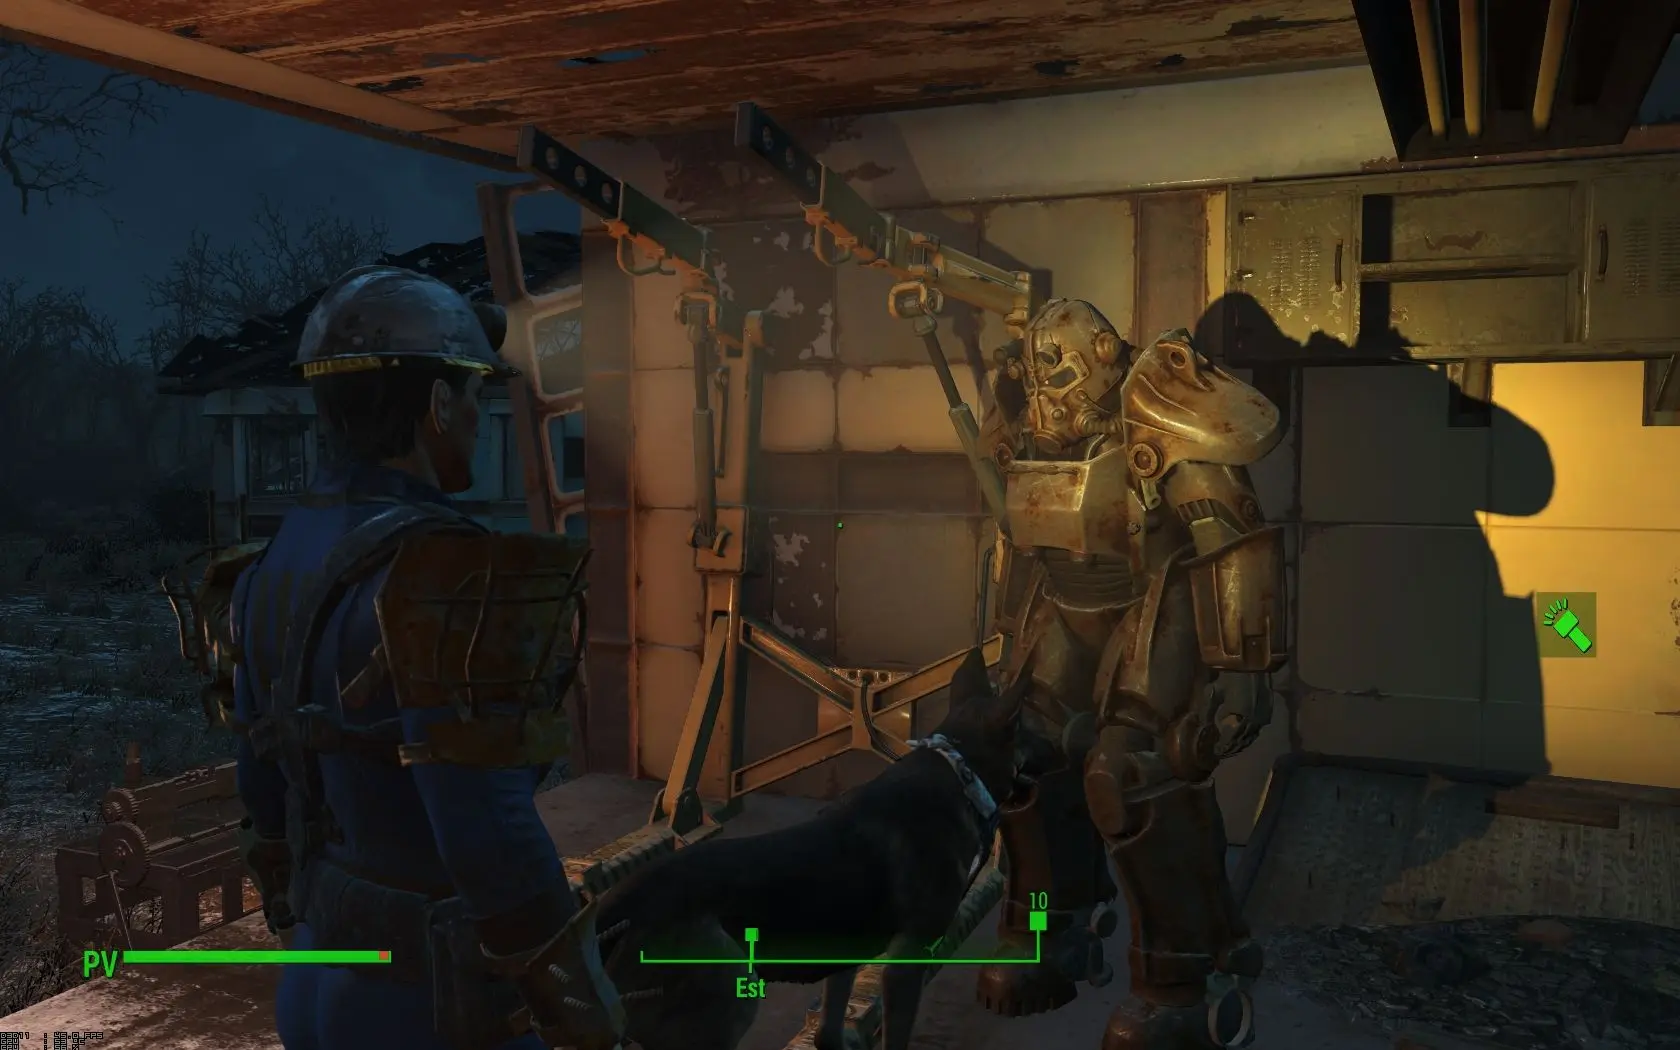
P.A.M.S – Power Armor Movement Sounds: Personally, the vanilla sound coming from a walking Power Armour doesn’t really impressed me. With this mod, the Power Armour sounds like a tool worth fearing! I even suggest the optional file “Louder High Landing” for that extra drama when you land inside a group of raiders!
Installation: Download and install with Nexus Mod Manager.
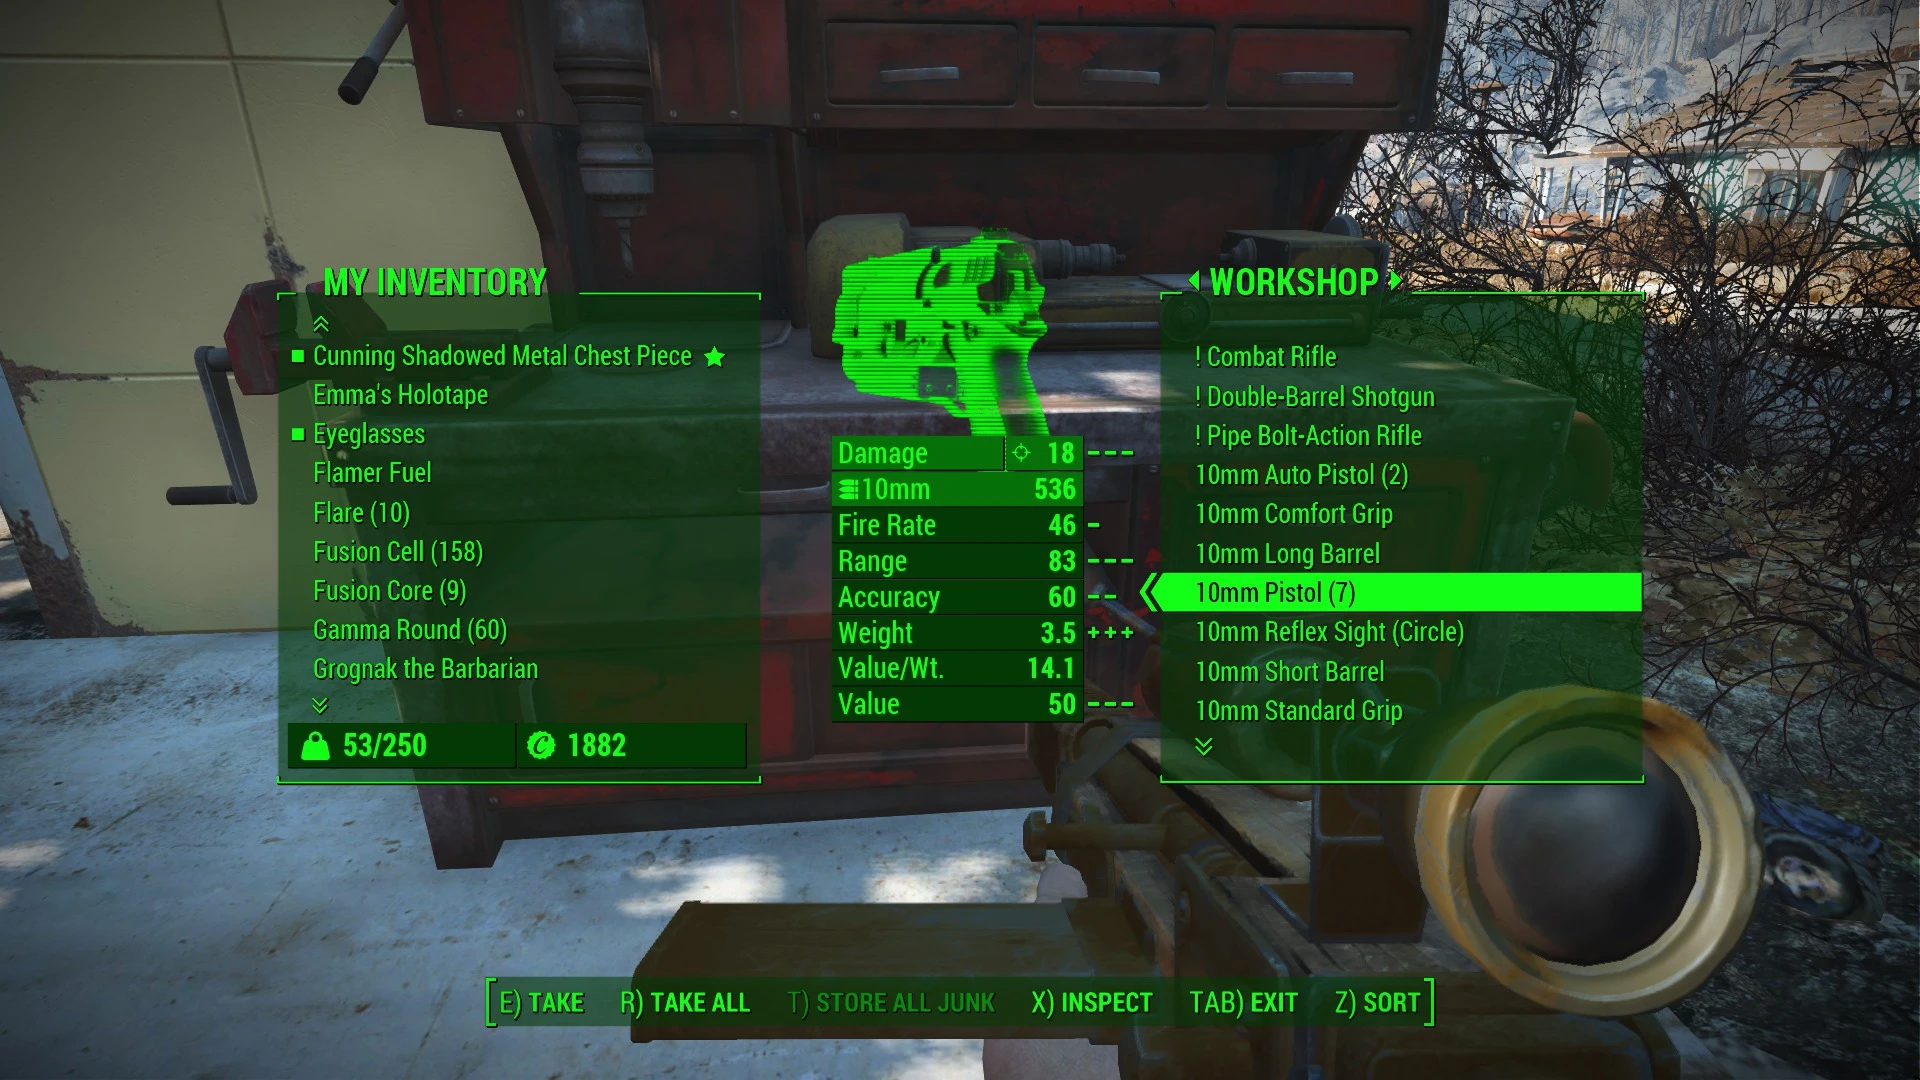
Value per Weight indicator: The next mod adds a useful tool when you are out scavenging. When you need to drop items, this tool can help you make the maximum profit
Installation: Download and install with Nexus Mod Manager.
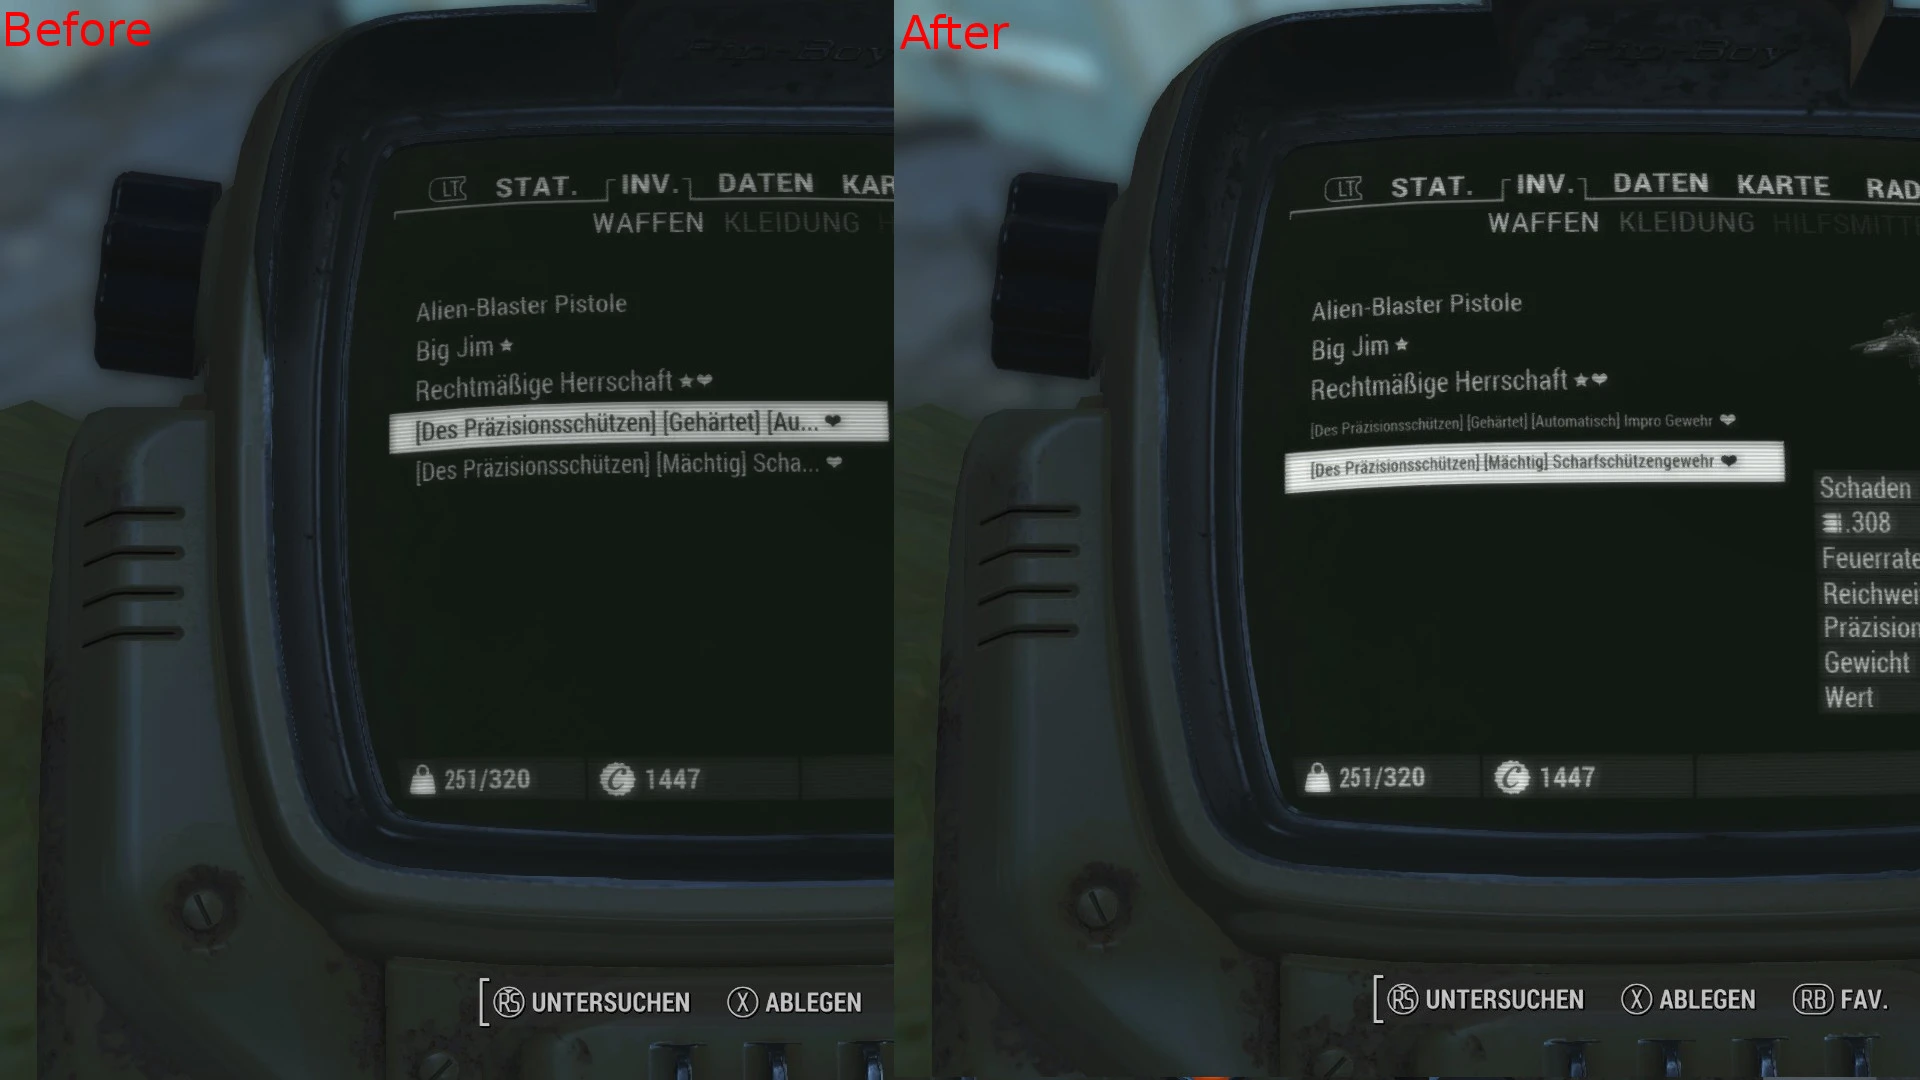
no dotdotdot: While we are upgrading the PipBoy, lets also remove a reading limitation. In Fallout 4, if a name is to long, it gets dotted. With this mod, you get to see the full name.
Installation: Download and install with Nexus Mod Manager. Also download the Value per Weight compatibility mod, if you are using the Value per Weight indicator mod
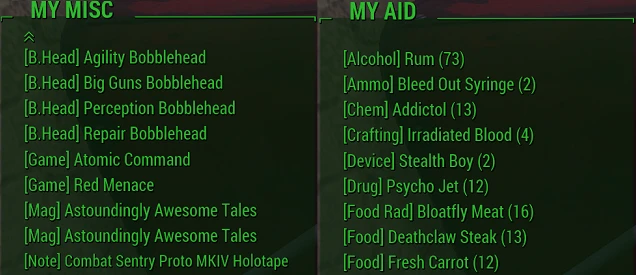
Better Item Sorting: In Fallout 4 you will collect a lot more stuff than you did in the previous games. Any kind of sorting will surely be a help. That is why I recommend this mod, because it does an amazing job giving you information on a simple and easy way.
Installation: Download and install with Nexus Mod Manager. Be sure to use the .strings version so that this mod is compatible with Full Dialogue Interface
Companion Infinite Ammo: Your companions have infinite ammo for their default weapon. That’s why I always stick with their default weapon in the previous Fallout games. But now, I want to give them better weapons. I mean, what’s the point of modding the weapons if only you are going to use them?
Installation: Download and install with Nexus Mod Manager
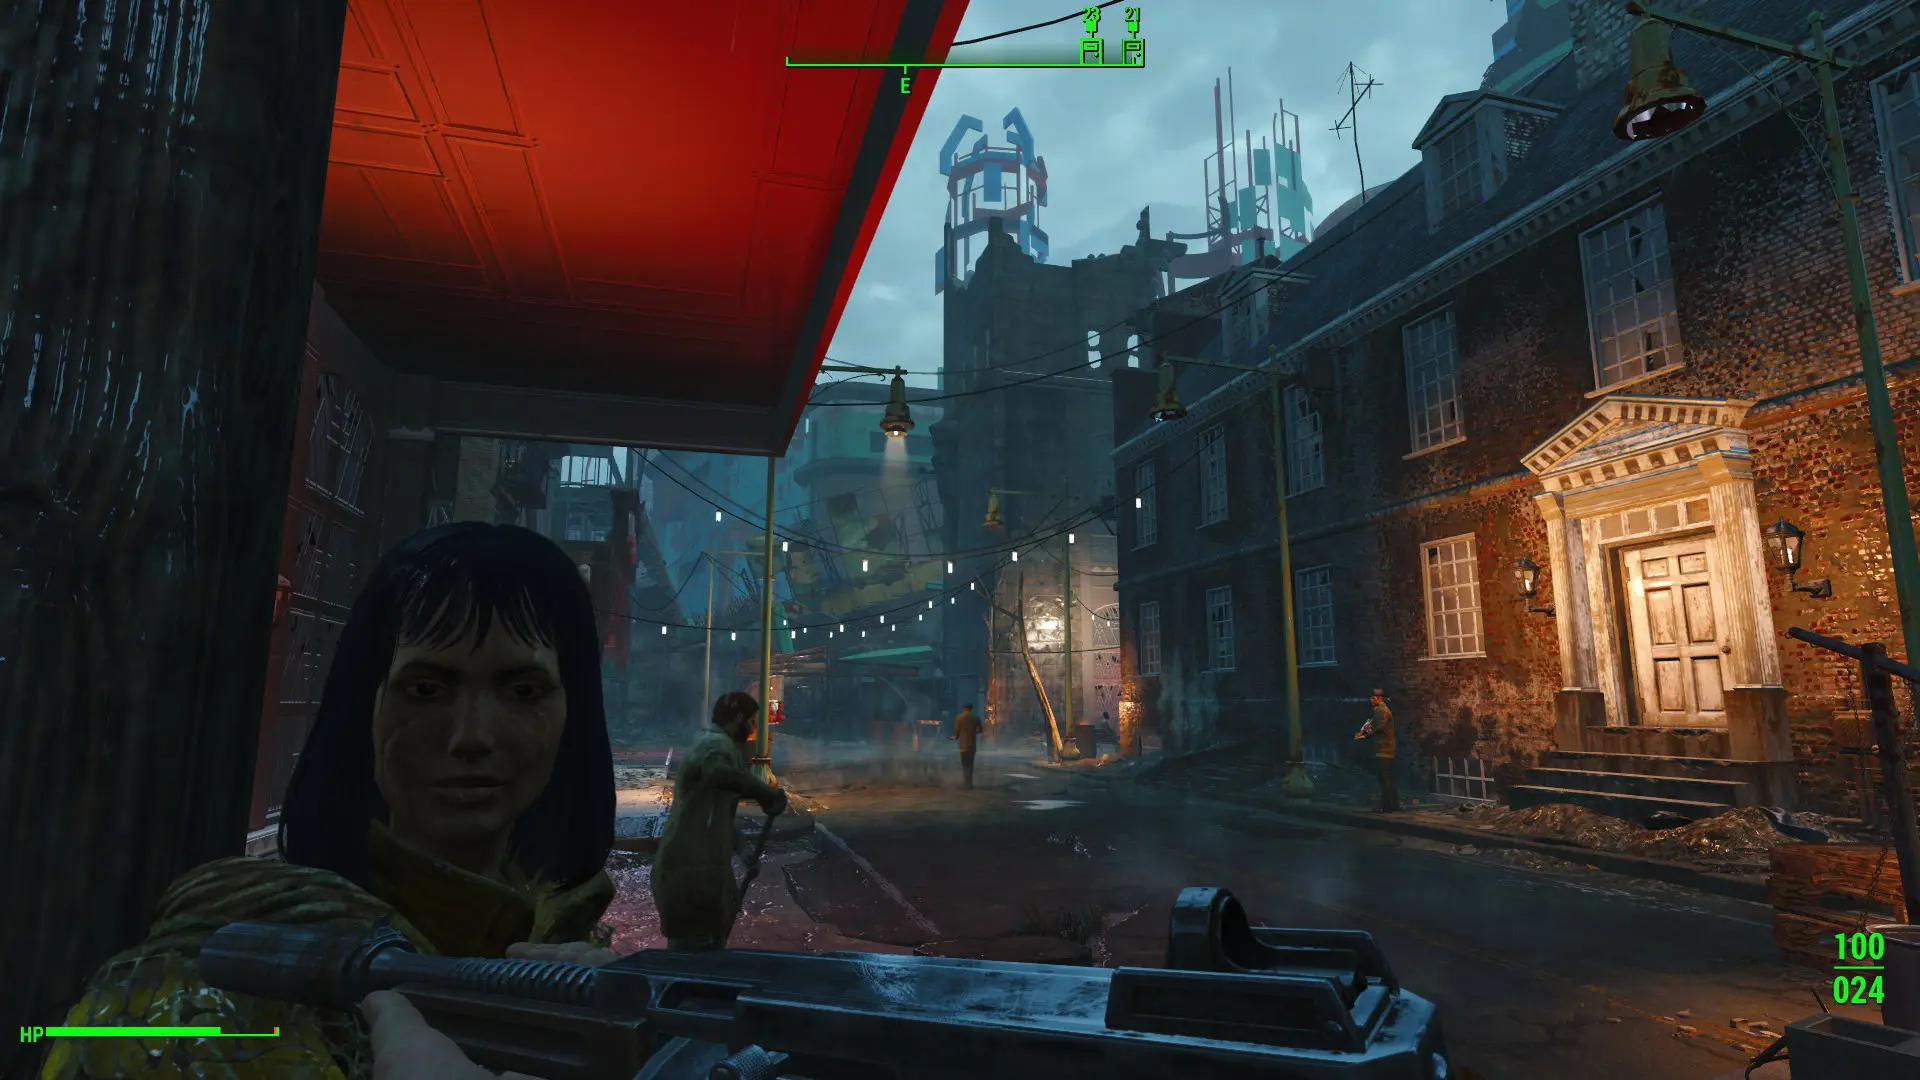
Button Lowered Weapons – First and Third Person: This mod is a replacement for the ‘Lowered Weapons‘ mod, because this mod gives you much more control over the lowered animation
Installation: Download and install with Nexus Mod Manager
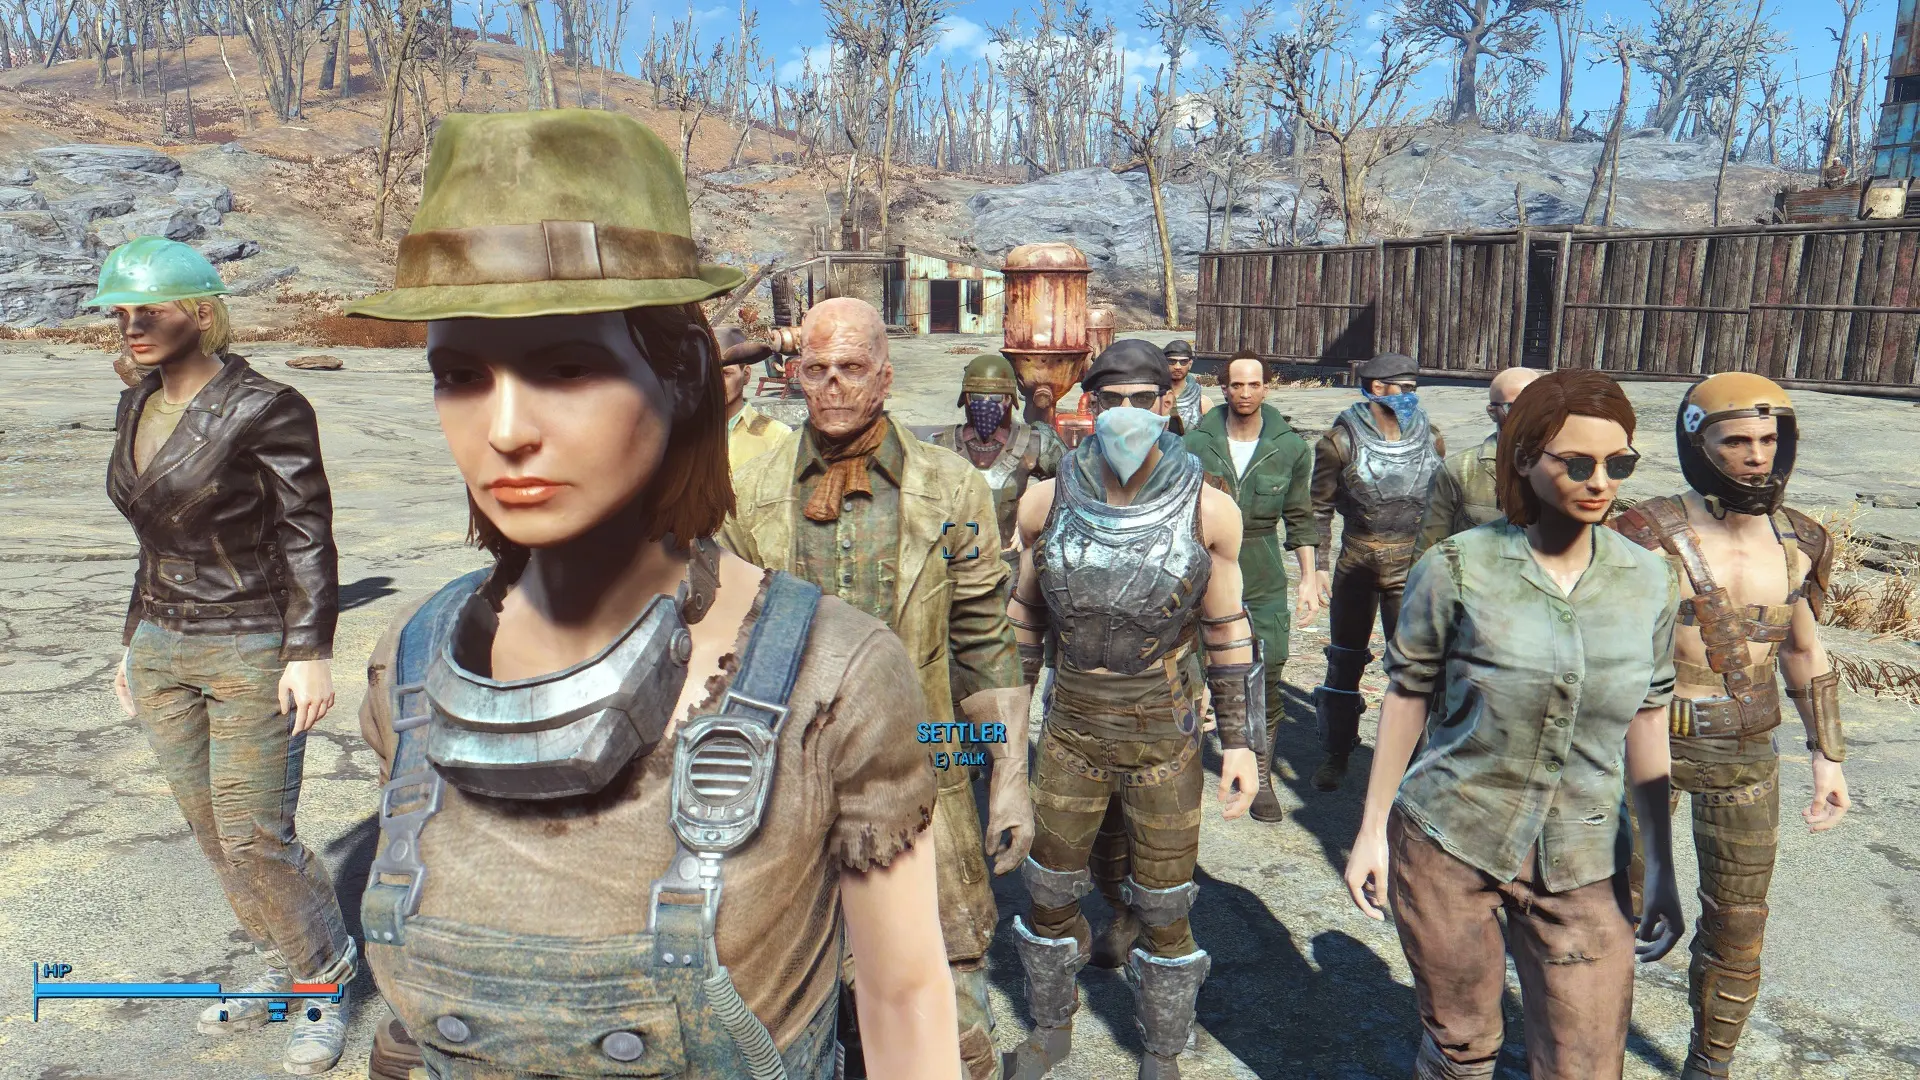
Better Settlers: Just download this mod. It’s late and I am tired. You probably can guess that this mod dramatically improves the settlers in your settlements by giving them slightly better weapons, more variants in cloths and make them a big more tougher.
Installation: Download and install with Nexus Mod Manager
Better Armor Mod Descriptions: You also prefer to see ‘+10% VATS Accuracy’ instead of ‘Increases VATS hit chance’? Then get this mod.
Installation: Download and install with Nexus Mod Manager
Better Weapon Mod Descriptions: Completely the same as above, but now for weapons!
Installation: Download and install with Nexus Mod Manager
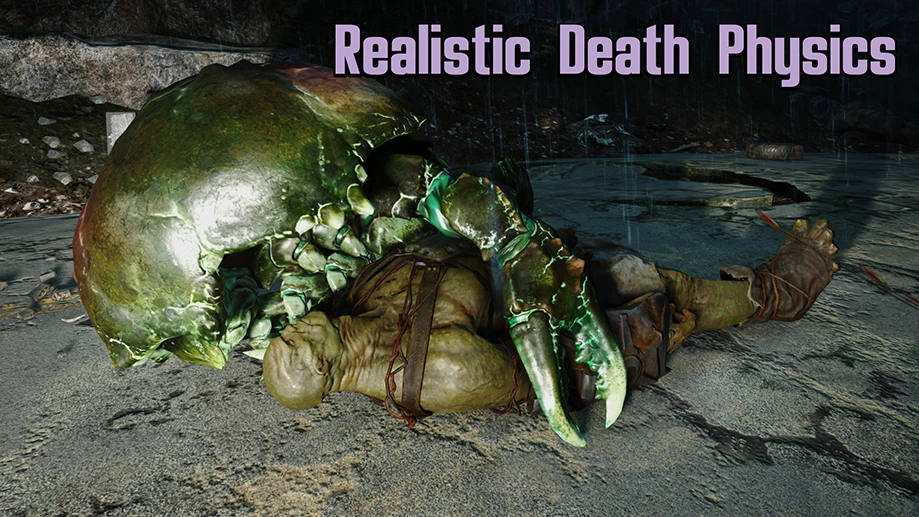
Realistic Death Physics – No Animations: Now that you and your companion kill in style, we have to make sure the immersion sticks. Sadly, we need this mod for that, because the vanilla settings are a bit too much in my opinion.
Installation: Download and install with Nexus Mod Manager
Idle Hands – Male and Female Idle Customization: An amazing mod that allows you to replace idle animations for male and female characters
Installation: First pick the correct MAIN file depend on your character’s sex. Once downloaded, use Nexus Mod Manager to replace the 9 (if you are a male character) or 8 (for female characters) animations. After that, download both optional files. For these I recommend to pick one of the first 3 options. They are a set of animations, created by the developer of this amazing mod.

Improved Map with Visible Roads: A visual improvement for the map in Fallout. This new map shows a lot more details such as roads, train tracks, topography and corrected placed map markers
Installation: Download and install with Nexus Mod Manager

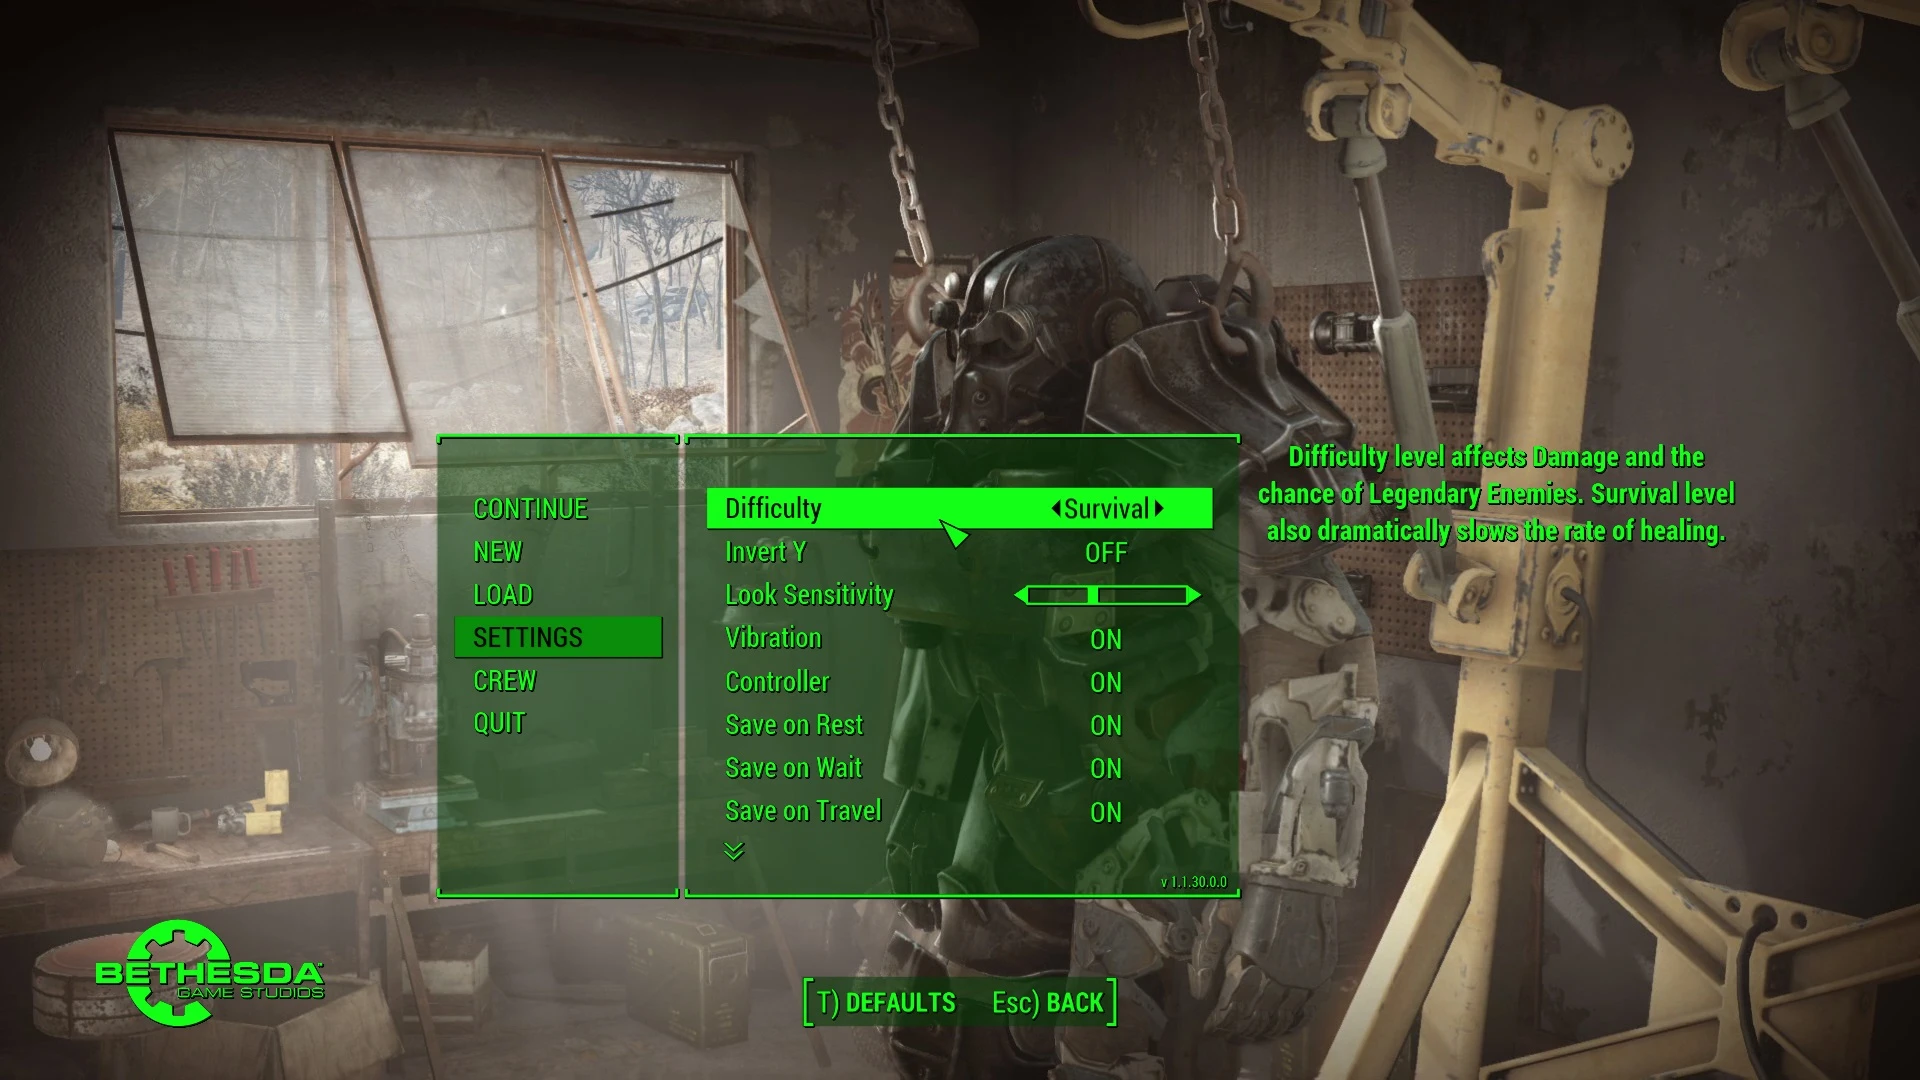
Create Your Own Difficulty Rebalance: The Fallout games have their typical bug. Once you passed a certain playtime, you have become a god in the game. Due to experience, a much higher level and/or better equipment, you can handle any situation without much problems. I hope that with using this mod, you also find the challenge back! NOTE: you can also use this to make the game ridiculously easy
Installation: Download and install using the Nexus Mod Manager. In the installation menu pick the damage levels you want and continue with the installation
Proper Trading Stores and Animation: This mod replaces the boring trading stands with the related workbenches and it adds animations for the settlers who work there.
Installation: Download and install with Nexus Mod Manager
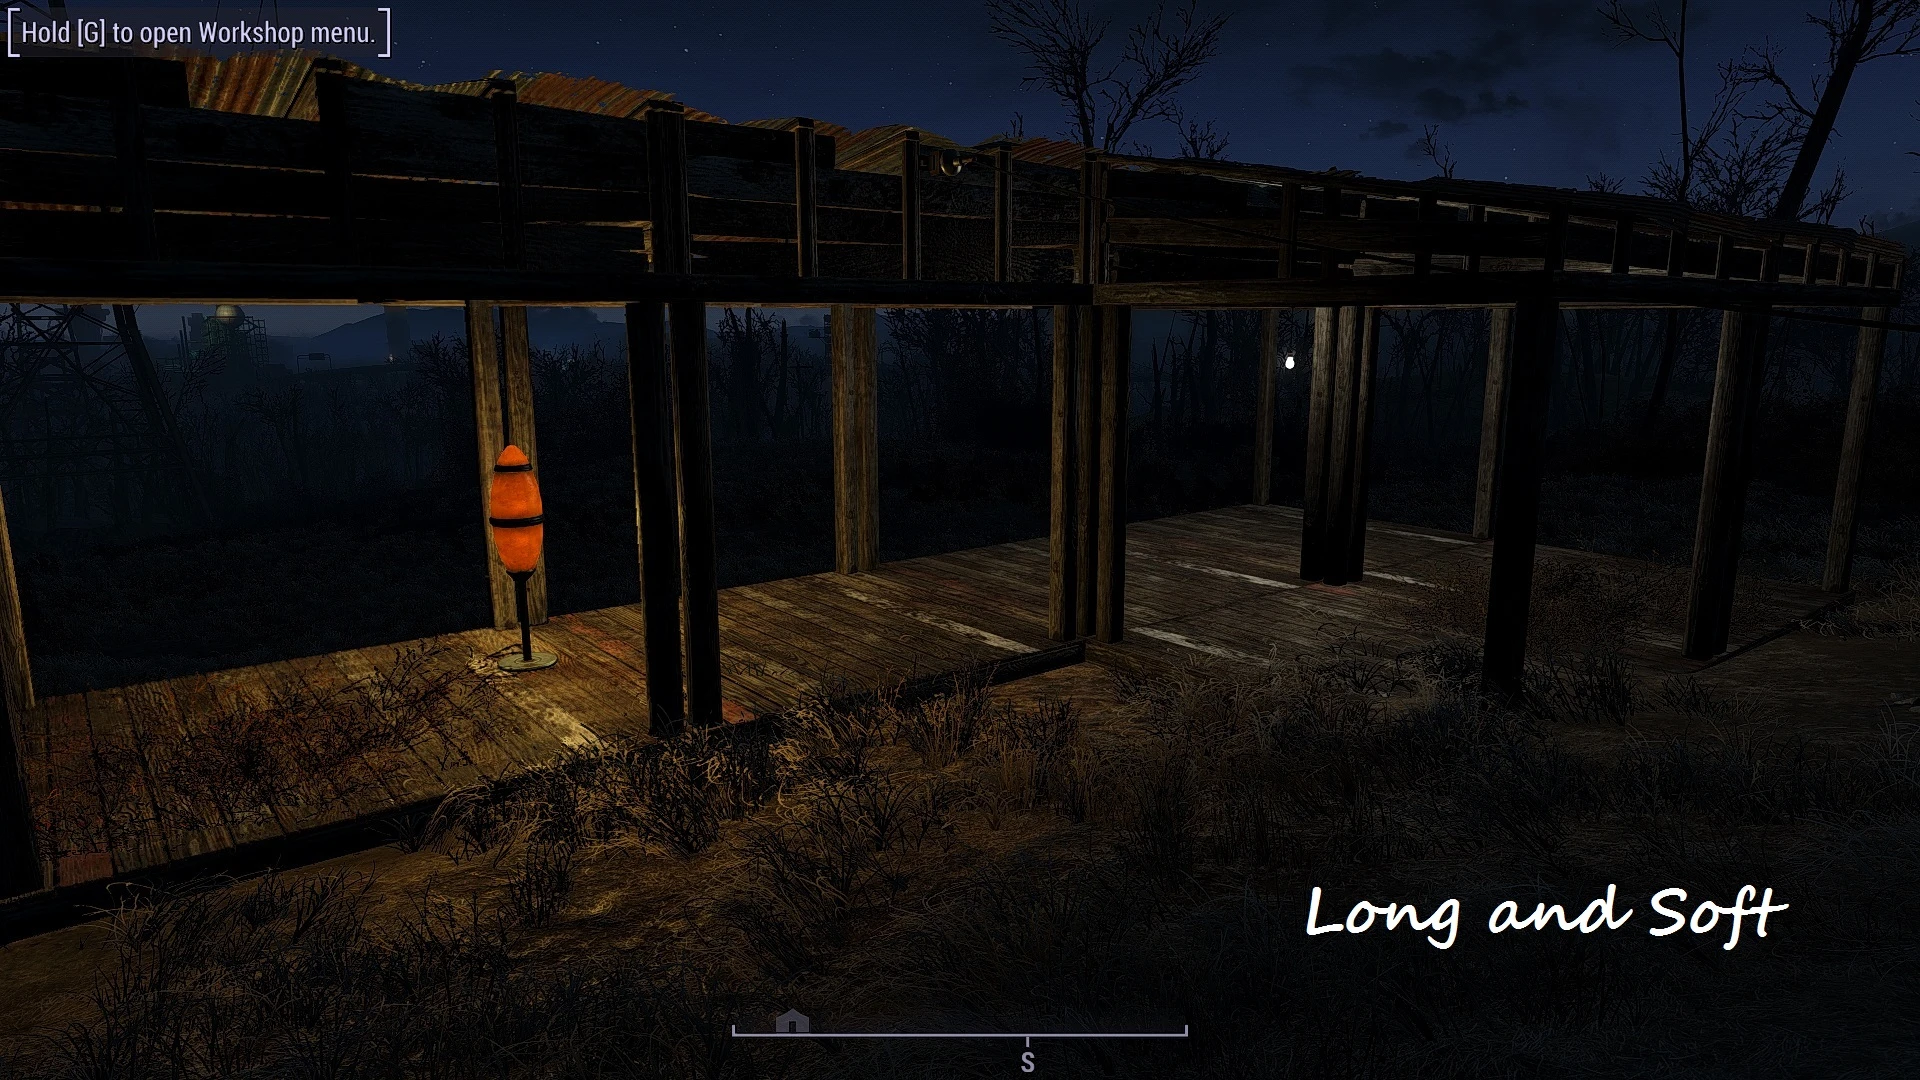
Brighter Settlement Lights: I know, I know, it is professional deformation, but lights and luminaires will always be important to me. With this mod, the lights are much nicer to use, especially with the long and soft setting.
Installation: Download and install with Nexus Mod Manager.
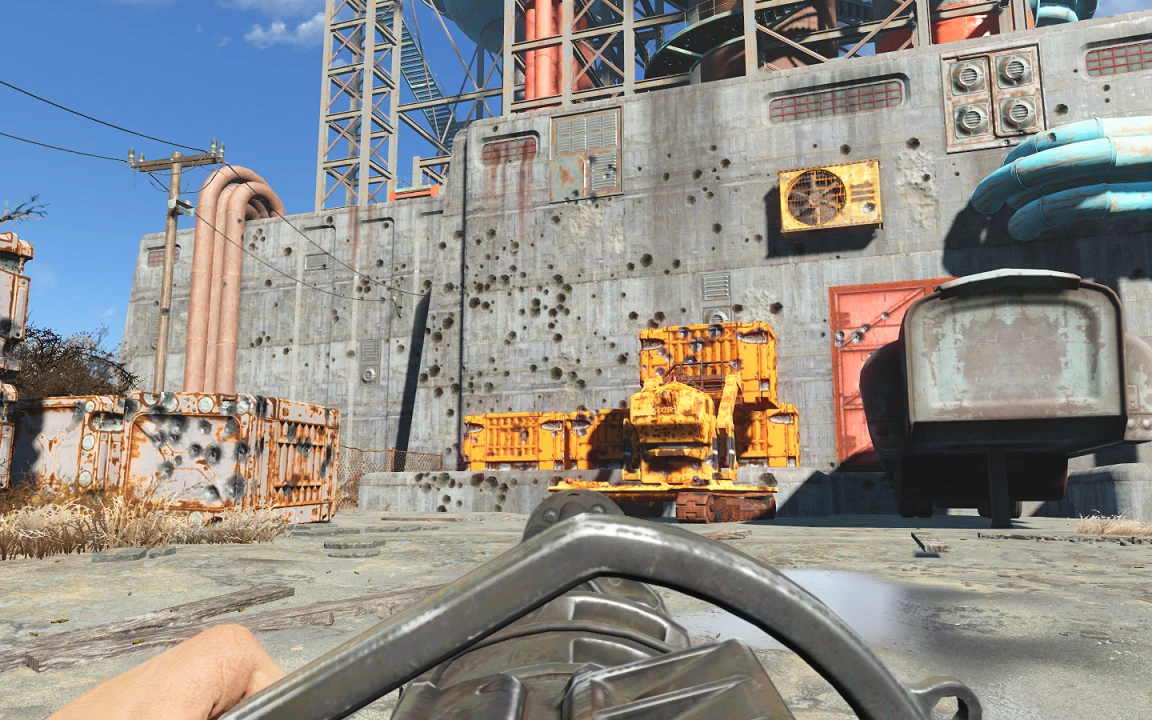
Long Range Bullet Holes: A small mod to make bullet impact effects and decals appear at long ranges. It also extends the time of wound decals and decal limits.
Installation: Download and install with Nexus Mod Manager.
Rain of Brass: This mod has the same idea as the one above. It makes the shell casings last longer.
Installation: Download and install with Nexus Mod Manager.
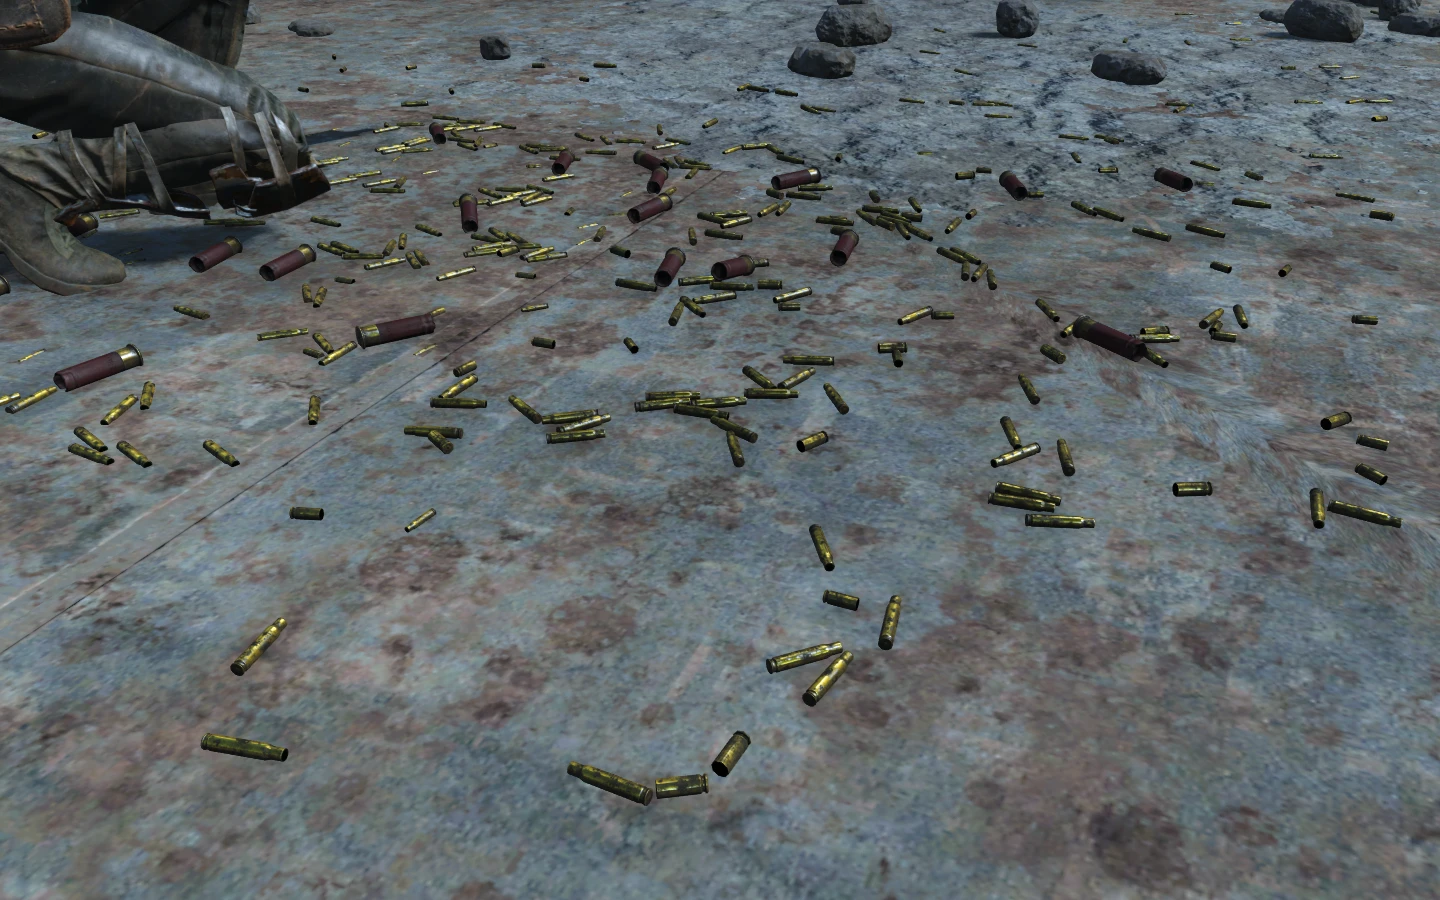
After you have installed the previous 2 mods (and also if you have enhanced blood), go to your fallout4.ini (located here: …\Documents\My Games\Fallout4). Don’t forget to save the file at the end.
Find [Display] and add these lines below it:
fDecalLifetime=800.000
fDecalLOD0=70000
fDecalLifetime will increase the lifetime of all decals. The number can be changed to further increase or decrease the duration.
fDecalLOD0 increases the distance that blood decals appear.
ENB
Enhanced Wasteland Preset: This one is an ENB preset for Fallout 4. I love this one because it tweaks a lot of the colours. Be sure to check out the website and see it this preset is something for you. Note: a preset will cause some lag during start-up due to the settings being loaded.
Installation: Place all the files within the Enhanced Wasteland folder to your root Fallout 4 game directory (\Steam\SteamApps\common\Fallout 4)